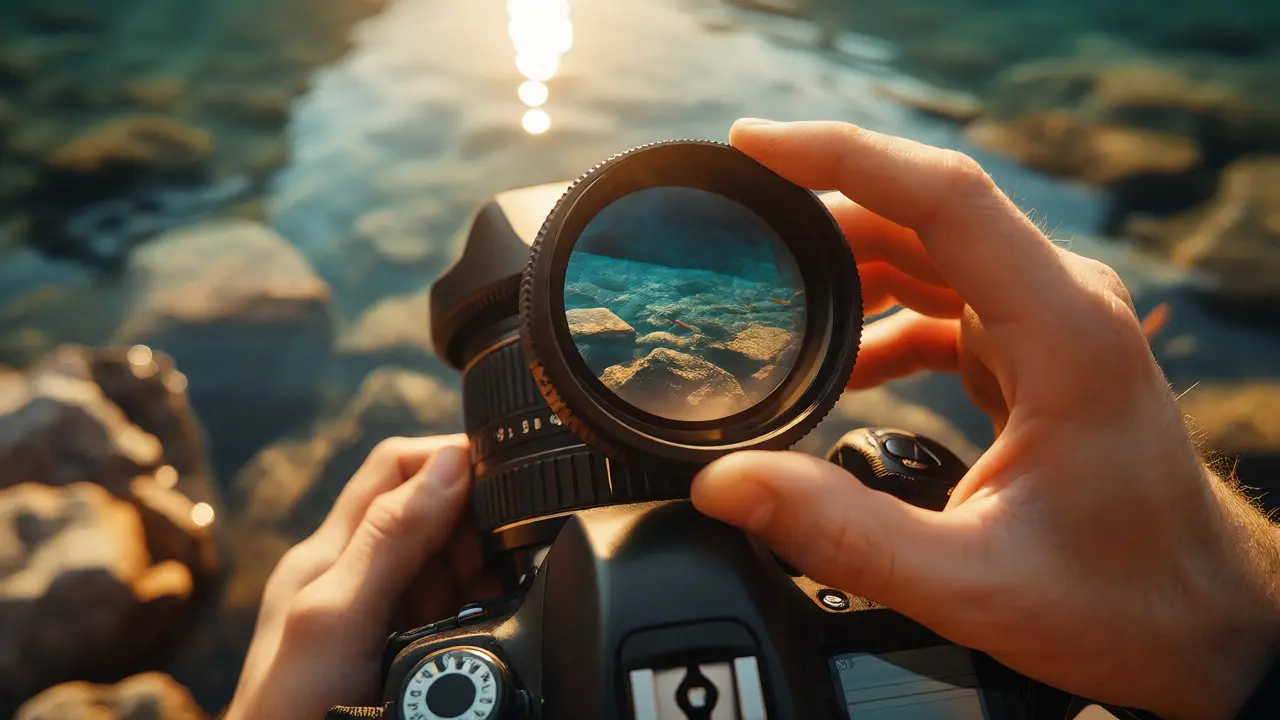
You know that feeling? You’re standing in front of a stunning lake, the sun is hitting the water just right, and you raise your camera. But when you look through the viewfinder or at your LCD screen, the scene looks flat. The water is blown out white, hiding whatever rocks or fish might be swimming below, and the sky is a washed-out pale blue instead of the deep azure you see with your naked eye. Your eyes have a built-in polarizer; your camera doesn’t. That’s where a polarizing filter comes in. It’s one of the few tools in photography that does something software can’t fake later: it physically blocks specific light waves to cut reflections and boost color saturation.
If you’ve ever wondered why professional landscape photos look so rich while yours look a bit dull, this little piece of glass screwed onto the front of your lens is often the missing link. It’s not magic, but it feels like it when you twist the ring and watch the glare vanish from a car windshield or a wet leaf. Let’s break down how it works, when to use it, and-crucially-when to leave it in your bag because it can actually hurt your shot.
The Science Behind the Magic
To understand why a polarizer works, you need a quick crash course on light. Light travels in waves. Normally, these waves vibrate in all directions-up, down, side-to-side. This is called unpolarized light. When sunlight hits a non-metallic surface like water, glass, or leaves, some of that light reflects off the surface. This reflected light becomes partially polarized, meaning the waves align in a specific direction, usually horizontal.
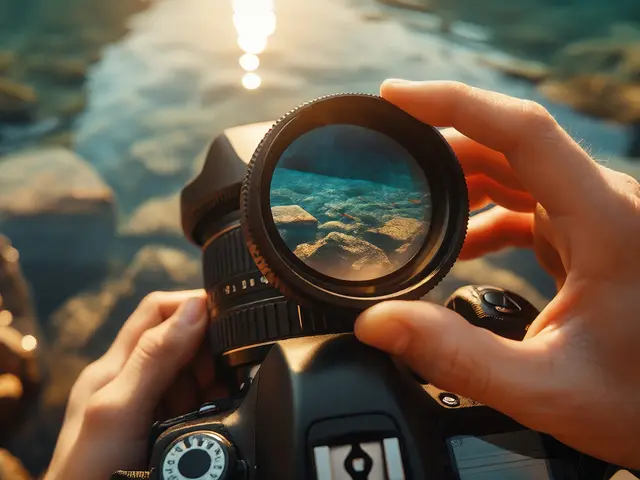
A Circular Polarizer (CPL) is an optical filter that selectively blocks light waves vibrating in a particular orientation. Think of it like a picket fence. If the light waves are vertical, they pass through the slats. If they are horizontal, they get blocked. By rotating the outer ring of the filter, you change the angle of those "slats." When you align them to block the horizontally polarized reflected light, the glare disappears. What’s left is the light coming from *inside* the object-the true colors of the water or the green of the leaf, not the white shine on top of it.
Why do we use Circular Polarizers instead of Linear ones? Modern cameras use autofocus and metering systems that split light internally using mirrors or beam splitters. Linear polarizers can confuse these sensors, causing inaccurate exposure or focus errors. CPLs include a quarter-wave plate that converts the polarized light back into circularly polarized light before it hits the sensor, keeping your camera happy.
Mastering the Sky: The 90-Degree Rule
The most dramatic effect of a polarizer is on the sky. Blue skies appear blue because air molecules scatter short-wavelength blue light more than other colors (Rayleigh scattering). This scattered light is polarized. A polarizer can block some of this scattered haze, making the sky darker and clouds pop with contrast.
But there’s a catch: physics dictates that polarization is strongest at a 90-degree angle from the sun. Here is the rule of thumb:
- Shoot at 90 degrees to the sun: This gives you maximum darkening of the blue sky.
- Shoot directly toward or away from the sun: The polarizer has almost no effect on the sky here.
Imagine the sun is behind your left shoulder. Point your camera straight ahead (to the right of the sun) for the deepest blue. If you turn around and shoot back toward the sun, the sky will stay bright. This creates a tricky situation for wide-angle lenses. If your frame covers 180 degrees or more, part of the sky will be polarized (dark) and part won’t (light), resulting in an uneven, blotchy blue gradient. For ultra-wide shots, be careful. You might end up with a dark patch in the middle of the sky and a bright horizon.
| Sun Position Relative to Camera | Angle | Sky Effect | Glare Reduction |
|---|---|---|---|
| Directly Ahead/Behind | 0° / 180° | Minimal Darkening | Moderate |
| Side Lighting | 45° / 135° | Moderate Darkening | High |
| Perpendicular to Sun | 90° | Maximum Darkening | Maximum |
Killing Reflections: Water and Glass
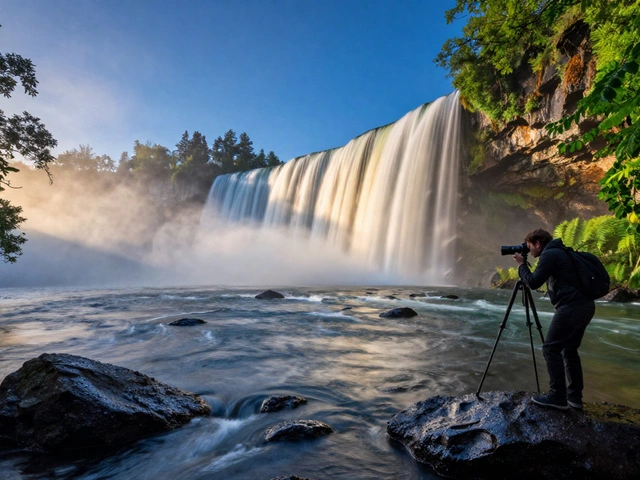
This is the job many people buy a polarizer for. Imagine photographing a waterfall. Without a filter, the rushing water looks like white noise. With a CPL rotated correctly, the surface glare vanishes, revealing the texture of the rocks underneath and the clarity of the pool below. It turns a generic snapshot into a detailed image.
The same applies to windows. Ever tried to take a photo inside a museum or through a restaurant window? The reflection of your own face or the street outside obscures the subject. Rotate your CPL until the reflection fades. Note that this only works on non-metallic surfaces. Metal reflects light differently (it maintains polarization), so you can’t use a polarizer to remove glare from a chrome bumper or a stainless steel spoon easily.
Pro Tip: When shooting through glass, try to keep your lens as perpendicular to the window as possible. Angled shots reflect more light, making it harder for the polarizer to eliminate the ghost image completely.

Boosting Color Saturation
Reflections wash out color. When light bounces off a red brick building or a green fern, that white specular highlight desaturates the perceived color. By cutting that highlight, the polarizer allows the underlying pigment to show through fully. Greens become deeper emerald, blues become richer, and earth tones gain warmth.
This isn't just about landscapes. Portrait photographers sometimes use subtle polarization to control skin shine. A sweaty forehead under studio lights can look oily. A slight rotation of the filter can tame that specular highlight without removing the natural sheen entirely, giving the skin a smoother appearance. Just don't overdo it-you want the subject to look alive, not like a mannequin.
The Downsides: Why Not Keep It On All the Time?
If a polarizer makes everything look better, why isn't it permanently attached to every lens? Because it steals light. A standard CPL reduces the amount of light reaching your sensor by 1 to 2 stops. In plain English: your shutter speed needs to be slower, or your ISO higher, or your aperture wider to get the same exposure.
Here is where things go wrong:
- Low Light: If you are shooting indoors or at dusk, losing two stops of light can make handheld shooting impossible due to motion blur.
- Wide Apertures: Some high-end lenses suffer from vignetting (dark corners) when a thick filter stack is used at wide apertures like f/1.4 or f/1.8.
- Autofocus Speed: In very dim conditions, the reduced light can slow down phase-detection autofocus systems.
- UV Protection: While a polarizer protects the front element of your lens from scratches, it adds another layer of glass. Cheap polarizers can introduce softness or chromatic aberration. Always buy multi-coated filters from reputable brands like B+W, Hoya, or Tiffen.
Also, remember that polarizers don't work well with linear polarizers in LCD screens. If you check your camera's LCD screen while wearing sunglasses (which are often polarized), the screen might go black. This is normal and doesn't mean your photo is ruined.

How to Use a CPL: Step-by-Step
Using a polarizer is intuitive once you get the hang of it. Follow these steps next time you're out shooting:
- Attach the Filter: Screw the inner ring of the CPL onto your lens thread. Ensure it's tight but not forced.
- Compose Your Shot: Frame your subject as usual.
- Rotate the Outer Ring: Look through the viewfinder or at the live view screen. Slowly rotate the outer ring of the filter. Watch the glare disappear or the sky darken.
- Find the Sweet Spot: There is usually a specific angle where the effect is strongest. Stop there. You can fine-tune it slightly if needed, but avoid going past the point of maximum effect unless you want less intensity.
- Check Exposure: Since you lost light, review your histogram. Adjust ISO or shutter speed if necessary.
- Shoot: Take the photo. Review it immediately to ensure the effect looks natural and not overly processed.
One common mistake is forgetting to reset the filter. If you leave it at maximum polarization and then move to a different lighting condition, you might miss the moment. Get into the habit of checking the rotation before pressing the shutter.
Polarizer vs. Graduated ND Filter
People often confuse polarizers with Neutral Density (ND) filters. They solve different problems. An ND filter simply dims the entire image uniformly, allowing you to use long exposures (like smoothing out ocean waves) in bright daylight. A polarizer targets specific light angles to remove reflections and enhance color.
Can you use both? Yes. Many landscape photographers stack a CPL and a GND (Graduated ND) filter. However, stacking multiple filters increases the risk of vignetting and internal reflections (ghosting). If you must stack, use slim-frame filters to minimize issues.
Frequently Asked Questions
Does a polarizing filter work on metal surfaces?
Generally, no. Metals reflect light differently than dielectric materials like water, glass, or paint. The reflected light from metals remains largely unpolarized or changes polarization state in ways a standard CPL cannot effectively block. You will see minimal reduction in glare on chrome or polished steel.
Why does my sky look uneven with a wide-angle lens?
This happens because the angle between the sun and different parts of the wide field of view varies. Parts of the sky at 90 degrees to the sun get heavily polarized (dark), while parts closer to the sun or anti-sun point remain lighter. To fix this, try to position the sun directly behind or in front of you, or use a narrower focal length to limit the angular spread.
Is a linear polarizer better than a circular polarizer?
For modern digital cameras with TTL (Through-The-Lens) metering and autofocus, a Circular Polarizer (CPL) is required. Linear polarizers can interfere with the beam splitters used in these systems, leading to incorrect exposure readings and focus hunting. CPLs are compatible with all modern DSLRs and mirrorless cameras.
Can I use a polarizer for video?
Yes, but it requires care. Rotating the filter during a shot causes visible changes in brightness and color across the frame, which can look unnatural. Set the rotation before recording and lock it if possible. Also, remember that changing the polarization angle alters the exposure, so you may need to adjust your ND settings if you are trying to maintain a specific shutter speed for motion blur.
Do expensive polarizers really make a difference?
Yes. Cheap filters often use inferior glass and coatings, which can reduce sharpness, introduce color casts (usually yellow or magenta), and cause flare. High-quality multi-coated filters maintain image integrity and provide cleaner results, especially when shooting against bright light sources.