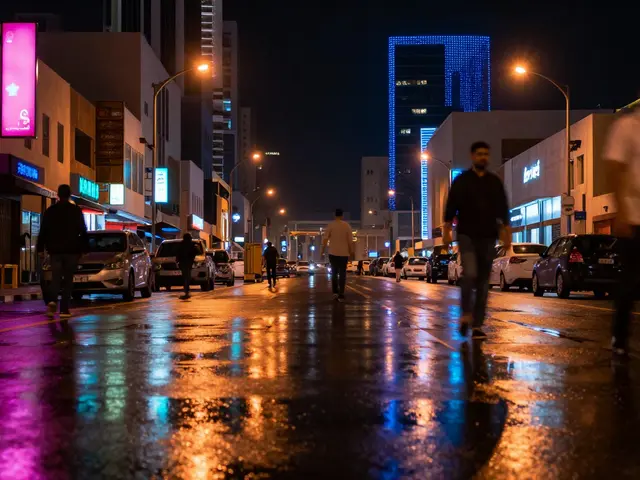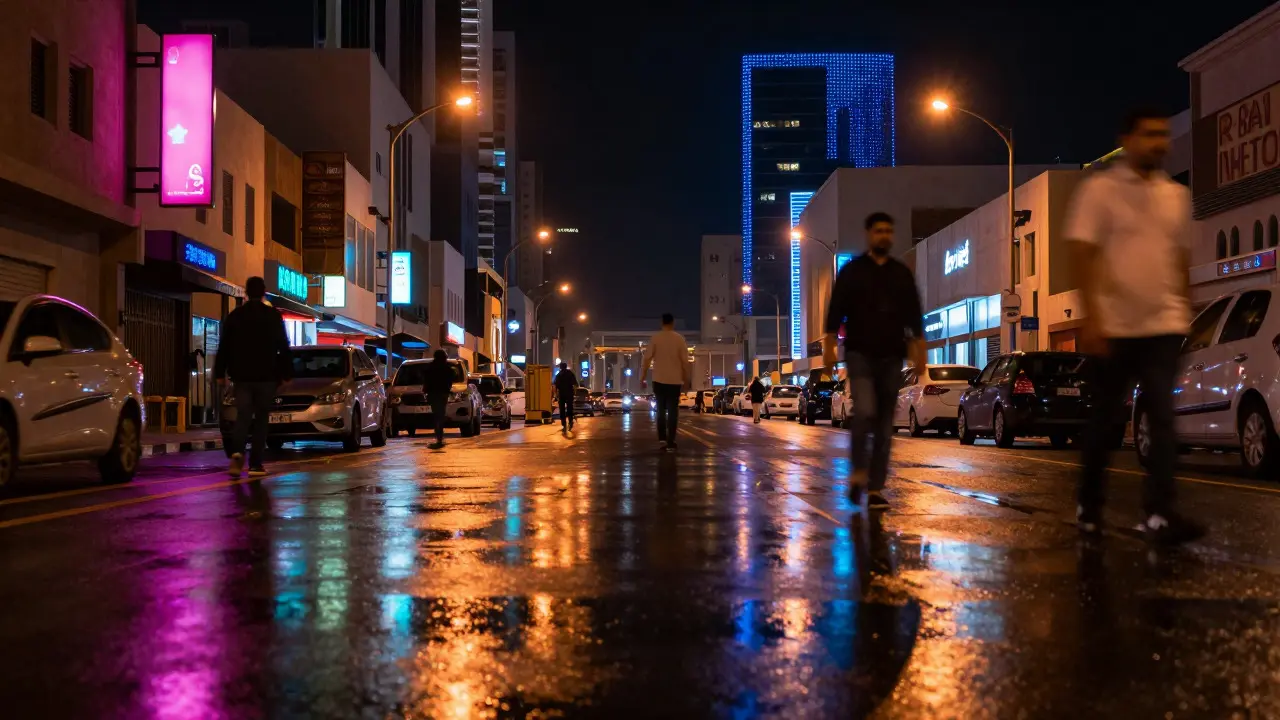
Most photographers avoid the dark. They see a black screen on their LCD and think they need a studio or a tripod. But if you walk through any major city after midnight, you’ll find that the streets are actually brighter than they look to the naked eye. Neon signs, traffic lights, shop windows, and streetlamps create a complex web of artificial light that is perfect for night street photography. The challenge isn’t finding light; it’s controlling how your camera captures it without making everything look blurry or noisy.
Shooting at night changes the rules of engagement. You can’t just point and shoot. You have to decide whether to freeze the motion of a person walking by or let them blur into a ghostly streak. You have to manage white balance because sodium lamps turn skin tones orange while LED signs might push things toward blue. This guide breaks down exactly how to handle these variables so you can capture the gritty, vibrant energy of the city after dark.
Key Takeaways for Night Shoots
- Exposure Triangle Shift: At night, you prioritize a fast aperture (f/1.8 - f/2.8) and higher ISO (3200-6400) over slow shutter speeds to keep hand-held shots sharp.
- Light Sources Matter: Mixed lighting (neon, tungsten, LED) creates color casts. Use manual white balance or shoot in RAW to correct this later.
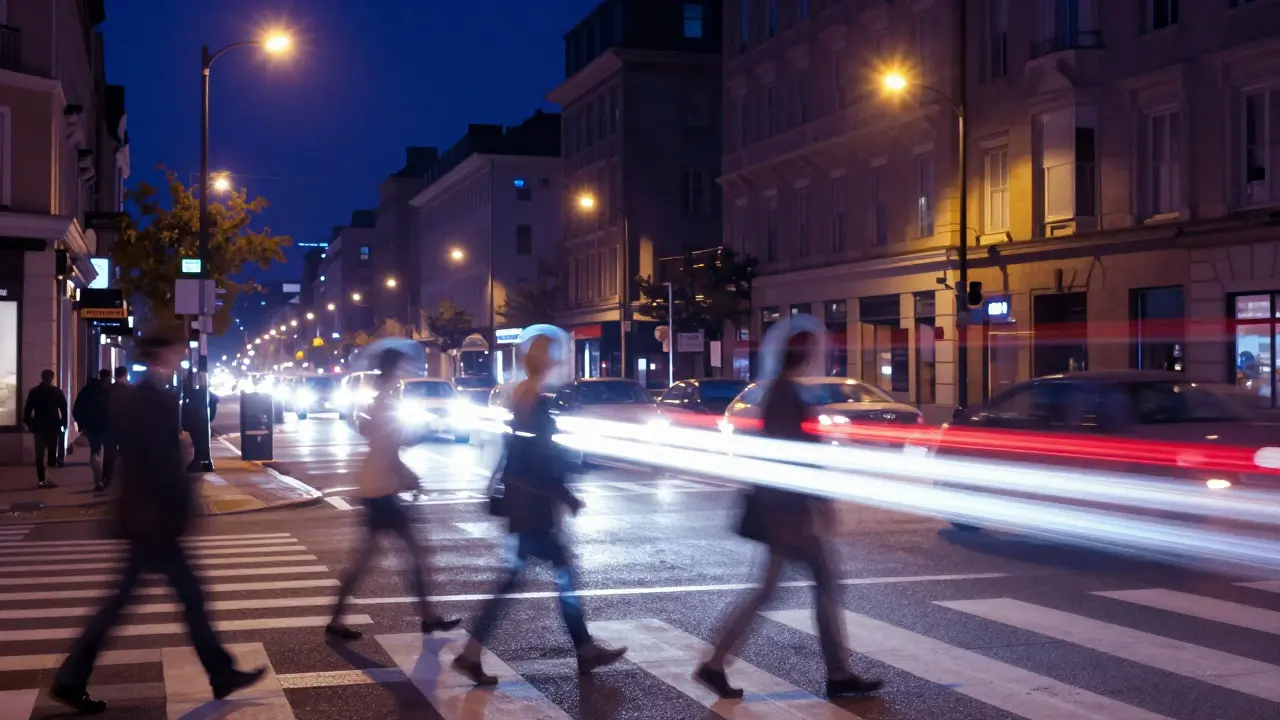
- Motion Control: Shutter speed determines the story. 1/60s freezes action; 1/4s blurs moving people while keeping static architecture sharp.
- Flash Usage: A small on-camera flash with a diffuser helps separate subjects from dark backgrounds without flattening the scene.
Understanding Light in the Urban Environment
Daylight is consistent. It comes from one direction-the sun-and has a relatively neutral color temperature. Night light is chaotic. It comes from everywhere: overhead, below, left, right, and often from multiple sources simultaneously. This is where Urban Lighting becomes your primary subject. Each source has a different color temperature. Incandescent bulbs sit around 2700K (warm/orange), while modern LEDs range from 4000K to 6500K (cool/blue). When these mix, your camera’s auto white balance struggles to pick a winner, resulting in images that look muddy or inconsistent.
To fix this, stop relying on Auto White Balance (AWB). Instead, set your white balance manually based on the dominant light source in your frame. If you’re standing under a warm streetlamp, set your WB to Tungsten. If you’re near a cool blue sign, set it to Fluorescent or Daylight. Alternatively, shoot in RAW format. RAW files record the sensor data without applying a white balance filter, giving you full control in post-processing software like Adobe Lightroom or Capture One. This flexibility is non-negotiable for serious night work because you can adjust the color cast per image rather than guessing in the field.
Camera Settings: The Night Triangle
Your camera settings dictate what survives the darkness. Here is the baseline setup for handheld night street photography:
- Aperture: Use your widest aperture. For most prime lenses, this is f/1.8 or f/1.4. For zoom lenses, f/2.8 is the standard. A wider aperture lets more light hit the sensor, allowing for faster shutter speeds. However, be aware that depth of field will be shallow. Focus carefully, as missed focus is harder to detect in low light.
- ISO: Modern cameras handle high ISO well. Don’t be afraid to push ISO to 3200, 6400, or even 12800. Grain adds texture and mood to night images. A slightly grainy image at ISO 6400 is far better than a blurry image at ISO 400. Check your specific camera’s noise performance; full-frame sensors generally outperform APS-C in high ISO situations.
- Shutter Speed: This is your creative tool.
- Freezing Motion: Use 1/125s or faster to freeze pedestrians mid-stride.
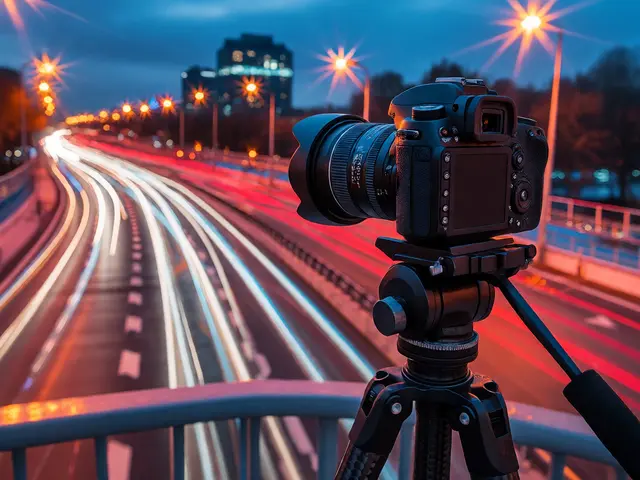
- Blurring Motion: Use 1/30s to 1/8s to create motion trails. People become ghosts, cars leave light streaks. This requires steady hands or a monopod.
A common mistake is chasing too low an ISO. If you’re stuck at ISO 800 and forced to use a 1/15s shutter speed, your images will likely be soft due to camera shake. It’s better to bump the ISO to 3200 and use 1/125s. Sharpness beats cleanliness every time in street photography.
Managing Mixed Colors and Contrast
Night scenes have extreme contrast. Bright neon signs blow out to pure white, while shadows fall into deep black. Your camera’s dynamic range has limits. To handle this, expose for the highlights first. It’s easier to recover detail in dark shadows during post-processing than to bring back blown-out highlights. Use your histogram to ensure the right side doesn’t clip completely.
Color management is equally critical. If you want moody, cinematic looks, lean into the color contrasts. Let the reds of taxi cabs pop against the blues of police lights. If you want realistic documentation, aim for neutral tones. This is where understanding Color Temperature pays off. By setting a fixed Kelvin value (e.g., 3500K), you lock in a consistent look across a series of photos. This consistency makes editing faster and gives your portfolio a cohesive feel.
The Role of Flash in Night Street Work
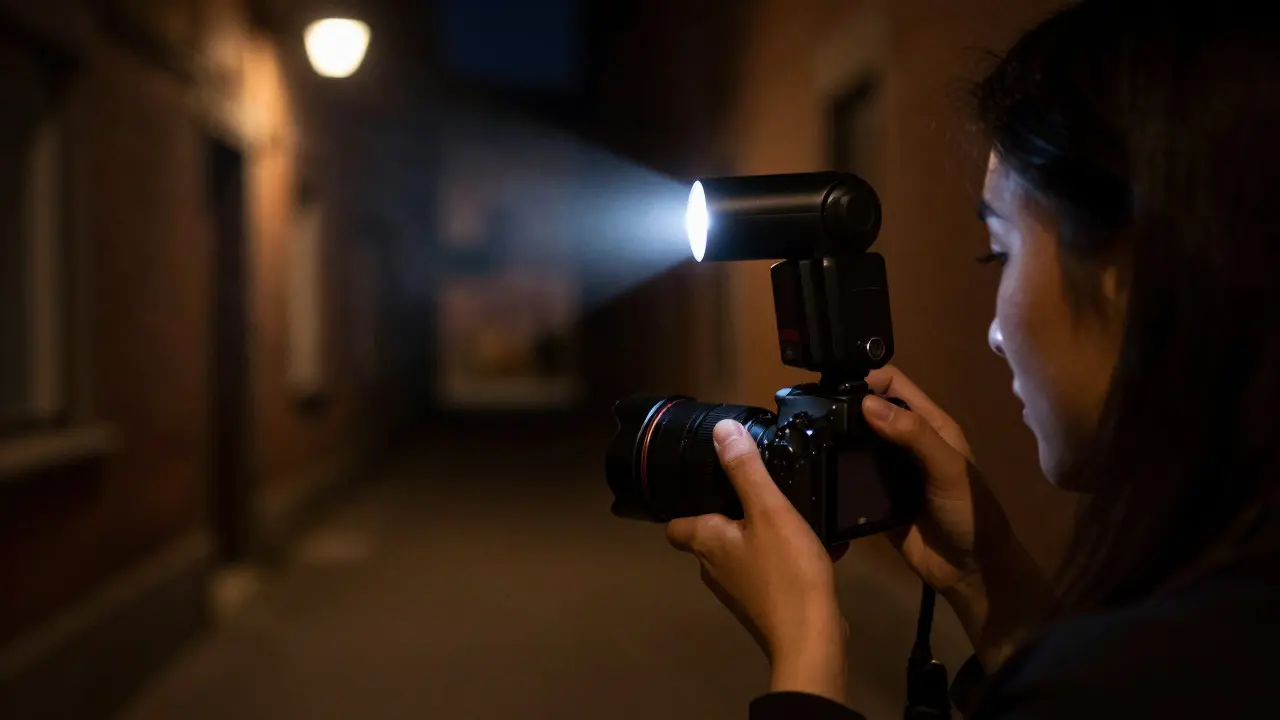
Many street photographers banish flash to the drawer. That’s a mistake. Flash isn’t just for portraits; it’s a tool for separation. In a dark alley, a subject can blend into the background. A quick burst of flash illuminates the face and upper body, pulling them forward visually while leaving the background dark. This technique is called “ambient plus flash.”
Here’s how to do it:
- Set your camera to Manual mode.
- Expose for the ambient light (the dark background).
- Attach a small speedlight to your hot shoe.
- Add a diffusion panel or even a piece of tissue paper over the flash head to soften the light.
- Fire the flash at full power or half power depending on distance.
Composition and Storytelling After Dark
Light is only half the equation. Composition drives the eye. At night, lines and shapes become more pronounced. Wet pavement acts as a mirror, doubling the impact of neon signs. Look for reflections. A puddle reflecting a red sign creates a symmetrical composition that draws viewers in. Leading lines-like rows of streetlights or the edges of sidewalks-guide the viewer through the frame. Use them to direct attention to your subject.
Also, pay attention to negative space. Large areas of darkness can frame a brightly lit subject, creating tension and focus. Don’t fear empty space. In night photography, darkness is an active element, not a void. It provides rest for the eye and emphasizes the illuminated parts of the scene.
Practical Tips for Staying Safe and Effective
Shooting at night requires awareness. Stick to well-lit, populated areas unless you’re experienced with solo travel. Carry a backup battery; cold weather drains batteries faster, and you don’t want to miss a moment because your power died. Bring a small lens cloth. Rain and fog are common in many cities, and condensation can form on your lens. Finally, be respectful. Night crowds are often tired or intoxicated. Keep your movements quiet and unobtrusive. A wide-angle lens (24mm or 35mm equivalent) is ideal for this genre. It allows you to capture context and atmosphere without getting too close to subjects, reducing the chance of confrontation.
| Scenario | Aperture | Shutter Speed | ISO | Focus Mode |
|---|---|---|---|---|
| Static Architecture | f/8 - f/11 | 1/15s - 1/4s (Tripod) | 100 - 400 | Manual |
| Moving Pedestrians | f/1.8 - f/2.8 | 1/125s - 1/250s | 3200 - 6400 | Continuous AF |
| Light Trails (Cars) | f/8 | 2s - 5s (Tripod) | 100 - 200 | Manual |
| Subject + Background | f/2.8 | 1/60s | 1600 - 3200 | Single Point AF |
Frequently Asked Questions
Do I need a tripod for night street photography?
Not necessarily. For candid shots of people, a tripod is cumbersome and slows you down. Handheld shooting with a fast lens and high ISO is preferred. Use a tripod only for static architectural shots or long-exposure light trails where you want maximum sharpness and low noise.
What is the best lens for night street photography?
A fast prime lens between 24mm and 50mm is ideal. Lenses like the 35mm f/1.4 or 50mm f/1.8 offer wide apertures for low light and compact sizes for discreet shooting. Avoid heavy zoom lenses that draw attention.
How do I deal with noise in high ISO shots?
Accept some level of noise. Crop carefully and use noise reduction tools in post-processing, but don’t overdo it or you’ll lose detail. Shooting in RAW gives you the most flexibility. Also, keep your shutter speed fast enough to prevent motion blur, which is worse than noise.
Should I use flash for street photography?
Yes, but subtly. Use a small flash with a diffuser to illuminate your subject while keeping the background ambient. This separates the subject from the dark environment and adds dimension. Avoid harsh, direct flash which washes out colors and looks unnatural.
How do I focus accurately in low light?
Use single-point autofocus on a bright area of your subject, such as a collar or hat. If the subject is very dark, switch to manual focus and use live view magnification to check sharpness. Pre-focus on the plane where you expect subjects to appear, then wait for them to enter that zone.