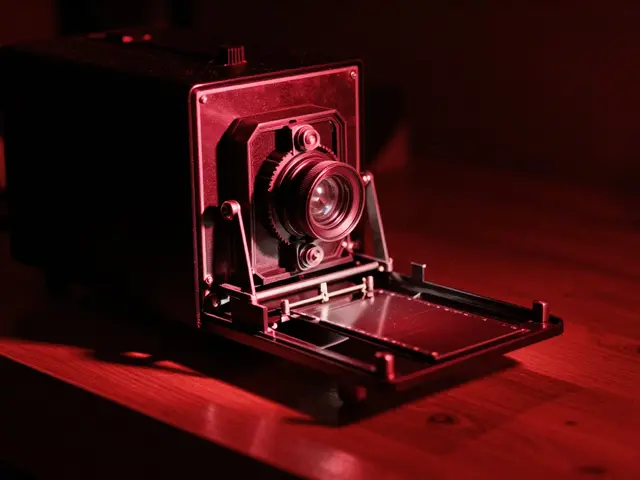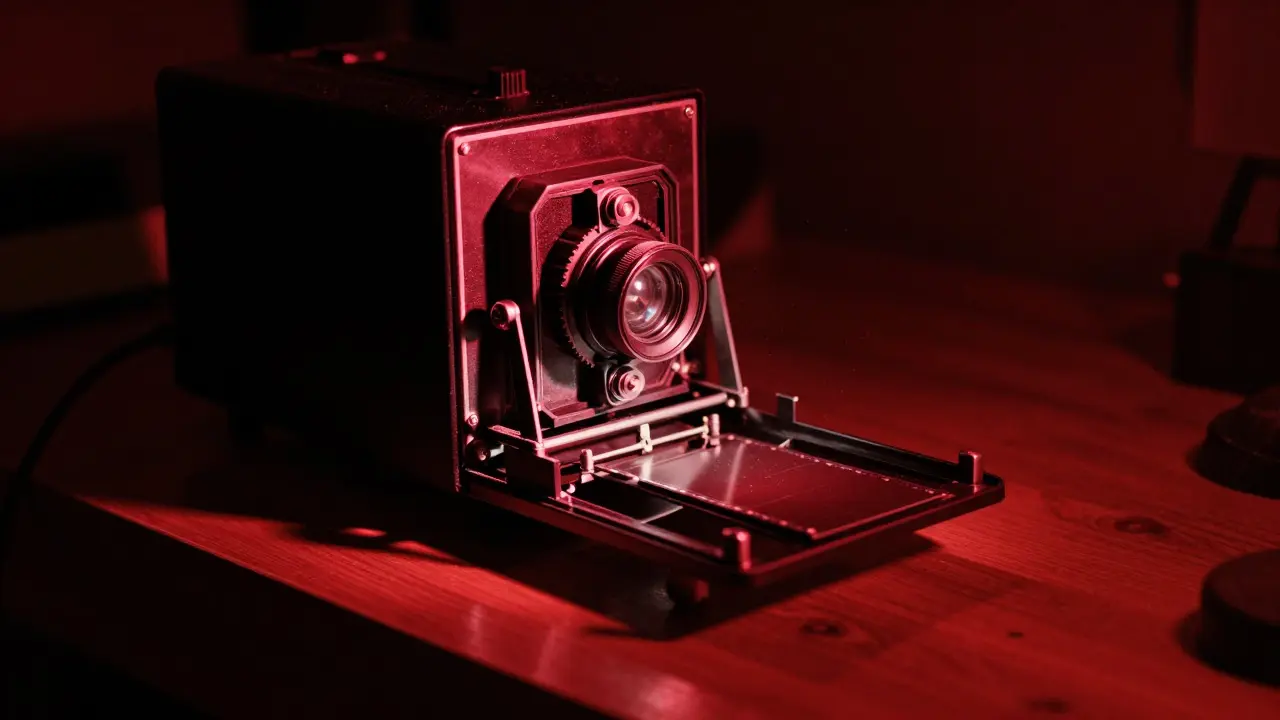
There is a specific smell that hits you the moment you open the door to a working darkroom. It’s sharp, chemical, and unmistakably analog. If you’ve ever tried to replicate the depth of a digital edit on a screen, you know it rarely feels quite right. Darkroom printing offers a tactile connection to your images that pixels simply cannot match. You are not just displaying data; you are physically creating an object with your hands.
This guide strips away the mystique and gives you the practical tools you need to start producing consistent, high-quality prints. We will break down the three pillars of the process: the enlarger, the chemistry, and the paper. By understanding how these elements interact, you move from guessing to controlling exactly what ends up on the final sheet.
The Enlarger: Your Light Source and Control Center
An Enlarger is a device that projects a negative onto photosensitive paper using a light source and lens system. Think of it as a projector for film negatives. The quality of your print starts here. If the light isn’t even or the focus isn’t sharp, no amount of chemical tweaking will save the image.
When setting up your enlarger, stability is key. Vibration causes soft edges, so place the unit on a solid table, not a wobbly desk. The most critical component is the condenser system. Condensers concentrate the light into a tight beam, ensuring maximum efficiency and contrast. Without them, your images will look flat and washed out.
- Mount the Negative: Ensure the negative is clean. Dust particles become giant white spots on your print. Use a blower first, then a static-free brush if necessary.
- Set the Height: Raise or lower the head to change the size of the projected image. For standard 8x10 inch prints from a 35mm negative, you’ll likely be at a higher elevation than for 4x5 inch prints.
- Focus Precisely: Use a focusing aid or a loupe. Focus on the sharpest part of the image, usually fine textures like hair or foliage. Remember, the focus changes slightly when you raise or lower the head, so re-check after adjusting size.
Light control is equally important. Most modern enlargers come with built-in timers, but a separate timer allows for more precise testing. Start with short exposures-often between 5 and 15 seconds for standard papers-and adjust based on test strips.
Understanding the Chemistry: Developers, Stoppers, and Fixers
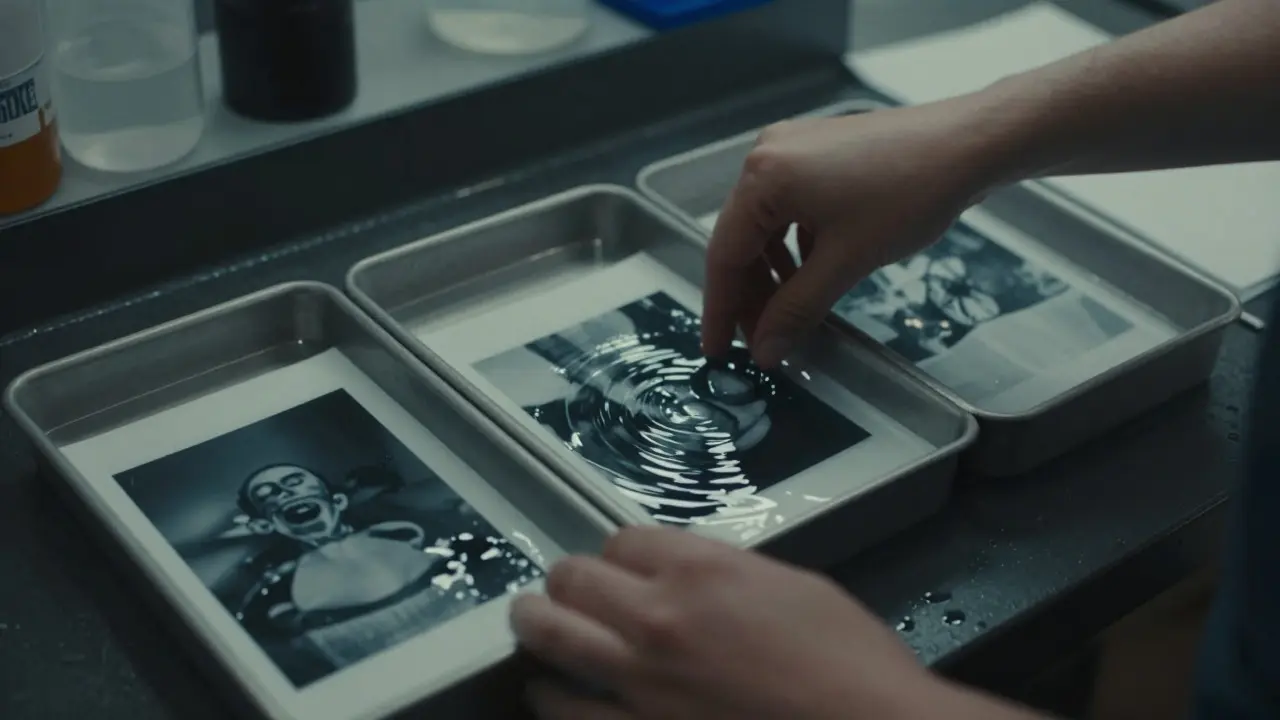
Chemistry is where magic happens, but only if you follow the rules. The standard black and white printing process involves three baths: developer, stop bath, and fixer. Each has a distinct job, and skipping or rushing any step leads to problems like foggy images or fading prints.
Developer Solution is a liquid chemical that reduces silver halides in the emulsion to metallic silver, forming the visible image. This is the active ingredient. It works best when fresh. As it ages, its strength drops, leading to longer exposure times and potential color shifts. Always check the expiration date on your bottles, and mix small batches if you print infrequently.
The stop bath is often misunderstood. It doesn’t wash the developer out; it neutralizes it. By dropping the pH level instantly, it prevents the developer from continuing to work while you transfer the paper to the fixer. A simple dilution of acetic acid or a dedicated stop bath product does this job efficiently. Skipping this step forces the fixer to do double duty, which can shorten its lifespan and introduce staining.
Finally, the Fixer is a chemical bath that removes unexposed silver halides from the paper, making the image permanent. Without fixing, your print would darken completely under any light. Standard processing time in fixer is typically 1 to 2 minutes for rapid-action formulas. After fixing, the print must be washed thoroughly in running water to remove residual chemicals. Inadequate washing is the number one cause of yellowed or stained prints years later. Aim for at least 10 minutes of continuous flow.
| Chemical | Primary Function | Typical Time (68°F / 20°C) | Common Mistake |
|---|---|---|---|
| Developer | Forms the image | 60-90 seconds | Over-development causing loss of highlight detail |
| Stop Bath | Neutralizes developer | 10-20 seconds | Skipping it, which strains the fixer |
| Fixer | Makes image permanent | 1-2 minutes | Inadequate agitation leading to uneven fixing |
| Wash Water | Removes residual chemicals | 10+ minutes | Insufficient washing causing long-term fading |
Paper Selection: Base, Finish, and Contrast
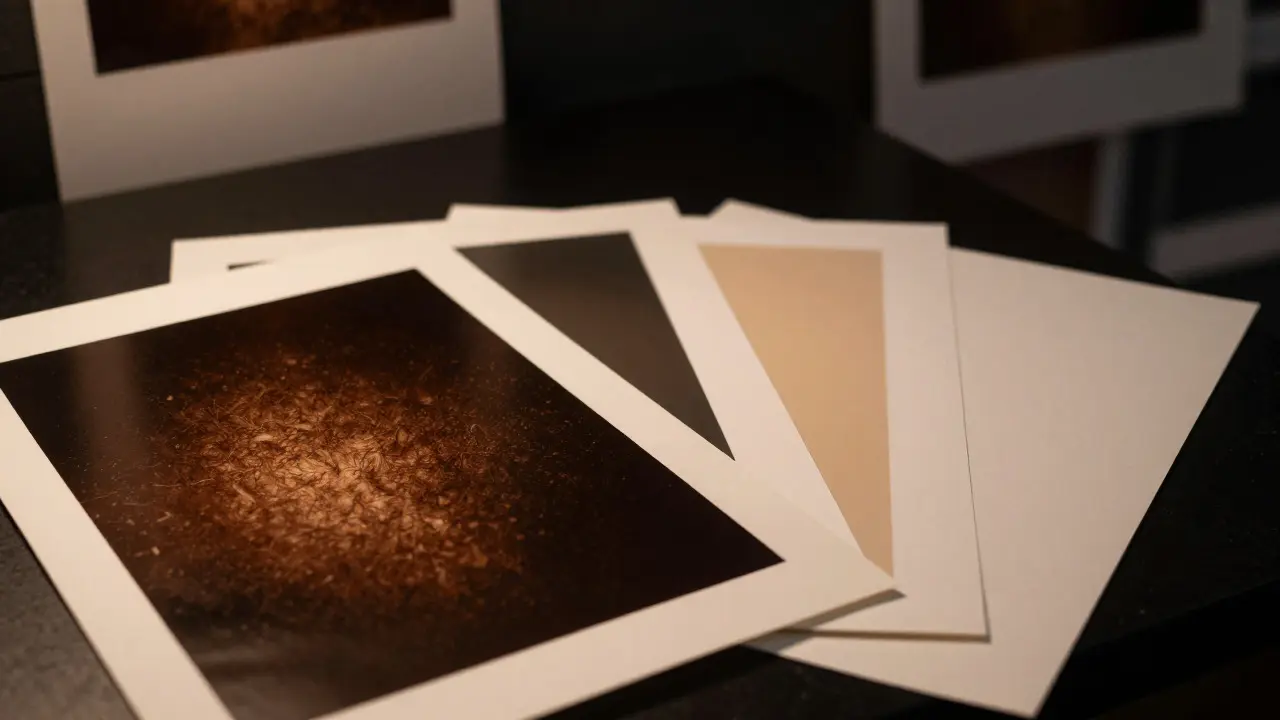
Not all paper is created equal. The choice of paper dictates the final look of your print more than almost anything else. There are two main categories: fiber-based and resin-coated (RC).
Fiber-based paper uses cotton fibers and requires a longer drying time because it absorbs water deeply. It has a toothy texture that holds ink and pigment well, offering superior archival longevity. However, it needs to be mounted on board to prevent curling. RC paper, on the other hand, has a plastic coating over a paper base. It dries quickly, is resistant to water, and is easier to handle for beginners. But it lacks the deep tonal range and texture of fiber paper.
Contrast is another critical variable. Paper comes in different grades, usually ranging from 0 to 5. Grade 2 is considered normal contrast. If your negative is thin and low-contrast, you might need a higher grade (like 3 or 4) to bring out shadows. If your negative is dense and high-contrast, a lower grade (0 or 1) helps preserve highlight details. Many photographers use graded filters on their enlargers to adjust contrast without changing paper, but starting with the right paper grade simplifies the process.
Finish also matters. Glossy paper offers maximum contrast and vibrancy but reflects light, showing fingerprints easily. Matte paper has a softer appearance and hides scratches better, making it ideal for portraits and documentary work. Satin or luster finishes provide a middle ground, offering some sheen without the harsh glare of gloss.
The Workflow: From Test Strip to Final Print
Never make a full-size print without a test strip first. A test strip is a narrow piece of paper exposed in increments to find the perfect exposure time. Cut a strip of paper about 1 inch wide. Place it under the easel and expose it in 2-second intervals, masking off each section as you go. Develop the strip and examine the results. Look for the point where shadow detail is still visible but highlights aren’t blown out. That time becomes your baseline for the full print.
Once you have your exposure time, prepare your full sheet of paper. Load it into the easel, ensuring it sits flat. Exposure should be quick and decisive. After exposing, slide the paper into the developer tray immediately. Agitate gently for the first 10 seconds to ensure even coverage, then let it rest. Watch the image emerge. When the tones look correct, move it to the stop bath, then the fixer.
Drying is the final step. Hang fiber-based prints on clothespins or lay them face-down on blotting paper. Avoid touching the surface while wet, as oils from your skin can stain the emulsion permanently. Once dry, scan or mount the print depending on your intended use. Archival mounting boards protect fiber prints from environmental damage, extending their life for decades.
Troubleshooting Common Issues
If your prints look gray instead of deep black, you’re likely over-developing or using too much contrast. Check your development time and consider lowering the paper grade. If shadows are muddy and lack detail, you may be under-exposing. Try increasing the exposure time by 20% or switching to a lower contrast paper. Curled edges indicate insufficient washing or using RC paper that hasn’t been properly dried. Uneven tones across the print suggest poor agitation in the developer or a tilted easel. Keep your trays level and maintain consistent motion patterns during development.
Frequently Asked Questions
What is the best enlarger for beginners?
A mid-range enlarger with a condenser system and a built-in timer is ideal. Brands like Durst or Beseler offer reliable models that last decades. Avoid cheap zoom lenses unless you specifically need variable focal lengths, as fixed focal length lenses often produce sharper images.
How long do darkroom chemicals last?
It depends on storage and usage. Developer loses potency fastest, especially if exposed to air. Store solutions in airtight containers away from heat. Generally, mixed developer lasts a few weeks, while fixer can last months if kept sealed. Always check for cloudiness or discoloration before use.
Can I use digital negatives in a traditional darkroom?
Yes. Digital negatives are printed on transparency film using a laser printer or thermal plotter. They function identically to film negatives in the enlarger. This allows you to edit your image digitally before printing, combining the control of software with the texture of analog output.
Why do my prints fade over time?
Fading is usually caused by inadequate washing or poor storage. Residual fixer breaks down the emulsion over time, causing yellowing. Ensure you wash prints for at least 10 minutes in running water. Store finished prints in acid-free folders away from direct sunlight and humidity.
Is fiber-based paper worth the extra effort?
For archival purposes and gallery display, yes. Fiber paper offers deeper blacks, richer whites, and a physical texture that enhances the viewing experience. While it requires longer drying and mounting, the result is a print that can last over 100 years if cared for properly.