Shaky hands are the enemy of crisp images. Whether you’re capturing a sunset over the Columbia River or a fast-moving dog in the park, holding your phone steady is harder than it looks. In 2026, mobile photography has moved beyond casual snapshots into a serious creative discipline, but the hardware ecosystem hasn't always kept up with the software. The right smartphone tripods and accessories can transform your device from a pocket camera into a professional-grade tool without breaking the bank.
You don’t need to buy a $500 DSLR setup to get stable, high-quality shots. You just need the right support system. This guide breaks down the essential gear you actually need, separating marketing hype from practical utility. We’ll look at what works for vloggers, landscape shooters, and everyday creators, helping you build a kit that fits your specific workflow.
Key Takeaways
- Flexibility beats rigidity: A flexible tripod head allows you to shoot from angles a standard ball head cannot reach.
- Weight matters for travel: Carbon fiber options save significant weight compared to aluminum, crucial for hiking or carry-on luggage.
- Clamps vary by use case: Standard clamps work for most phones, but magnetic mounts are faster for frequent switching.
- Gimbals are for motion: If you shoot video, a handheld stabilizer is non-negotiable; for stills, a tripod is sufficient.
- Batteries drain faster on tripods: Long exposures and constant screen usage require a power bank or portable charger.
The Core Components: What Makes Up a Mobile Rig?
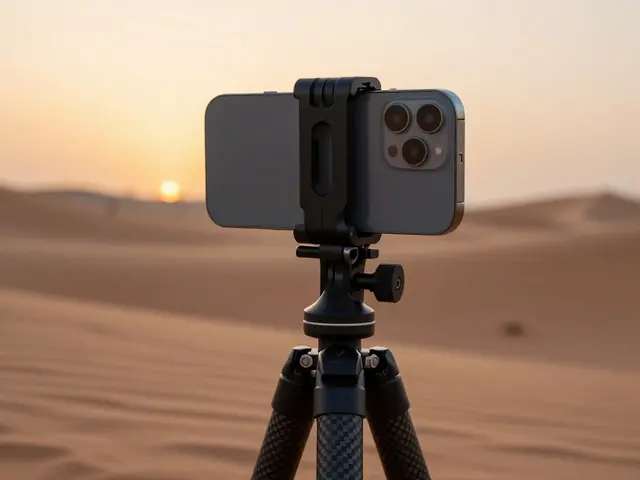
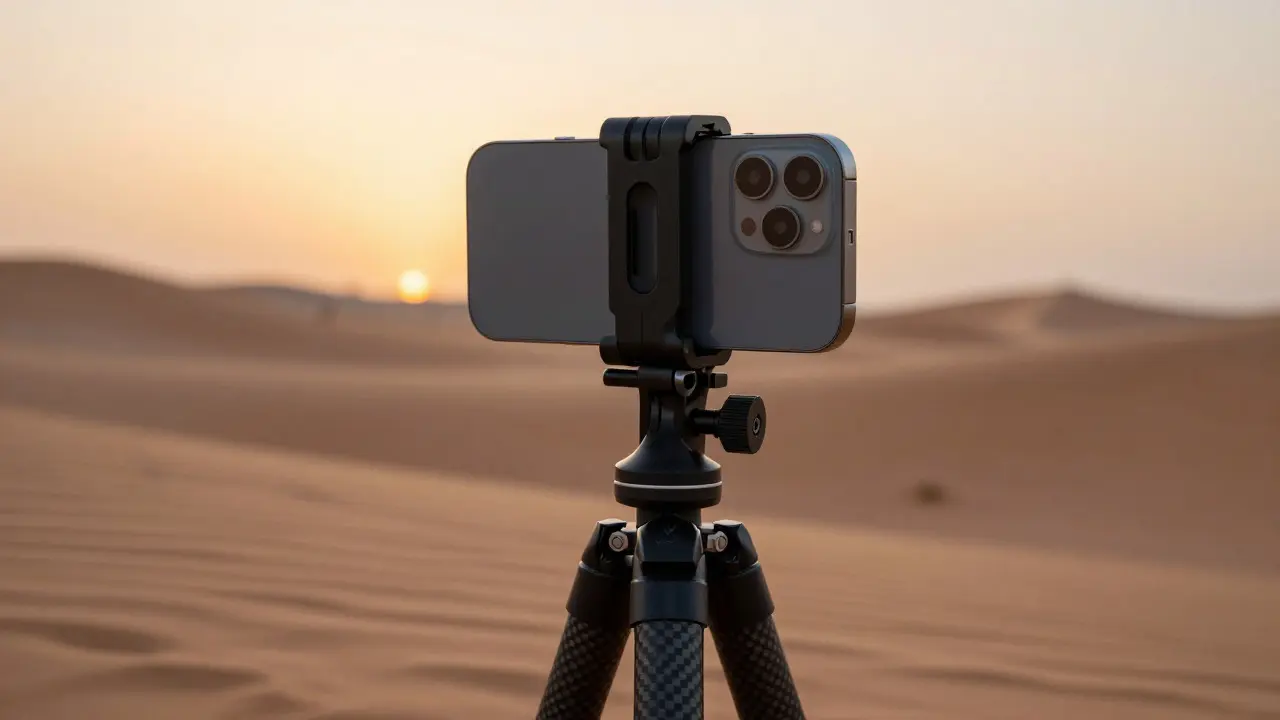
A complete mobile photography setup consists of three main parts: the base (tripod), the connection point (clamp or mount), and the control interface. Understanding how these interact helps you avoid buying incompatible pieces.
The base provides stability. For smartphone users, the ideal height range is typically between 30 inches and 70 inches when fully extended. Too short, and you’re stuck shooting at table level; too tall, and wind becomes a major issue. The clamp connects your phone to the base. Most modern clamps feature a spring-loaded mechanism that accommodates phones ranging from 4.7 inches to 7.2 inches diagonally. This covers nearly all devices released in the last five years, including large models like the iPhone Pro Max series or Samsung Galaxy Ultra variants.
The control interface is often overlooked. Many cheap tripods lack a remote shutter release. While you can use voice commands or timer functions, a dedicated Bluetooth remote offers instant feedback and prevents micro-shakes caused by pressing the physical button. Some advanced setups integrate with apps via Wi-Fi, allowing you to adjust focus and exposure directly from the remote.
| Mount Type | Setup Time | Stability | Best For | Cost Range |
|---|---|---|---|---|
| Standard Clamp | 10-15 seconds | High | All-around use, landscapes | $15 - $40 |
| Magnetic Ring | 2-3 seconds | Medium | Vlogging, quick transitions | $10 - $25 |
| Suction Cup | 5 seconds | Low-Medium | In-car dashboards, smooth surfaces | $8 - $20 |
| Hot Shoe Adapter | Instant (if attached) | Very High | Hybrid shooters using DSLRs | $10 - $15 |
Tripod Types: Choosing the Right Base
Not all tripods are created equal. The material, leg design, and head type dictate where and how you can use them.
Flexible Tripods are tripods with bendable legs that allow you to wrap around trees, poles, or uneven terrain. These are excellent for beginners because they forgive imperfect footing. Brands like Joby have popularized this design. The downside? They aren’t as rigid as fixed-leg tripods. If you’re doing long exposures in windy conditions, a flexible leg might sway slightly. However, for 90% of casual and semi-pro mobile work, they are the most versatile option.
Carbon Fiber Travel Tripods are lightweight, sturdy supports made from carbon composite materials designed for portability. If you hike or travel frequently, weight is your biggest concern. A typical aluminum tripod weighs around 2.5 to 3 pounds. A comparable carbon fiber model weighs roughly 1.5 pounds. That difference adds up over a day of walking. The trade-off is price. Carbon fiber costs 30-50% more than aluminum. But if you value your back and knees, it’s worth the investment.
Monopods deserve a mention here. They offer less stability than a full tripod but much more mobility. They are perfect for sports events or concerts where you need to move quickly but still want some stabilization. Pairing a monopod with a small counterweight creates a surprisingly effective handheld stabilizer for stills.
Specialized Accessories for Specific Scenarios
Your gear needs to match your environment. Shooting a static product shot requires different tools than filming a run-and-gun street interview.
For Vlogging and Self-Shooting: A selfie stick with a built-in Bluetooth remote is the minimum requirement. Look for sticks that extend to at least 5 feet. Anything shorter forces you to hold your arm out stiffly, leading to fatigue and shake. Some premium sticks include a mini-tripod base at the bottom, allowing you to convert it into a small stand for desk shoots.
For Low-Angle Shots: Standard tripods struggle with ground-level perspectives. A low-angle bracket or a flat plate adapter lets you attach your phone horizontally near the ground. This is crucial for macro photography, such as shooting insects or dew drops. Without this, you’re forced to crouch uncomfortably, risking shaky hands.
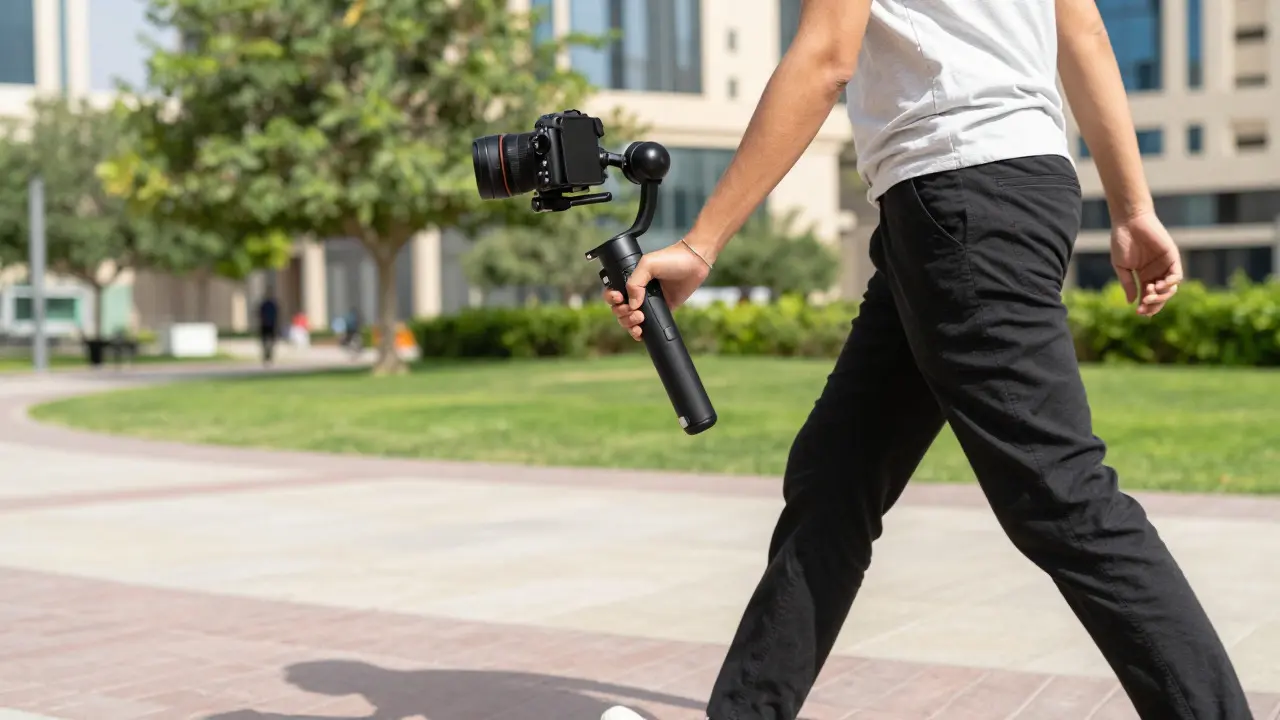
For Video Stabilization: If you plan to shoot moving video, a mechanical tripod isn’t enough. You need a Handheld Gimbal which is a motorized stabilizer that uses gyroscopes to keep the camera level during movement. Modern gimbals for smartphones weigh under 1 pound and feature AI tracking that follows your face automatically. They are expensive, ranging from $150 to $300, but they eliminate jitter entirely. For pure still photography, however, they are unnecessary bulk.
Power Management and Connectivity
One of the biggest pitfalls in mobile photography is battery anxiety. When you lock your phone into a tripod for a 30-second exposure, the screen stays on, consuming power rapidly. Additionally, using Wi-Fi to connect to a remote or cloud storage drains the battery even faster.
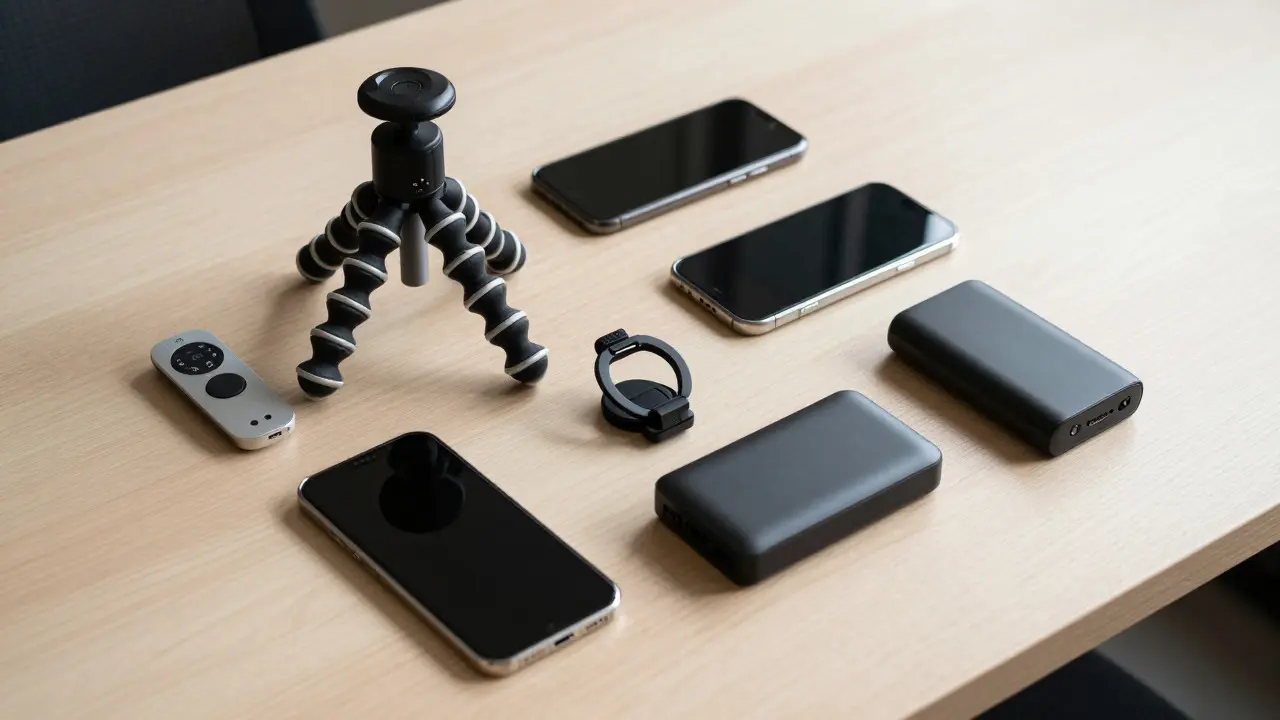
Always carry a 10,000mAh power bank. It’s small enough to fit in a jacket pocket and provides enough charge to top off your phone twice. Some advanced rigs include USB-C pass-through charging ports on the clamp itself, allowing you to charge while shooting. This is a niche feature but incredibly useful for timelapse sequences that last several hours.
Connectivity also plays a role in workflow speed. Bluetooth remotes are standard, but some pro-grade accessories use infrared. Bluetooth offers a longer range (up to 30 feet) and can trigger other functions like flash sync. Infrared has no range limitations but requires line-of-sight. For most users, Bluetooth is the superior choice due to its versatility and ease of pairing.
Building Your Kit: Budget Tiers
You don’t need to spend hundreds to start. Here is how to build a functional kit at different budget levels.
Budget Tier ($50 - $100): Start with a flexible tripod and a basic Bluetooth remote. This combo handles 80% of amateur scenarios. Add a magnetic ring for quick swaps. Total cost: approximately $70. This is the best entry point for hobbyists who want better stability without committing to heavy gear.
Mid-Range Tier ($150 - $300): Upgrade to a carbon fiber travel tripod with a fluid head for smoother panning. Add a high-quality clamp with a twist-lock mechanism for security. Include a compact gimbal if you shoot video. This tier is suitable for content creators who post regularly on social media or YouTube.
Pro Tier ($400+): Invest in a professional-grade carbon fiber tripod with a geared head for precise movements. Add a wireless tethering system that integrates with editing software. Consider a dedicated external microphone with a cold shoe mount. This setup is for professionals who treat mobile photography as a primary income source or for hybrid shooters who switch between mirrorless cameras and phones daily.
Common Mistakes to Avoid
Even with good gear, bad habits ruin shots. Watch out for these frequent errors.
- Ignoring Wind: Even a light breeze can shake a lightweight phone. Use a counterweight bag hanging from the center column to add mass and dampen vibrations.
- Over-tightening Clamps: Plastic phone cases can crack if the clamp pressure is too high. Always remove thick cases before mounting, or use a clamp designed for cased phones.
- Forgetting Leveling: A tilted horizon ruins composition. Most modern phones have digital leveling features, but checking the bubble level on your tripod head saves time in post-production.
- Neglecting Lens Cleanliness: Phone lenses get smudged easily. Carry a microfiber cloth and lens pen. A smudge reduces contrast and sharpness significantly, especially in bright light.
Frequently Asked Questions
Do I really need a tripod for my smartphone?
Yes, if you care about image quality. Smartphones have smaller sensors than DSLRs, making them more susceptible to motion blur. A tripod ensures maximum sharpness, especially in low light or when using zoom lenses. It also frees your hands for adjusting settings or posing subjects.
What is the best material for a travel tripod?
Carbon fiber is the best material for travel due to its high strength-to-weight ratio. It is lighter and stiffer than aluminum, which means less fatigue and better stability. However, it is more expensive. Aluminum is a durable and affordable alternative if weight is not a primary concern.
Can I use a regular camera tripod for my phone?
Yes, but you need an adapter. Most camera tripods have a 1/4-inch screw hole. You will need a phone clamp or hot shoe adapter that screws into this hole. Be mindful of the weight limit; very heavy phone cases might stress the clamp if the tripod is not robust enough.
Is a gimbal necessary for taking photos?
No, gimbals are primarily for video. They stabilize moving footage. For still photography, a tripod or monopod is sufficient and often easier to set up. Gimbals add complexity and battery drain that is not needed for static shots.
How do I choose the right clamp size?
Check the diagonal measurement of your phone screen. Most universal clamps support phones between 4.7 and 7.2 inches. If you have a very large phone or a thick case, look for clamps with adjustable width limits explicitly stated by the manufacturer. Magnetic mounts require a separate metal plate attached to the back of the phone.