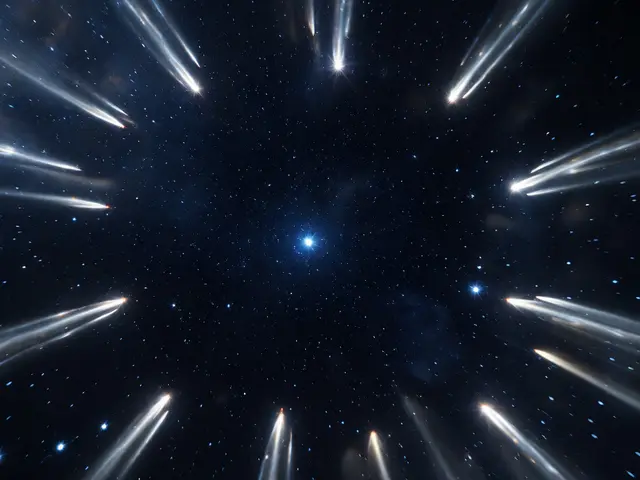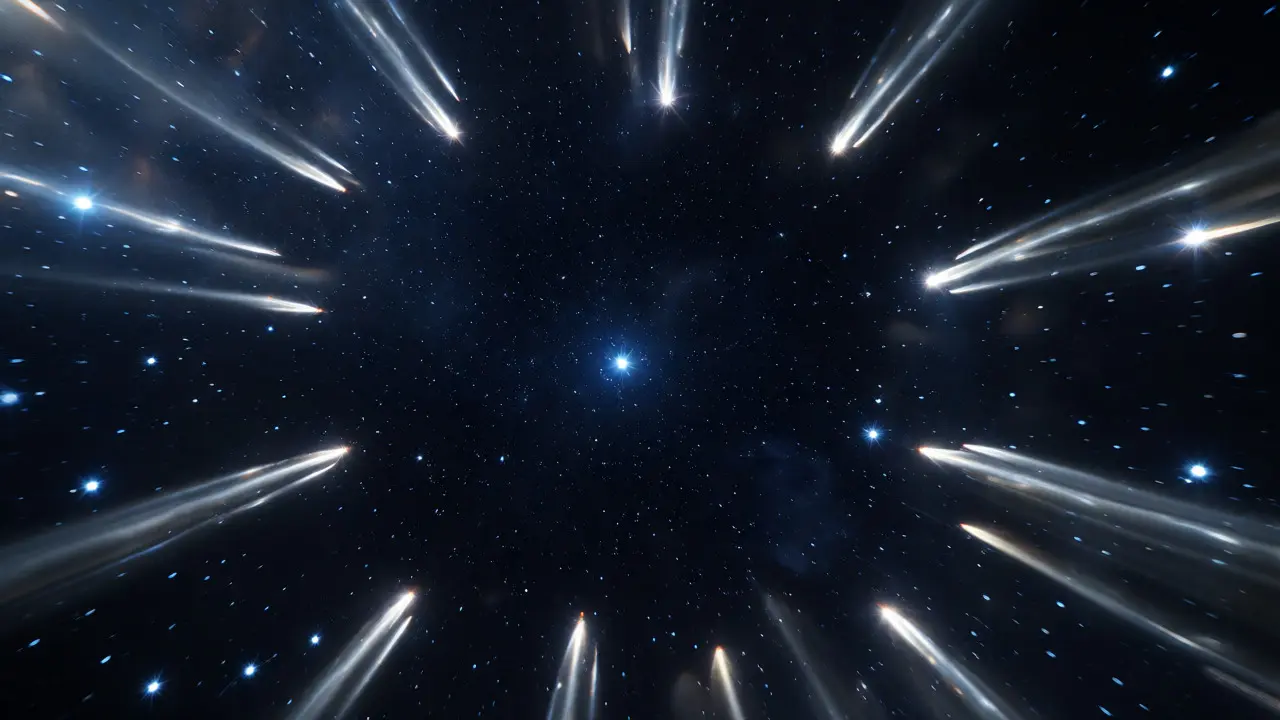
You just spent three hours aligning your mount, cooling your camera, and capturing a beautiful patch of the Milky Way. You get home, load the files into Lightroom, and zoom in. Instead of sharp, pinprick stars across the entire frame, you see little comets flying off toward the corners or squiggly lines that look more like scribbles than celestial bodies. This isn't user error; it's physics. Optical aberrations are the enemy of deep-sky imaging, specifically distortions caused by the way light bends through glass elements. The big three culprits for astrophotographers are coma, astigmatism, and vignetting.
If you're shooting with fast lenses (f/1.4 to f/2.8) or even some "fast" refractors, these issues will ruin your integration if you don't understand them. Let's break down what each one looks like, why it happens, and how to fix it without spending thousands on apochromatic gear you might not need yet.
The Comet Tail: Understanding Coma Aberration
Coma is arguably the most frustrating aberration for wide-field shooters because it makes stars look like tiny comets with tails pointing away from the center of the image. It occurs when rays of light entering the lens at different zones focus at different points on the focal plane. In simple terms, the outer edges of your lens aren't focusing the same way as the center.
This is distinct from blur. Blur affects everything equally. Coma is directional. If you shoot a cluster near the edge of your frame, the stars will have clear tails. As you move closer to the center, the tails shrink until the stars become round dots again. This happens primarily in two scenarios:
- Fast Apertures: Shooting at f/1.4 or f/1.8 exacerbates coma significantly. Most consumer prime lenses are corrected well only when stopped down to f/4 or f/5.6.
- Newtonian Reflectors: These telescopes use a parabolic primary mirror. While great for gathering light, parabolas suffer from coma off-axis unless you add a dedicated coma corrector.
The good news? Coma is often easier to fix in post-processing than astigmatism, provided it isn't extreme. Software tools can stretch pixels back into circles. But prevention is better than cure. If you're using a camera lens, stopping down one or two stops usually cleans up the corners dramatically. If you're using a Newtonian telescope, you absolutely need a coma corrector. Without one, your wide-field images will always have those ugly tails.
The Squiggle Problem: Astigmatism in Wide Fields
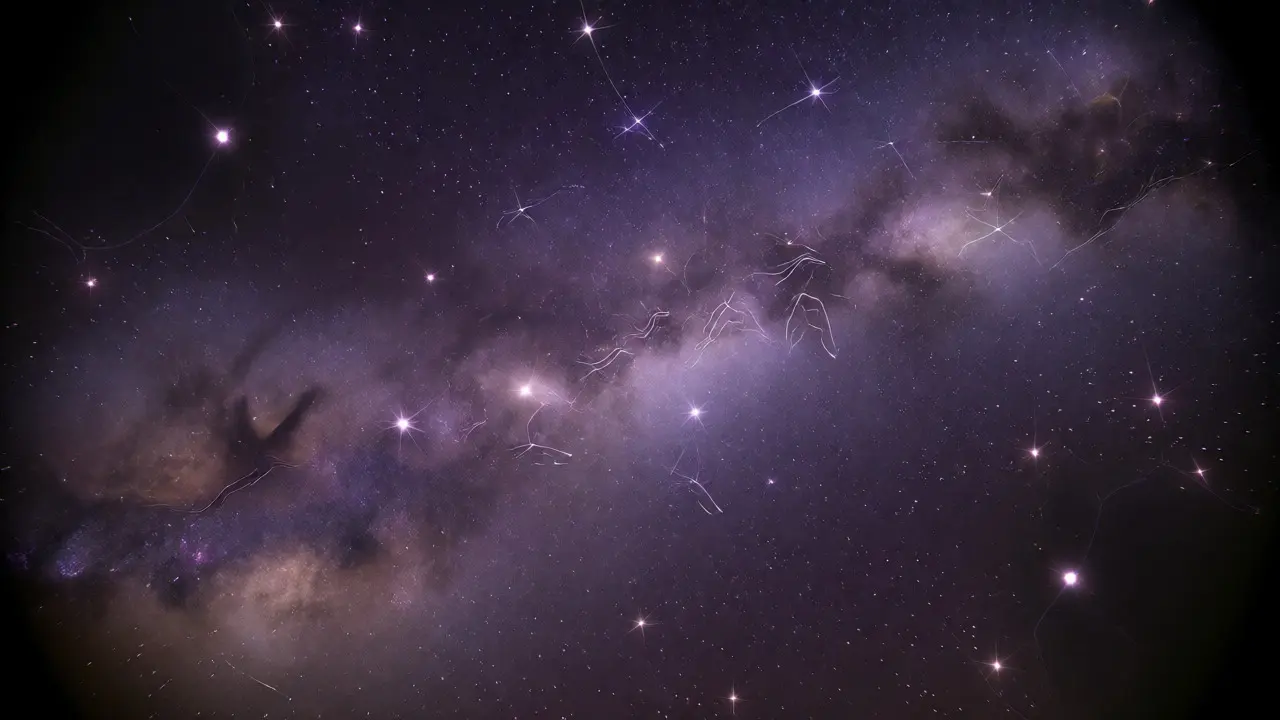
If coma looks like a comet, Astigmatism looks like a bird's foot, a cross, or a squiggly line. Unlike coma, which has a direction, astigmatism changes its orientation depending on where the star sits in the field. Stars at the top of the frame might look like vertical lines, while stars on the left side look like horizontal lines. They seem to radiate out from the center.
This happens because the lens focuses tangential and sagittal rays at different distances. Essentially, the lens has two different focal lengths depending on the angle of the light. For portrait photographers, this creates nice bokeh effects. For astrophotographers, it destroys resolution.
Astigmatism is notoriously difficult to correct in software because there is no single vector to reverse. You can't just pull the pixels back together easily. It requires precise optical correction during the design phase. Many modern "astro-optimized" lenses, like the Sigma Art series or specific Takahashi refractors, are designed with extra low-dispersion glass elements to combat this. If you find your stars turning into crosses in the corners, check your flat frames first-sometimes dust or sensor tilt mimics astigmatism-but if it persists after cleaning, it's likely the lens itself.
| Aberration | Star Shape | Directionality | Primary Cause | Post-Processing Difficulty |
|---|---|---|---|---|
| Coma | Comet/Tail | Radiates from center | Spherical element mismatch | Moderate (e.g., StarXTerminator) |
| Astigmatism | Cross/Squiggle | Rotates with position | Tangential vs. Sagittal focus shift | High (Hard to model mathematically) |
| Vignetting | Round but dim | N/A (Brightness issue) | Physical obstruction/Light falloff | Low (Flat frames solve it) |
| Chromatic Aberration | Color Fringing | N/A (Color separation) | Different wavelengths focus differently | Low to Moderate |
Light Falloff: Dealing with Vignetting
Vignetting is the darkening of the image corners compared to the center. It’s not technically an aberration that distorts shape, but it ruins data quality. In astrophotography, noise is proportional to signal strength. If your corners are 30% darker, they have 30% less signal, meaning the noise-to-signal ratio is worse. When you stretch your histogram to bring out faint nebulae, the corners explode with grain while the center remains clean.
There are two types of vignetting you'll encounter:
- Optical Vignetting: Caused by the physical construction of the lens. The rear elements block light coming in at steep angles. This is natural and predictable.
- Mechanical Vignetting: Caused by something physically blocking the light path, like a filter holder that is too thick, a dew shield that is too long, or a reducer bar hitting the sensor.
The fix for optical vignetting is standard procedure: flat frames. By taking photos of a uniformly lit surface (like a white t-shirt held up to the sky or a dedicated LED panel), you map exactly how much light falls off in every corner. Stacking these flats with your light frames divides out the darkness. However, mechanical vignetting needs to be fixed before you shoot. If you see hard-edged shadows, adjust your hardware setup immediately. No amount of processing can recover detail lost to mechanical obstruction.
How to Test Your Gear Before You Buy
Don't wait until you're freezing cold in the backyard to discover your new $800 lens has terrible coma. You can test for these aberrations right now. Here is a simple protocol I use whenever I evaluate new glass:
- Shoot a Bright Field: Point your camera at a bright, uniform source. A white wall with a single small LED light works, or better yet, a star chart projected on a wall.
- Focus Peaking: Use live view to focus precisely on the center of the frame. Ensure the star or point light is as sharp as possible.
- Check the Corners: Zoom in 100% on the corners. Look for tails (coma) or crosses (astigmatism).
- Test Multiple Apertures: Shoot at your widest aperture (e.g., f/1.4), then stop down to f/2.8, f/4, and f/5.6. Note at which aperture the stars become round. This tells you your "sweet spot."
If you are buying used, ask the seller for a sample shot of a star field at their intended working aperture. If they say "it looks fine," press them for a raw file. JPEGs hide aberrations through aggressive sharpening and noise reduction algorithms that lie about the true optical performance.
Strategic Compromises: Speed vs. Correction
In astrophotography, there is no free lunch. Fast lenses gather more light per second, allowing you to capture faint targets in shorter exposures. But fast lenses are harder to correct optically. Slower lenses (f/5.6+) are generally sharper across the field but require longer exposures to gather the same amount of light.
Consider your target list. Are you shooting large nebulae like the Orion Nebula? You need a wide field and good edge correction, so stopping down to f/4 might be worth the trade-off in exposure time. Are you shooting globular clusters in the core? You might care more about central sharpness and can tolerate some coma in the corners since you'll crop in anyway.
Also, consider your tracking accuracy. At f/1.4, you might get away with 30-second subs on a budget tracker. At f/5.6, you might need 120 seconds to get enough signal. Longer subs demand better polar alignment and guiding. Sometimes, the "slower" lens actually allows for a simpler, cheaper mount setup because you can use shorter exposures to avoid trailing.
Practical Fixes and Workflow Adjustments
Once you've identified your aberrations, here is how to handle them in your workflow:
For Coma: Use software like PixInsight's StarXTerminator or Photoshop plugins. These AI-driven tools are surprisingly effective at reconstructing star shapes. Just be careful not to over-process, as they can sometimes eat into faint nebulosity.
For Astigmatism: Try tilting your sensor slightly. Some cameras allow sensor tilt adjustment. If the astigmatism is consistent, a slight tilt can sometimes balance the focal plane. Otherwise, accept that you may need to crop the final image to remove the worst corners.
For Vignetting: Always shoot flats. Make sure your flats match your light frames in temperature and humidity if possible, though for vignetting alone, this matters less than for color calibration. Ensure your flat frames are exposed correctly-aim for 50% brightness on the histogram. Underexposed flats introduce noise that amplifies in the corners.
Remember, perfection is the goal, but progress is the practice. Even professional observatories deal with aberrations. The key is understanding them so you can decide whether to fix them with money (better lenses/correctors) or with time (post-processing/more subs).
Does coma affect all lenses?
No, not equally. High-end apochromatic refractors and specialized astrographs are designed to minimize coma. However, most general-purpose camera lenses, especially fast primes (f/1.4-f/2.8), exhibit noticeable coma when used wide open. Telescope mirrors, particularly Newtonians, almost always require a coma corrector.
Can I fix astigmatism in post-processing?
It is difficult. Unlike coma, which has a radial pattern that software can model, astigmatism varies in orientation across the field. While deconvolution tools in software like PixInsight can help, severe astigmatism usually indicates an optical limitation that is best solved by stopping down the lens or using a different optical design.
Is vignetting bad for my data?
Yes, because it reduces the signal-to-noise ratio in the corners. Darker areas have fewer photons collected, making them noisier when you stretch the image. Flat frames can correct the brightness gradient, but they cannot restore the lost dynamic range or increase the actual photon count in those regions.
Should I stop down my lens for astrophotography?
Generally, yes. Most lenses reach their peak sharpness and aberration control around f/4 to f/5.6. While you lose light-gathering speed, you gain cleaner stars and more usable area on your sensor. Test your specific lens to find its sweet spot, as some modern designs perform well at f/2.8.
What is the difference between coma and chromatic aberration?
Coma distorts the shape of stars, making them look like comets. Chromatic aberration (CA) separates colors, causing purple or green fringes around high-contrast edges. CA is caused by different wavelengths focusing at different distances, while coma is caused by spherical aberration varying with distance from the optical axis.