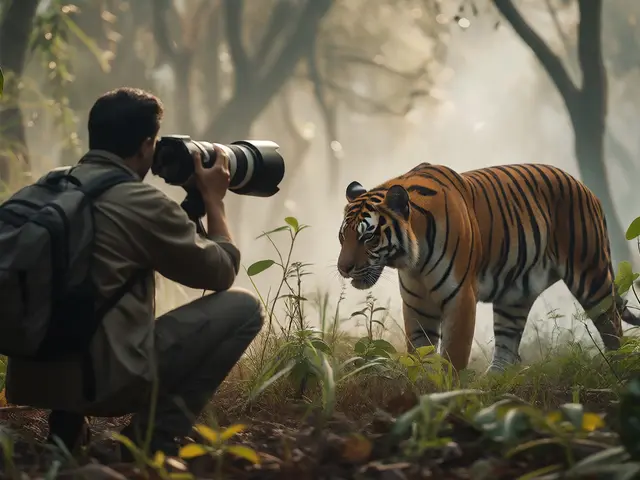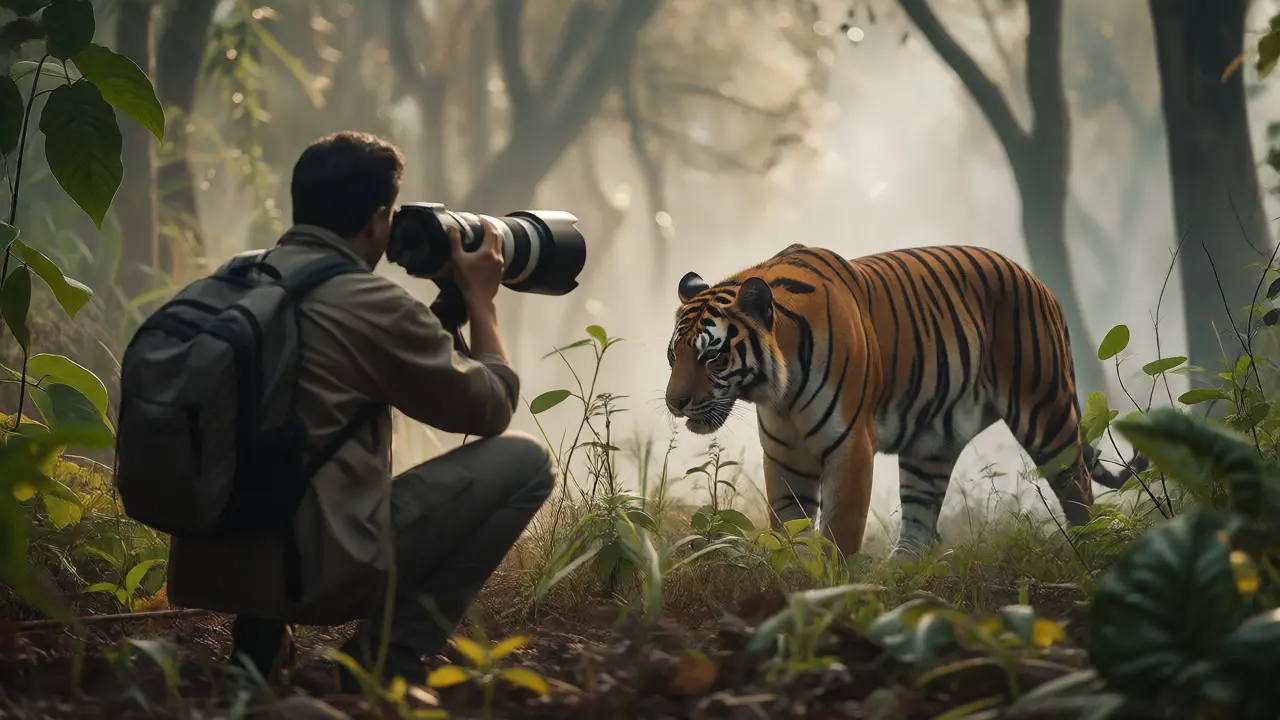
You’ve probably seen the photos. A tiger walking through mist, a bald eagle snatching fish, a herd of elephants moving across the savanna. They look majestic, pristine, and untouched. But here’s the uncomfortable truth: many of those images were captured because someone got too close, used bait to lure the animal in, or blocked its escape route just to get that perfect angle. Wildlife Conservation Photography is a specialized branch of nature photography focused on capturing wild animals in their natural habitats while actively prioritizing the welfare and survival of the subject over the aesthetic quality of the image. It’s not just about taking pictures; it’s about telling stories that help protect ecosystems.
If you’re holding a camera near a nest, a den, or a feeding ground, you have power. You also have responsibility. The line between a stunning portfolio shot and an ecological disturbance is thinner than most people think. This guide breaks down exactly how to navigate that line. We’ll look at what makes photography truly "conservation-focused," how to read animal body language so you don’t cause stress, and why your gear choices matter more than you realize.
What Makes Photography "Conservation"?
Not all nature photography is conservation photography. There’s a distinct difference, and understanding it changes how you shoot. Standard nature photography aims to capture beauty. It might show a landscape or an animal, but the primary goal is often artistic expression or technical achievement. Conservation Photography, by contrast, uses visual storytelling as a tool for advocacy. Its primary goal is to raise awareness, influence policy, or drive funding for specific environmental issues.
Think of it this way: if your photo of a polar bear makes people say, "Wow, pretty," that’s nature photography. If it makes them ask, "Why is that ice melting? What can I do?", that’s conservation photography. The intent shifts from observation to action. When you practice ethical wildlife photography, you are essentially acting as a witness. Your job isn’t to interfere with the scene, but to document it accurately enough that others understand what is at stake.
This distinction matters because it dictates your behavior in the field. An artist might wait three days for perfect light, even if it means camping near a sensitive breeding site. A conservation photographer asks: "Is my presence here helping or hurting this population?" Often, the answer requires backing off, changing locations, or waiting longer than you’d like. The image serves the story, and the story serves the animal.
The Golden Rule: Animal Welfare Over Image Quality
Let’s be blunt: the animal always comes first. Not your shutter speed, not your composition, and definitely not your Instagram likes. If your pursuit of a photograph causes an animal to change its natural behavior, you’ve failed ethically, regardless of how good the picture looks. This principle is the bedrock of Ethical Wildlife Practices, which prioritize minimizing human impact on wild populations during photographic encounters.
How do you know if you’ve crossed the line? Look for signs of stress. Animals don’t speak English, but they communicate discomfort clearly. If a bird stops singing and stares at you, it’s alerting you. If a deer freezes and then bolts, you’ve disrupted its routine. If a mother bear stands up to look at you, she’s assessing whether you’re a threat to her cubs. In any of these cases, back away immediately. Do not try to "wait out" the stress. Once an animal perceives you as a predator or nuisance, it may abandon a food source, leave a nest unattended, or expend critical energy fleeing.
Consider the cost-benefit analysis. Is one sharp image worth a bird abandoning its eggs? Probably not. Is it worth a fox wasting calories running from a non-threat? Definitely not. Professional conservation photographers often delete hundreds of shots because they recognize that the moment the animal noticed them, the authenticity of the behavior was compromised. They keep only the frames where the subject acted naturally, unaware of the lens.
Reading Body Language: The Stress Indicators
To be ethical, you need to be literate in animal behavior. You don’t need a degree in zoology, but you do need to know the universal signs of distress. Ignoring these signals is the fastest way to become the bad guy in local conservation circles.
| Animal Type | Early Warning Signs | Critical Stress Signs | Action Required |
|---|---|---|---|
| Birds (Songbirds) | Alarm calls, wing flicking, staring | Silent approach, diving at observer, leaving nest | Back away slowly; check distance |
| Mammals (Deer, Elk) | Head raised, ears forward, freezing | Paw stomping, tail flagging, fleeing | Increase distance; stop movement |
| Reptiles (Turtles, Lizards) | Retracting into shell, head lifting | Rapid breathing, attempting to flee | Stop approaching; remain still |
| Marine Life (Whales, Dolphins) | Change in dive pattern, surface interval shortening | Abandoning pod, erratic swimming | Turn off engine; drift quietly |
Notice the progression. Early warnings are polite requests for space. Critical signs are screams for help. Most amateur photographers ignore the early warnings because they want to get closer for a tighter crop. By the time the animal flees, you’ve already caused damage. Proxemics is the study of personal space in animals. Each species has a "flight initiation distance." If you breach it, the animal runs. Your goal is to stay outside that bubble.
Here’s a practical tip: use your long lens. If you feel the urge to creep closer, zoom in instead. Modern cameras allow significant cropping without losing detail. Let the focal length do the work, not your feet. If you must move, do so slowly and diagonally, never directly toward the animal’s face, which mimics a predator’s attack vector.
Gear Choices That Reduce Impact
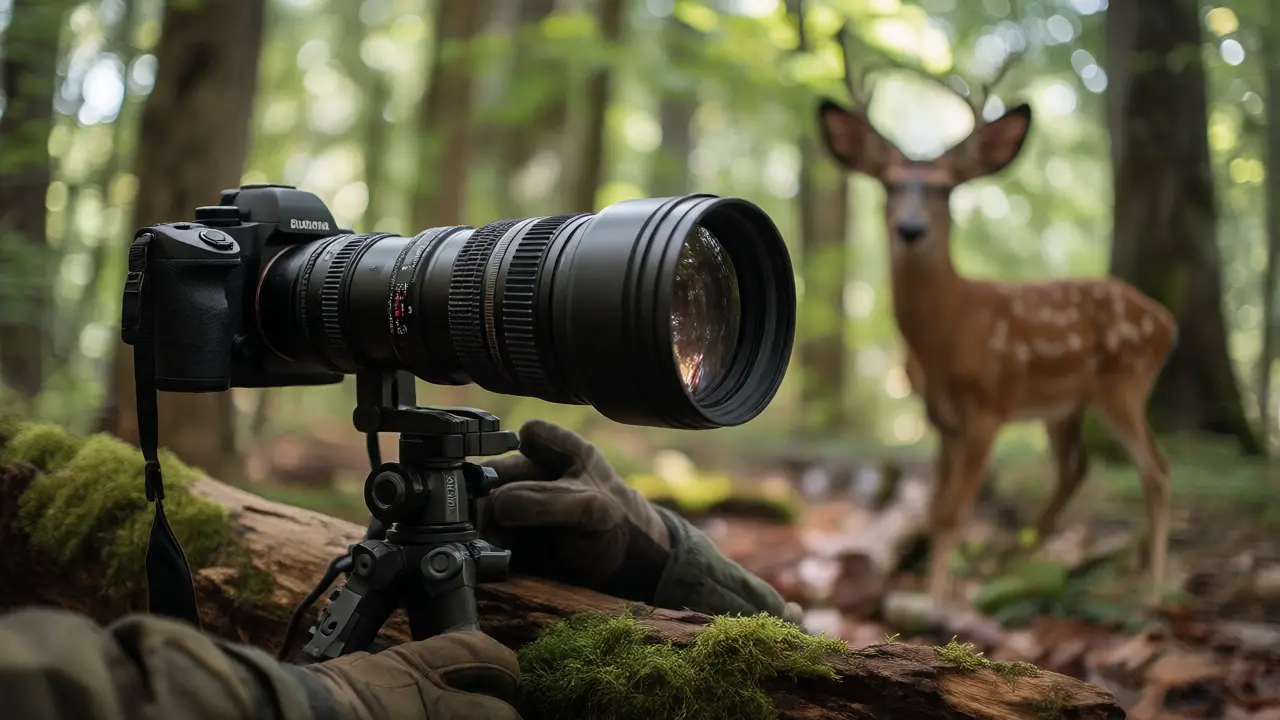
Your equipment plays a huge role in your ethical footprint. Big lenses aren’t just for making subjects look bigger; they’re tools for maintaining respectful distances. Using a 400mm or 600mm lens allows you to fill the frame from 50 yards away, whereas a standard kit lens forces you to get within 10 yards, likely causing stress.
Shutter noise is another factor. In quiet environments like forests or wetlands, the mechanical clack of a DSLR shutter can startle skittish creatures like owls or shy mammals. Switching to electronic shutter mode eliminates this sound entirely. It’s a small setting change that yields massive ethical benefits. Additionally, consider using a monopod instead of a tripod when possible. Tripods require setup time and occupy space, potentially blocking animal paths or requiring you to clear vegetation. Monopods are faster to deploy and less intrusive.
Lighting is tricky. Flash photography is generally discouraged for nocturnal animals. The sudden burst of bright light can disorient bats, moths, and sleeping birds, disrupting their circadian rhythms. If you must shoot at night, rely on high-ISO capabilities and fast apertures rather than flash. If you absolutely need extra light, use a red-light torch, as many animals cannot see red wavelengths well, reducing disturbance.
Baiting and Calling: The Slippery Slope
Baiting involves placing food to attract animals to a predictable location. Calling uses audio recordings to lure birds or mammals. Both techniques can produce incredible results, but they come with heavy ethical baggage.
When you bait an animal, you alter its natural foraging behavior. It spends less time searching for diverse foods and more time sitting in one spot, becoming vulnerable to predators or road traffic. Worse, if you feed carnivores, you risk conditioning them to associate humans with food, leading to conflict. Bears that learn to raid picnic tables often end up euthanized. Always check local regulations before baiting. Some parks ban it outright; others restrict it to specific seasons.
Audio playback (calling) has similar risks. Playing a recorded mating call can trigger territorial aggression in male birds. They may waste energy defending against a phantom rival instead of feeding or resting. For endangered species, this energy drain can be fatal. Never play calls for rare or threatened species unless you are part of a monitored scientific study. For common species, limit playback to short bursts and stop immediately if the animal seems agitated rather than curious.
Post-Processing and Representation
Ethics doesn’t end when you lower your camera. How you edit and caption your photos matters. Excessive saturation, unnatural color grading, or compositing multiple images can misrepresent reality. If you claim a photo shows a healthy reef, but you’ve saturated the colors to make dead coral look vibrant, you’re misleading the viewer.
Honesty in Post-Production means adjusting exposure and contrast to reflect what your eye saw, not creating fantasy worlds. Cropping is acceptable; adding elements that weren’t there is not. If you remove a trash can from the background, that’s fair game-it’s an artifact of human negligence, not natural ecology. But removing a struggling animal to make the scene look idyllic? That’s manipulation.
Captions should provide context. Don’t just write "Sunset Hawk." Write "Red-tailed Hawk hunting in fragmented habitat near Portland." This contextualizes the image within a broader conservation narrative. Mention the location (if safe to share), the behavior observed, and any threats visible. This transforms a pretty picture into an educational tool.
Practical Checklist for Field Ethics
Before you head out next weekend, run through this mental checklist. It keeps you honest and keeps the animals safe.
- Research First: Know the species’ habits. Are they nesting? Migrating? Hibernating? Timing matters.
- Check Regulations: Are drones allowed? Is off-trail hiking permitted? What are the distance rules?
- Minimize Presence: Wear neutral colors. Avoid strong scents (perfume, deodorant). Move slowly.
- Respect Barriers: Never cross fences, ropes, or signage designed to protect flora or fauna.
- Leave No Trace: Pack out everything you bring in. Pick up litter, even if it wasn’t yours.
- Limit Time: Don’t linger for hours if the animal is aware of you. Ten minutes of undisturbed observation is better than an hour of tolerated presence.
Remember, the best wildlife photographs often happen when you’re least noticeable. Patience pays dividends. If you sit quietly for twenty minutes, you might miss the initial alert posture and catch the relaxed grooming behavior instead. That’s the authentic story.
Building a Portfolio That Matters
If you want to transition from hobbyist to serious conservation photographer, focus on series rather than single shots. Editors and NGOs prefer stories. Show the struggle, the environment, and the interaction. Document the same species across different seasons or locations to highlight climate impacts.
Collaborate with scientists. Many researchers need visual documentation for their papers but lack the skills or time to take photos. Offering your services in exchange for access and knowledge is a win-win. You get unique perspectives; they get compelling visuals for grants and publications. This partnership elevates your work from "pretty pictures" to "data-driven storytelling."
Finally, educate your audience. Share your ethical decisions publicly. Explain why you didn’t take a certain shot. Talk about the challenges of getting close without disturbing. Transparency builds trust. When viewers know you care about the subject’s welfare, they value the image more. They see the effort behind the ethics.
Is drone photography ethical for wildlife?
It depends on the species and altitude. Drones can cause significant stress to birds and marine mammals if flown too low or too close. Many experts recommend staying above 100 meters for birds and avoiding drones entirely during breeding seasons. Always check local laws, as some protected areas ban drones completely. If you use one, fly slowly and ascend quickly if the animal reacts.
Can I use bait for any wildlife photography?
No. Baiting is controversial and often regulated. It is generally acceptable for stationary subjects like butterflies or certain insects, but risky for mammals and birds. Feeding wild animals can change their migration patterns, diet, and social structures. Always check local park regulations. In many places, feeding bears or elk is illegal due to safety concerns for both humans and animals.
How close can I get to a nesting bird?
There is no universal distance, but a general rule is to stay far enough that the parent does not interrupt feeding or incubation to watch you. If the bird flies off when you approach, you are too close. Use binoculars or a telephoto lens. Some species tolerate closer proximity in urban settings than in remote wilderness, but always err on the side of caution.
Does editing wildlife photos count as cheating?
Basic adjustments like cropping, exposure, white balance, and dust removal are standard and accepted. However, adding elements that weren't in the original scene (like fake stars or copied animals) or drastically altering colors to create unrealistic hues is considered misleading in conservation contexts. Transparency is key: if you composite images, state it clearly in the caption.
What is the biggest mistake beginners make?
The biggest mistake is assuming that if the animal hasn't run away yet, it's comfortable. Animals often freeze or endure stress until they can no longer cope, then bolt suddenly. Beginners also tend to chase shots, moving constantly. Sitting still and letting the animal come to you is far more effective and less stressful for the subject.