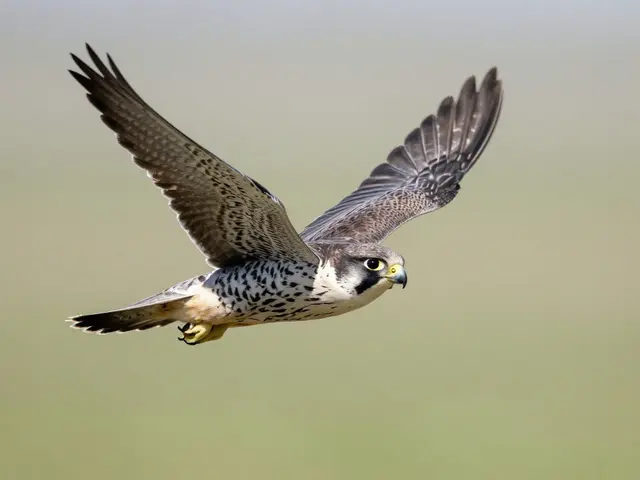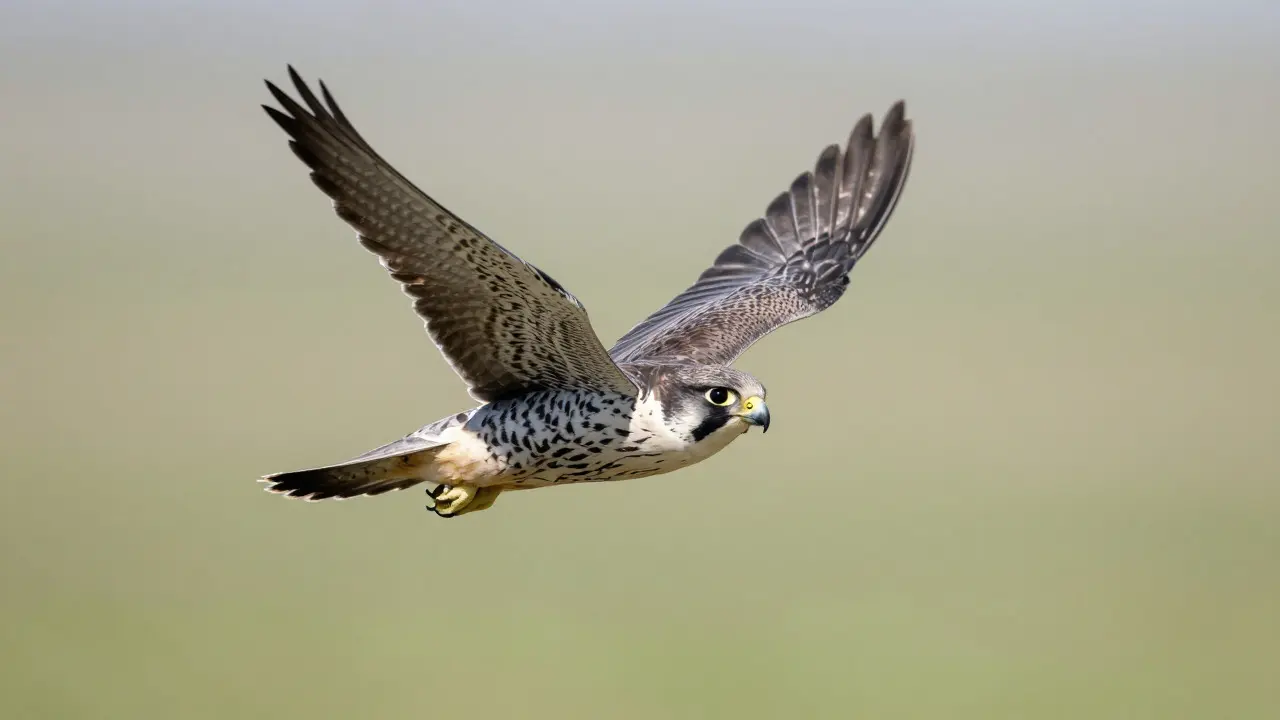
There is nothing quite like the heart-pounding moment when a peregrine falcon dives at 300 mph right at your lens. You press the shutter, but the bird is slightly soft on the wingtip. It happens to every wildlife photographer, from beginners to pros. The difference between a keeper and a miss often comes down to one specific setting on your camera: AF Case.
If you are shooting birds in flight (BIF), generic autofocus modes usually fail because they assume subjects move in predictable lines or stop frequently. Birds do not behave that way. They change direction instantly, accelerate without warning, and fly in erratic patterns. To capture sharp images, you need to tell your camera exactly how to handle these unpredictable movements.
What Is AF Case and Why It Matters
AF Case is a dedicated autofocus mode found primarily in Canon EOS cameras designed specifically for tracking moving subjects with erratic movement patterns. Unlike standard AI Servo or Continuous AF, which try to predict speed based on previous frames, AF Case allows you to fine-tune two critical parameters: Acceleration/Deceleration and Focus Point Switching.
Think of standard Continuous AF as a car’s cruise control. It maintains a steady speed. But when you are chasing a sparrow that suddenly zigs left and then rights up, cruise control isn’t enough; you need manual throttle control. AF Case gives you that throttle. It separates the camera’s ability to keep focus locked (tracking) from its ability to switch focus points (switching). This separation is what allows you to dial in the exact response needed for different types of birds.
The Two Key Parameters: Acceleration and Switching
When you enter the AF Case menu, you will see two main sliders or options. Understanding these is the first step to mastering BIF.
- Acceleration/Deceleration Tracking: This controls how quickly the lens motor reacts when the subject changes speed. If set too low (e.g., 1), the camera assumes the bird is moving slowly. If the bird speeds up, the focus lags behind, resulting in rear-curtain softness. If set too high (e.g., 5), the camera overreacts to minor speed bumps, causing the focus point to jump ahead of the bird or hunt unnecessarily.
- Focus Point Switching: This determines how easily the camera moves the active focus point if the subject drifts out of the current point. A low setting (e.g., 1) makes it hard to switch points, keeping focus locked even if the bird moves slightly off-center. A high setting (e.g., 5) makes the camera very eager to grab a new focus point, which can cause focus to jump to the background or another bird if the primary subject blinks or dips.
For most small, fast birds like finches or warblers, you generally want higher acceleration (4-5) and moderate switching (3-4). For larger, slower birds like herons or ducks, lower acceleration (2-3) and lower switching (1-2) work better because their movements are more predictable and less abrupt.
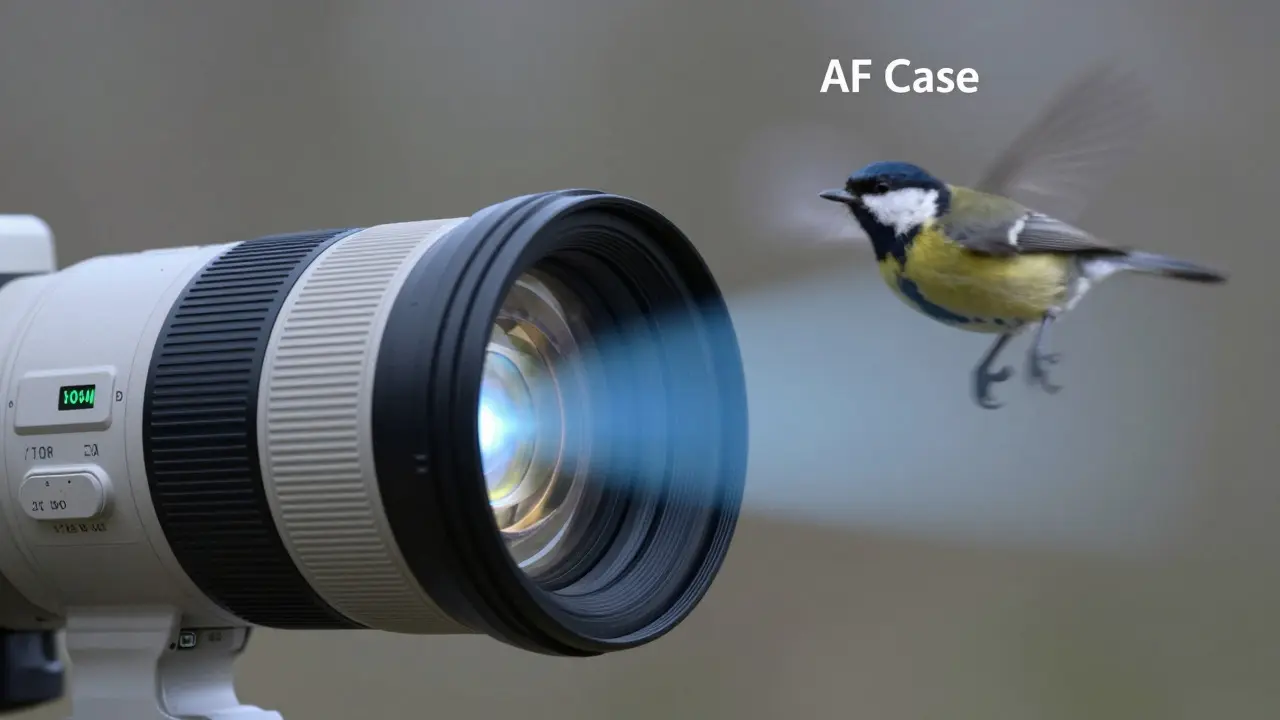
Setting Up Your Camera for Birds in Flight
Before you head out to the field, configure your camera settings to support your AF Case choice. Here is a reliable baseline setup for Canon bodies like the R3, R5, or 90D.
- AF Mode: Select "Case" within the AF Menu. Do not use AI Servo directly.
- AF Point Selection: Use Single Point AF. While Auto Area Selection is convenient, it introduces variables. Manual single-point control lets you place the crosshair exactly where you expect the bird to be.
- Shutter Button AF: Set to "Continuous" so focus keeps updating while the button is held.
- Drive Mode: High-speed Continuous (10-20 fps depending on model). You need multiple frames to ensure at least one is perfectly sharp.
- ISO Sensitivity: Auto ISO enabled. Set a minimum shutter speed of 1/1000s or faster for small birds, and 1/800s for larger species. Let the camera bump ISO as needed rather than risking motion blur.
One common mistake is leaving the AF point selection on "Auto." When using AF Case, you want full control. If the camera automatically switches points, it might lock onto a branch instead of the bird, especially in cluttered scenes. Keep it manual until you are confident in your lead technique.
Techniques for Leading the Subject
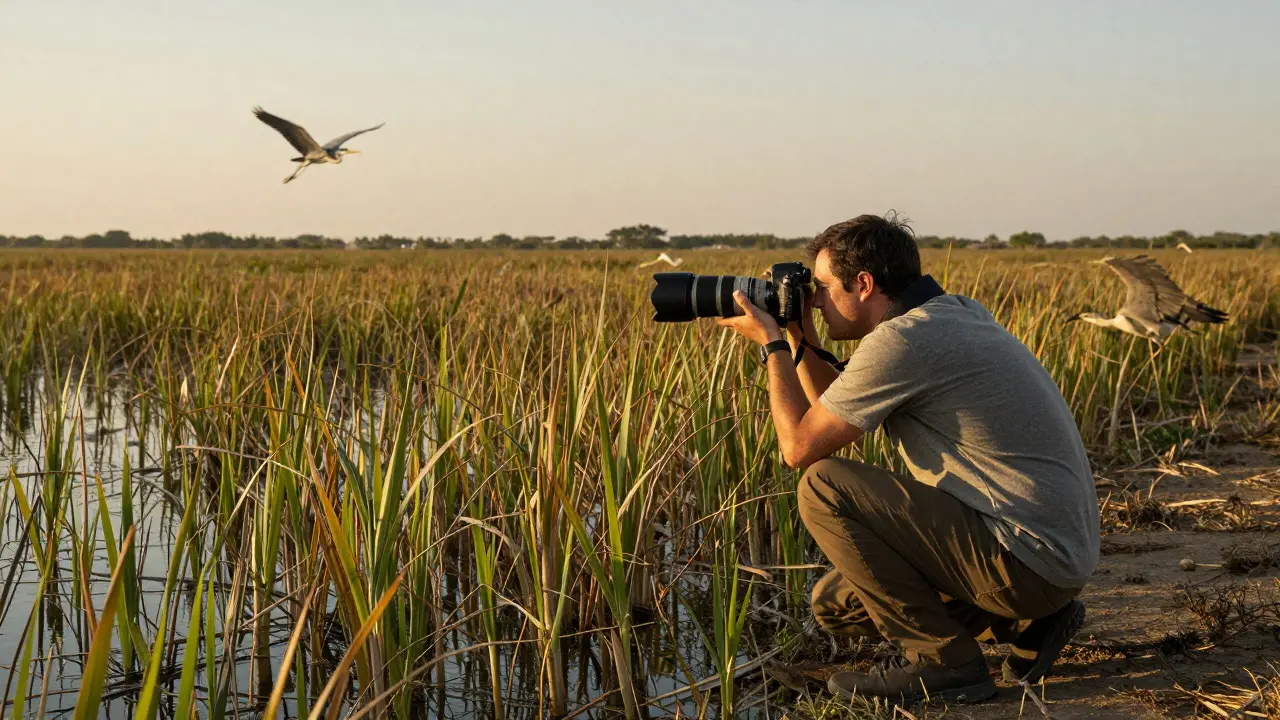
Even with perfect AF Case settings, you will miss shots if you aim directly at the bird. In flight, you must lead the subject. This means pointing your lens slightly in front of the bird’s path.
The amount of lead depends on the bird’s speed and distance. A general rule of thumb: the closer the bird, the less lead you need. At 20 meters, aim almost directly at the bird. At 50 meters, aim about one body length ahead. At 100 meters, aim two to three body lengths ahead. Practice this by watching cars drive by on a nearby road. Try to track them with your eye, then pick up your camera and shoot. See if you can hit the center of the car consistently.
When using AF Case, your leading technique interacts with the "Focus Point Switching" setting. If switching is set high, you can afford to aim slightly wider because the camera will help you stay on target. If switching is set low, you must be precise with your lead, as the camera will resist moving the focus point away from where you initially placed it.
Troubleshooting Common AF Issues
If your BIF shots are still soft, check these specific scenarios:
| Problem | Likely Cause | Solution |
|---|---|---|
| Rear-curtain softness (blurry tail) | Acceleration setting too low | Increase Acceleration/Deceleration by 1-2 steps |
| Front-curtain softness (blurry head) | Acceleration setting too high or leading too much | Decrease Acceleration by 1 step or reduce lead |
| Focus jumps to background | Focus Point Switching too high | Lower Focus Point Switching to 1-2 |
| Focus locks and doesn't follow | Focus Point Switching too low | Raise Focus Point Switching to 3-4 |
| General hunting/fuzziness | Low light or poor contrast | Use a brighter part of the bird (eye/head) or increase ISO |
Another subtle issue is lens hysteresis. Some lenses take time to physically move the focus group. If you are using an older lens without ultrasonic motors, even perfect AF Case settings may not compensate for slow mechanical response. Upgrading to a modern USM or STM lens often improves BIF success rates significantly, independent of camera settings.
Practical Workflow in the Field
Here is a step-by-step workflow to test and refine your settings before you encounter a rare bird:
- Find a reference subject: Look for a pigeon, gull, or starling flying at a moderate distance. These are forgiving and allow you to test settings without pressure.
- Set baseline: Start with Acceleration 3 and Switching 3.
- Shoot bursts: Take 5-second bursts at 10fps. Review images immediately on the LCD, zoomed in 100%.
- Analyze focus position: Is the focus on the eye? On the beak? Behind the bird? Adjust one parameter at a time. If focus is behind, raise Acceleration. If focus is jumping, lower Switching.
- Repeat: Spend 15 minutes refining these numbers. Once you find a sweet spot, save it to a custom function or memory card slot setting so you don’t have to re-enter it daily.
Remember, there is no universal "perfect" setting. Wind, light conditions, and lens quality all affect performance. What works for a calm day in Portland might need adjustment on a windy coast. Stay flexible and trust your eyes more than the histogram.
Is AF Case only available on Canon cameras?
Yes, AF Case is a proprietary feature of Canon EOS systems. Nikon users have similar control via their "Tracking Sensitivity" and "Acceleration/Deceleration
About Author

I design sustainable urban infrastructure as a lead engineer, blending environmental science with practical urban planning. I spend my weekends testing prototypes in community gardens and writing about resilient city design. My work focuses on integrating green spaces into dense urban environments to improve quality of life.