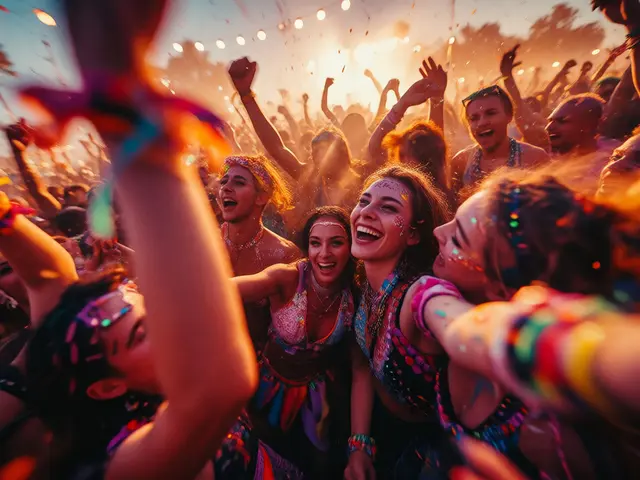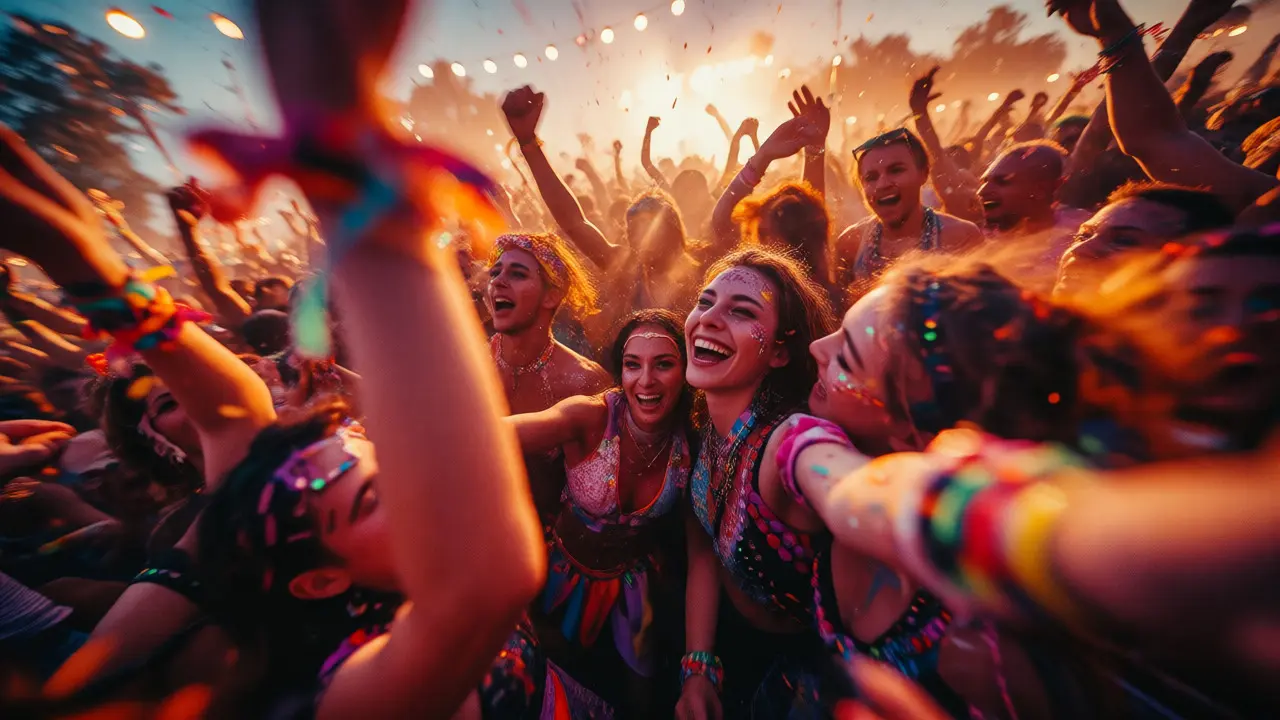
You’ve got your camera. You’re standing in the middle of a sea of people at Portland Rose Festival, or maybe Coachella. The air smells like funnel cake and sweat. Everyone is moving, shouting, dancing. And you? You’re trying to freeze a moment of genuine human connection while someone’s elbow keeps hitting your lens.
Most photographers think festivals are easy targets for street photography because there are so many subjects. Wrong. They are chaotic nightmares if you don’t have a plan. The energy that makes them vibrant also makes them unpredictable. If you just point and shoot, you’ll end up with thousands of blurry photos of backs of heads and half-eaten corn dogs. But if you know how to navigate the crowds, read the energy, and secure the right access, you can capture images that feel alive, raw, and real.
Why Festivals Are Different from Regular Street Shoots
In a typical city block, people walk with purpose. They are commuting, shopping, or waiting. Their movements are somewhat predictable. At a festival, purpose shifts to entertainment. People are looser, louder, and more expressive. This changes everything about your approach.
First, the density is higher. In regular street work, you might wait five minutes for a good frame. At a festival, you might get ten great frames in five seconds because everyone is packed tight. Second, the lighting is often artificial or mixed. You’re dealing with stage lights, string bulbs, and harsh midday sun all in one day. Third, consent dynamics change. People at festivals expect cameras. They pose more. They perform. This means you need to distinguish between a staged smile and a candid laugh.
Think of it this way: regular street photography is hunting; festival photography is herding. You aren’t chasing rare deer through the woods; you’re managing a stampede. Your gear choices reflect this. A long telephoto lens isolates subjects but blocks your view of the chaos around you. A wide-angle lens lets you get close and personal, capturing the environment along with the person. For most festival work, I stick to a 35mm or 50mm equivalent. It forces me to get into the mix, which is where the best stories happen.
Navigating the Crowd Without Getting Elbowed
The biggest hurdle isn’t composition; it’s physical survival. If you can’t move, you can’t shoot. Here is how to handle the mass of humanity without becoming an obstacle yourself.
- Shoot from the hips: Bring your camera down to waist level. Use zone focusing (set your aperture to f/8 or f/11 and focus distance to 6 feet). This lets you snap photos without bringing the camera to your eye, making you less noticeable and faster.
- Use the edges: Don’t stand in the middle of main thoroughfares. Position yourself near exits, food stalls, or stage entrances. These are choke points where people slow down, look around, and interact naturally.
- Watch the light direction: Backlit crowds create silhouettes. Front-lit crowds show faces. Decide what you want before you position yourself. Moving against the flow of traffic gives you time to compose; moving with the flow requires reflexes.
I remember shooting at a music festival in Seattle last summer. I spent the first hour trying to shoot head-on portraits in the main plaza. Every shot was blocked by someone walking past. Then I moved to the side of the beer garden. People were sitting, talking, laughing. I got more usable images in twenty minutes than I had in the previous two hours. The key was finding where the crowd paused, not where it flowed.
Capturing Energy: Motion Blur and Expression
Festivals are about feeling. A static portrait doesn’t convey the thump of the bass or the heat of the crowd. You need to introduce motion. This is where shutter speed becomes your creative tool.
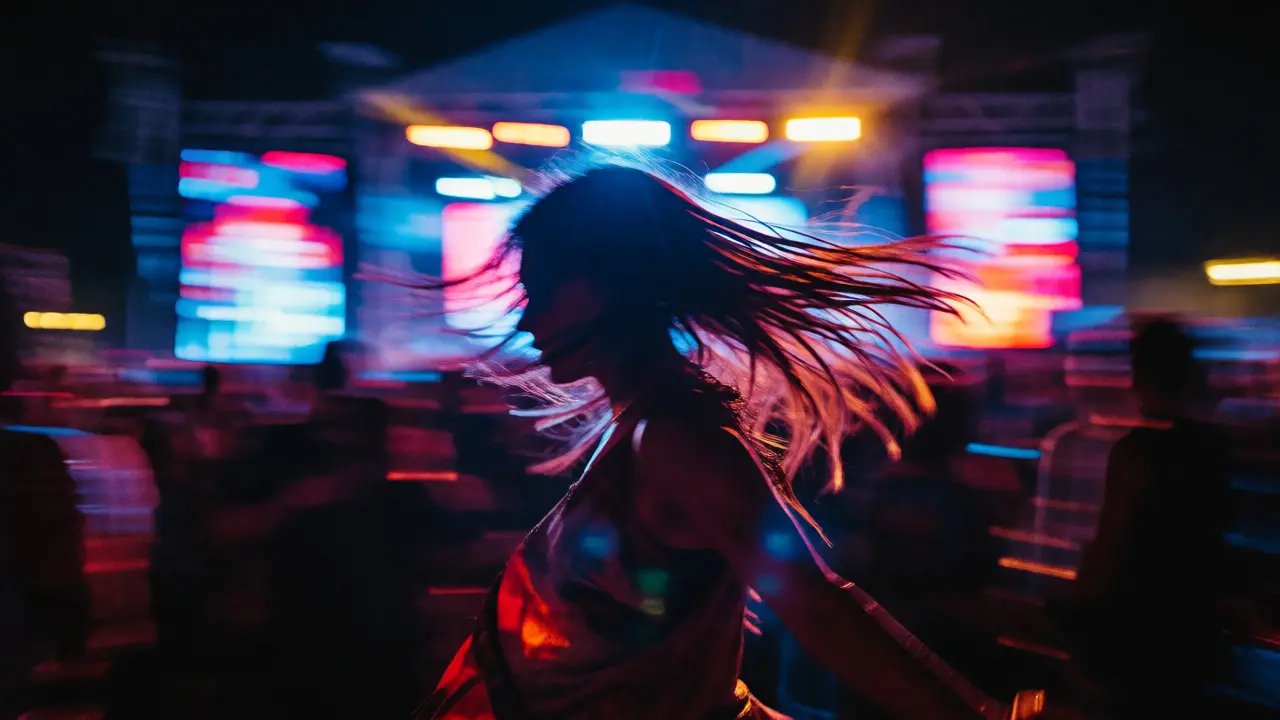
Try dragging your shutter. Set your ISO low (100-400) and your aperture wide (f/2.8-f/4). Let your shutter speed drop to 1/15th or even 1/8th of a second. Pan with a dancer or a runner. The background will streak, but the subject stays relatively sharp. This technique screams "energy." It tells the viewer that something was happening fast.
| Scenario | Recommended Shutter Speed | Visual Effect |
|---|---|---|
| Static Portraits | 1/125s - 1/250s | Crisp details, frozen expressions |
| Dancing/Movement | 1/30s - 1/60s | Slight blur on limbs, sharp face |
| Panning Shots | 1/8s - 1/15s | Streaked background, dynamic feel |
| Low Light Concerts | 1/60s (with high ISO) | Balanced exposure, minimal noise |
Don’t be afraid of grain. High ISO settings (1600-3200) are acceptable in post-production for their gritty texture. It matches the vibe of a sweaty, loud event better than clinical, noise-free pixels ever could.
Access and Etiquette: The Unspoken Rules
You can’t photograph what you can’t reach. Festival access varies wildly. Some events are open to all ticket holders; others require media passes for pit access. Before you go, check the policy. Do they allow detachable lenses? Tripods? Selfie sticks?
If you don’t have a press pass, respect the boundaries. Don’t push into restricted areas. Instead, use the perimeter. Often, the best candid shots happen just outside the VIP sections or behind the stages where staff and artists relax. These moments are unguarded.
Also, consider the social contract. Just because you have a camera doesn’t mean you own the image. If someone notices you taking their photo, smile. A nod goes a long way. If they look uncomfortable, lower your camera. If they pose, take the shot, then thank them. Building rapport takes seconds but pays off in authenticity. I’ve found that asking, "Is it okay if I take a quick photo?" often leads to better interactions than sneaking shots. People appreciate being asked. Plus, they might give you a story.
Gear Selection for Chaos
Keep it simple. You don’t need three bodies and four lenses. You need reliability and speed. A mirrorless camera with good autofocus tracking is ideal because it handles low light and fast movement better than older DSLRs. But if you prefer film, a 35mm rangefinder is perfect. It’s quiet, small, and encourages deliberate shooting.
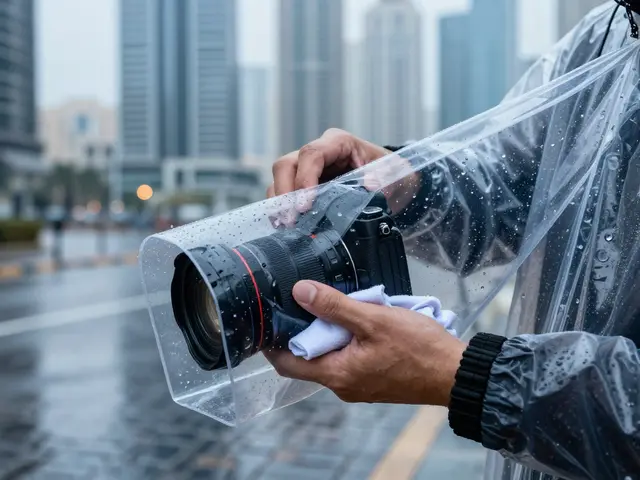
Protect your gear. Festivals are dusty, sticky, and crowded. Use a rain cover if it’s outdoors. Keep your lens cap on when not shooting. Strap your camera across your body, not around your neck, to prevent swinging and accidental bumps. Battery life is critical-bring spares. You won’t find outlets, and power banks drain quickly when powering screens.
Post-Processing: Enhancing the Vibe
Your editing should reinforce the mood. For daytime festivals, boost saturation slightly to pop the colors of costumes and decorations. For night shoots, lift the shadows to reveal detail in dark clothing but keep the highlights blown out to mimic the glare of stage lights.
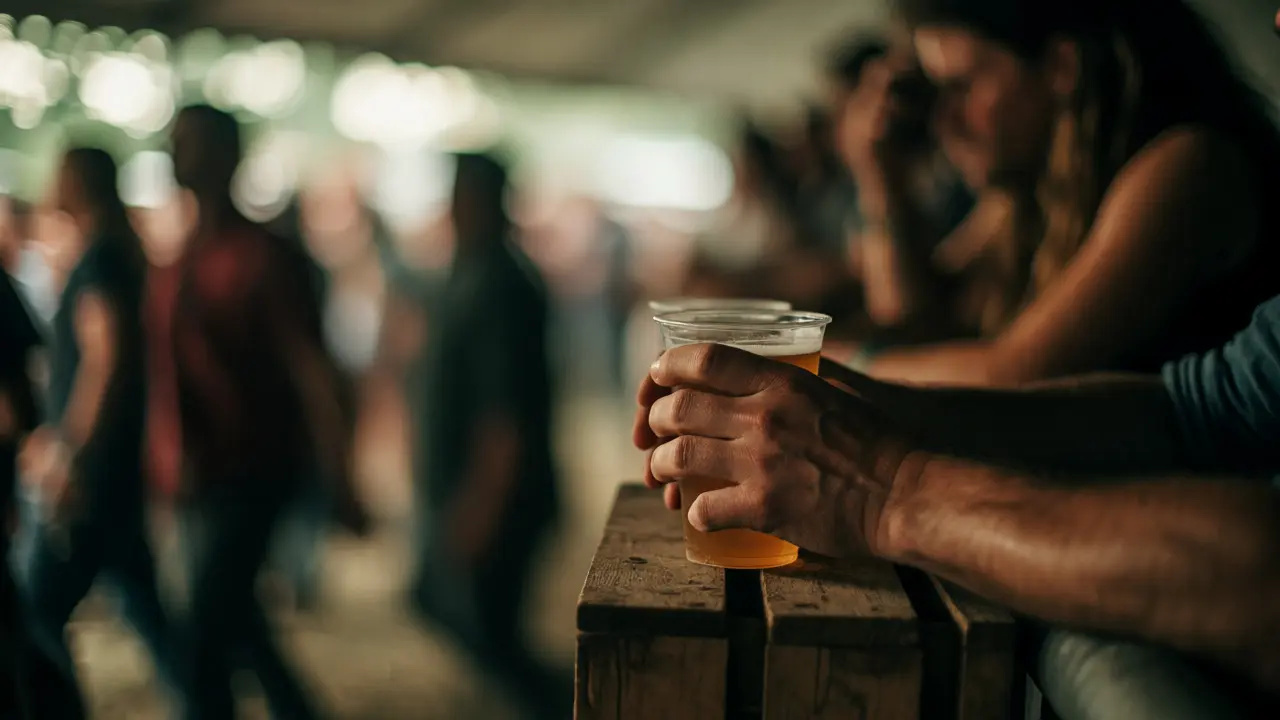
Cropping is your friend. In dense crowds, distractions are everywhere. Crop tightly to isolate the emotional core of the image. Remove the stray arm or the trash can. Focus on the eyes, the hands, the interaction. Sometimes, the most powerful image is just a pair of hands holding a drink, surrounded by blurred color.
Common Pitfalls to Avoid
- Over-shooting: Taking 500 photos hoping one is good wastes battery and storage. Be selective. Review your histogram occasionally, but trust your eye more.
- Ignoring the ground: Look down. Patterns in foot traffic, dropped confetti, or interesting shadows on the pavement can make abstract compositions.
- Forgetting the audio context: While you can’t hear sound in a photo, visual cues like open mouths, raised fists, or closed eyes help convey the auditory experience.
Festival street photography isn’t about perfection. It’s about presence. Get dirty. Get close. Miss some shots. But catch the ones that make you feel like you were there. That’s the goal.
What lens is best for festival street photography?
A 35mm or 50mm prime lens is generally the best choice. These focal lengths force you to get close to the action, which captures the intimacy of the crowd. Wide angles (24mm) can distort faces if you're too close, while telephotos (85mm+) isolate subjects but remove the context of the festival environment.
Do I need a press pass to shoot at festivals?
Not necessarily. Most public festivals allow general admission ticket holders to take photos with non-professional equipment. However, access to the "pit" area directly in front of the stage usually requires a media credential. Check the specific festival's photography policy beforehand, as rules vary significantly between events.
How do I handle low-light conditions at night festivals?
Increase your ISO to 1600-3200 to maintain a fast enough shutter speed to avoid blur. Use a fast lens with a wide aperture (f/1.8 or f/2.8) to gather more light. Embrace the grain; it adds atmosphere. If possible, use ambient light sources like stage lights or lanterns rather than relying on your built-in flash, which flattens the scene.
Is it rude to take candid photos of strangers at festivals?
It depends on context and delivery. Generally, it is accepted if you are respectful. Smiling, nodding, or giving a thumbs-up after taking a shot acknowledges the subject and reduces tension. If someone looks upset, apologize briefly. Many festival-goers enjoy having their memories captured, especially if they are dressed up or performing.
How do I protect my camera from dust and spills?
Use a clear plastic rain cover or a dedicated camera sleeve when not actively shooting. Keep your lens cap on until the moment you press the shutter. Avoid changing lenses in windy or dusty conditions unless necessary. Consider using a weather-sealed camera body if you anticipate rain or heavy dust.