You’ve probably been there. You’re trying to capture a sunset or a family dinner, and your hands are shaking just enough to blur the shot. Or maybe you’re trying to film a vlog, but every step makes the footage look like an earthquake hit. This is where smartphone tripods and stabilizers stop being optional accessories and become essential tools. They aren’t just for pro videographers anymore; they are the difference between a shaky mess and cinematic quality.
But walking into a store (or scrolling through Amazon) reveals a confusing array of options. Should you buy a simple clamp? A heavy-duty tripod? A motorized gimbal? The answer depends entirely on what you plan to shoot. Let’s break down how to choose the right gear so you don’t waste money on something that ends up in a drawer.
Understanding the Core Tools
Before you buy anything, you need to know what each device actually does. Many people confuse tripods with stabilizers, thinking they serve the same purpose. They don’t. A tripod holds your phone still in one spot. A stabilizer keeps your phone steady while you move. Knowing this distinction saves you from buying a $150 gimbal when you only needed a $15 tripod for long-exposure night shots.
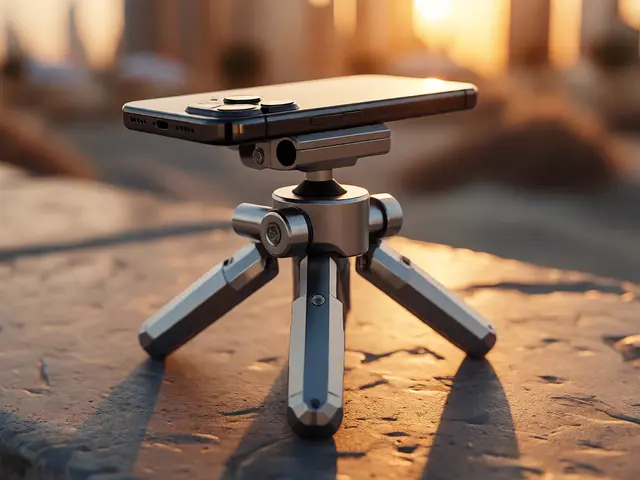
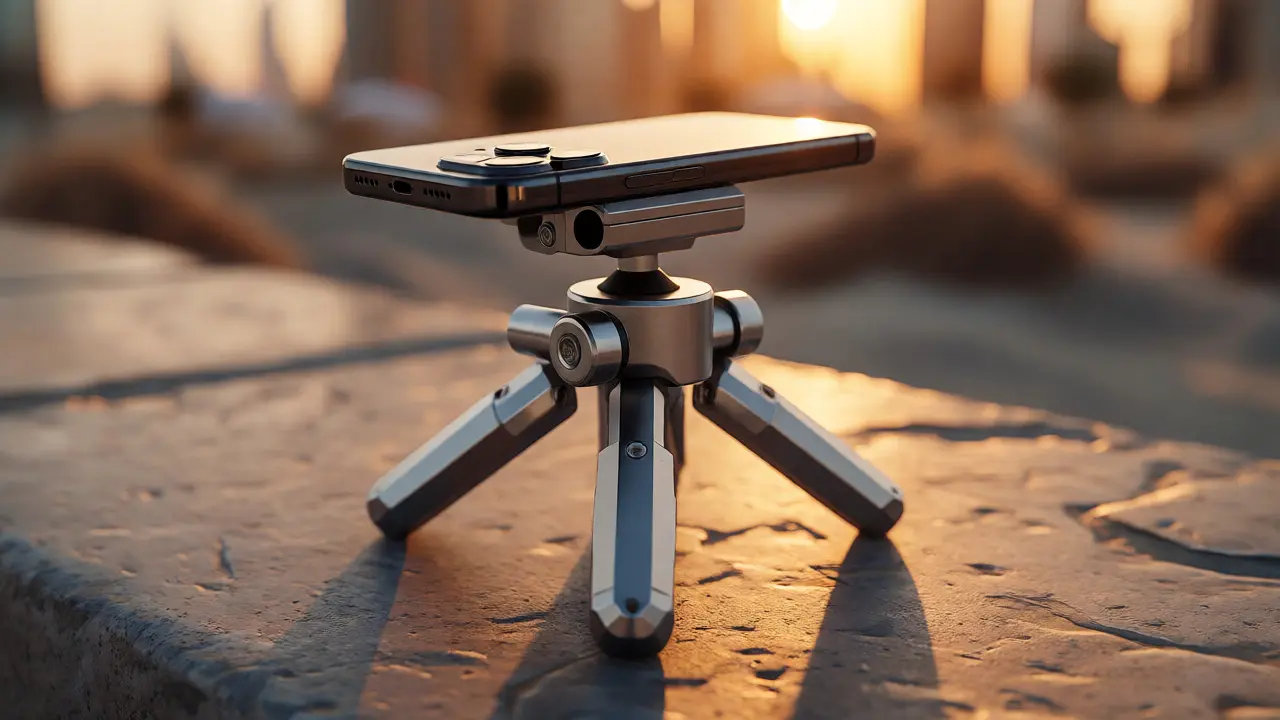
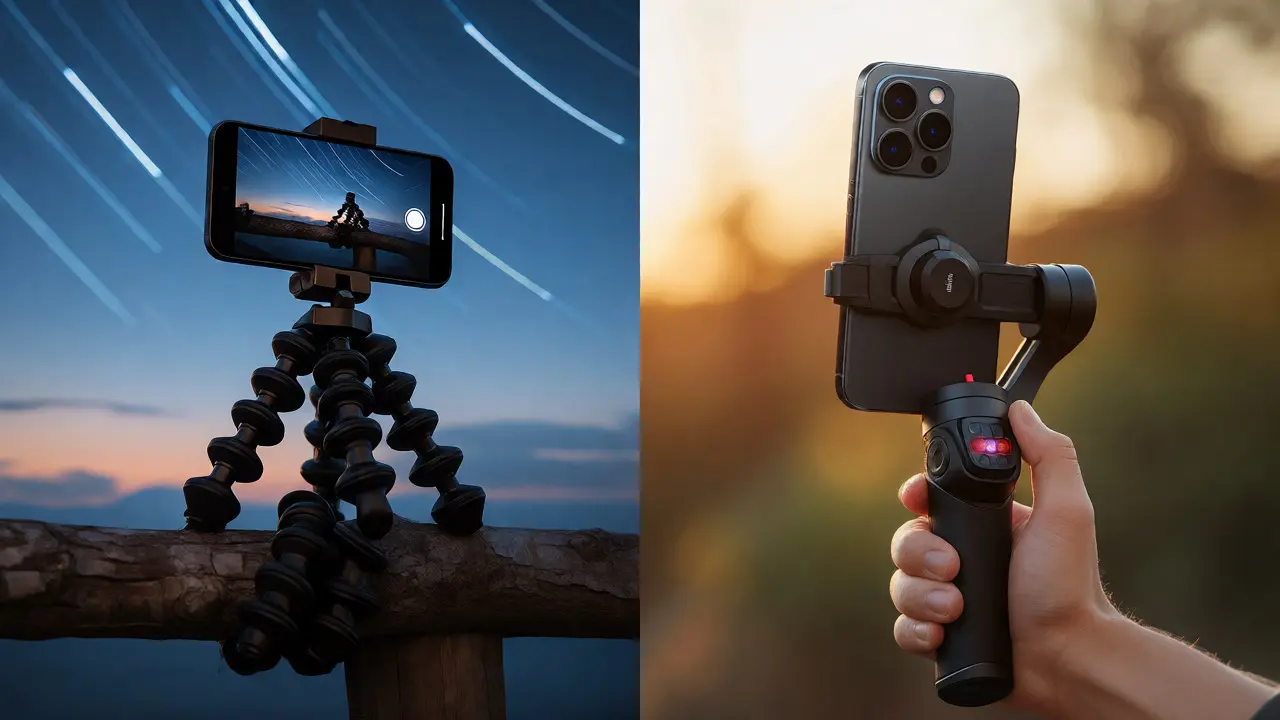
Smartphone tripods are static supports. They consist of three legs and a mounting mechanism. Their job is gravity resistance. If you want to take a photo of yourself, capture star trails, or record a podcast without holding the phone, you need a tripod. Modern versions often include Bluetooth remotes so you can trigger the shutter from across the room.
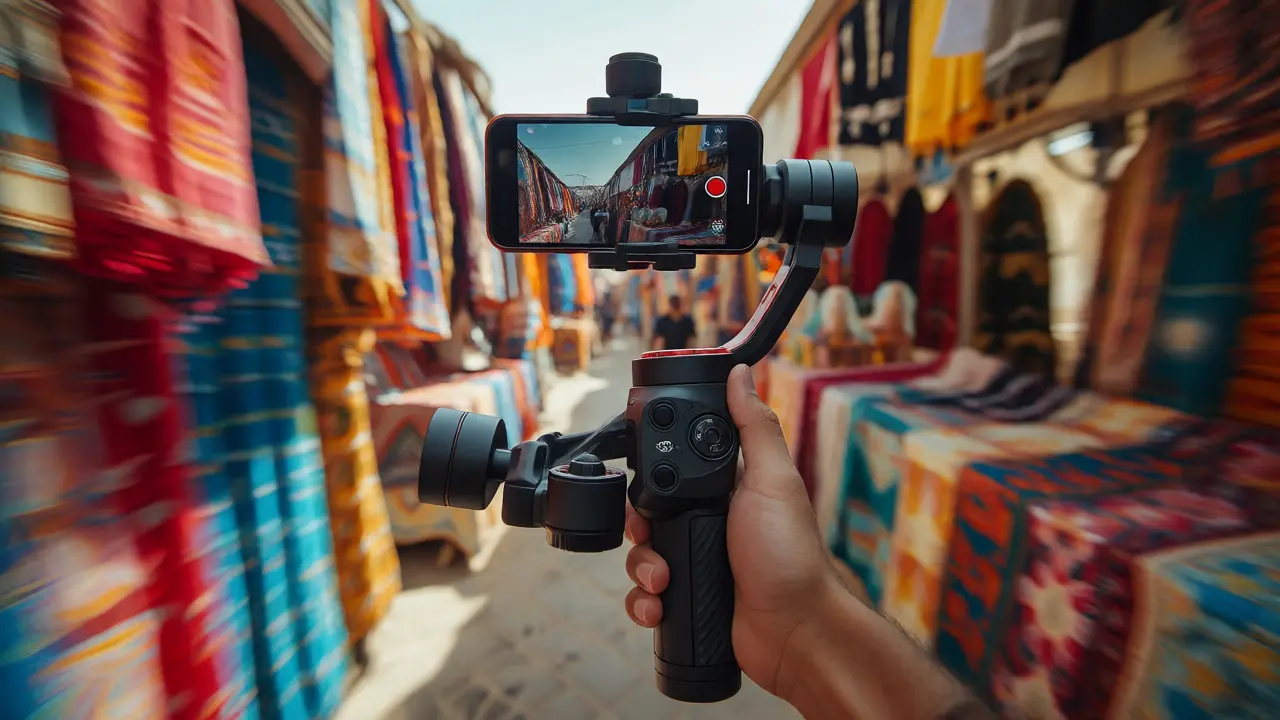
Gimbals, or electronic stabilizers, use motors and gyroscopes to counteract movement. When you walk, run, or pan, the motors adjust the phone’s position in real-time. This creates smooth, flowing video that looks professional. Unlike a tripod, a gimbal allows for dynamic motion shots. It’s the tool of choice for travel vlogs, action sports, and handheld interviews.
Choosing the Right Smartphone Tripod
Not all tripods are created equal. The market is flooded with cheap plastic clamps that wobble after two uses. To find a good one, look at the build material and the mount type.
First, consider the legs. Aluminum alloy is the sweet spot for most users. It’s light enough to carry in a backpack but sturdy enough to hold a large phone case. Carbon fiber is lighter and stronger but costs significantly more. Plastic legs are fine for desktop use but will snap if you try to set them up on uneven pavement.
Next, look at the mount. There are two main types: screw mounts and clamp mounts. Screw mounts attach directly to the phone case via a small threaded hole. This is the most secure option because it doesn’t rely on spring tension. However, you need a specific case with the hole. Clamp mounts grip the phone from the sides. These are universal and work with any phone, but they can sometimes block volume buttons or ports if not designed well. Look for a clamp with rubber padding to prevent scratches.
| Type | Best For | Portability | Stability |
|---|---|---|---|
| Desktop Mini | Video calls, macro shots | High | Low (wind sensitive) |
| Flexible GorillaPod | Wrapping around poles, rough terrain | Medium | Medium |
| Standard Alloy | Landscape, portraits, studio | Low | High |
| Selfie Stick/Tripod Hybrid | Vlogging, group selfies | High | Medium |
If you travel frequently, a hybrid selfie stick that converts into a tripod is incredibly useful. Brands like Joby and Manfrotto make excellent flexible tripods that wrap around tree branches or railings. This gives you angles you couldn’t get with standard legs. Just be aware that flexible legs have less stability in wind. If you’re shooting near a cliff edge or on a windy beach, lock the legs tight or add weight.
Mastering Gimbals and Electronic Stabilizers
If your focus is video, a gimbal is non-negotiable. But gimbals have a learning curve. You can’t just turn them on and expect Hollywood results. You need to understand balance.
When you mount your phone, you must balance it perfectly before turning the motors on. If it’s unbalanced, the motors strain, drain battery quickly, and produce "jello" effects in the video. Most modern gimbals have auto-balance features, but manual calibration is still faster and more precise. Start by loosening the axes, centering the phone, and tightening until it stays level on its own.
There are three primary modes on almost every gimbal:
- Pan Follow: The camera moves left and right with you, but stays level vertically. This is great for tracking subjects.
- Tilt Lock: The camera stays fixed forward, even if you tilt your hand. Good for smooth horizontal pans.
- Inception Mode: The camera rotates 360 degrees. Use this sparingly for dramatic effect.
Weight capacity matters here. Newer phones like the iPhone 15 Pro Max or Samsung Galaxy S24 Ultra are heavier than older models. Ensure the gimbal supports at least 300 grams. If you use a thick protective case or attach external lenses, you might exceed the limit. Check the manufacturer’s specs carefully.
Key Features That Actually Matter
Marketing teams love to list features that sound impressive but offer little value. Here is what you should actually care about.
Battery life is critical. A gimbal that dies in 4 hours is useless for a full day of shooting. Look for devices with at least 8-10 hours of runtime. Some high-end models allow you to charge your phone while using the gimbal, which is a lifesaver during long shoots.
App integration is another major factor. Cheap gimbals come with buggy apps that crash constantly. Major brands like DJI, Zhiyun, and Hohem develop robust software that enables advanced features like object tracking, timelapse, and motion control. Test the app reviews before buying. If the app has a rating below 4 stars, assume you’ll face frustration.
Quick-release plates save time. Fumbling with screws every time you want to switch from tripod to handheld kills creativity. Magnetic mounts or quick-clamp systems let you detach the phone in seconds. This seems minor, but when you’re trying to catch a fleeting moment, those seconds count.
Practical Shooting Techniques
Owning the gear is half the battle. Using it correctly is the other half. Here are a few tips to improve your results immediately.
For tripod shots, always use a timer or remote. Even pressing the screen button causes micro-vibrations. Set a 2-second delay, and your images will be sharper. If you are doing long exposures for night photography, ensure the tripod legs are fully extended and locked. Don’t extend the center column unless necessary, as it raises the center of gravity and makes the setup prone to tipping.
With gimbals, practice your walking technique. Do not walk normally. Use the "ninja walk." Keep your knees bent and roll your feet from heel to toe. This absorbs shock and reduces vertical bounce. The gimbal handles horizontal sway, but it struggles with sharp vertical impacts. Smooth walking combined with stabilization yields the best footage.
Also, mind your lighting. Smartphones struggle in low light, and stabilization cannot fix noise. If you are shooting indoors at night, increase your ISO manually or use external lights. A tripod helps here because you can lower the shutter speed without blur, allowing more light in without raising the ISO too much.
Maintenance and Care
Your gear needs care, especially if you shoot outdoors. Sand, dust, and moisture are enemies of mechanical parts. After shooting at the beach or in rain, wipe down the joints and motors with a dry cloth. Never submerge a standard gimbal in water unless it has an IPX rating explicitly stating waterproof capabilities.
Store batteries properly. Lithium-ion batteries degrade if left at 0% or 100% for months. Store them at around 50% charge if you won’t use them for a while. Also, check for firmware updates regularly. Manufacturers often release patches that improve stabilization algorithms and fix app bugs.
Do I really need a gimbal for smartphone video?
If you are filming static scenes or talking-head videos, no. A tripod is sufficient. However, if you are moving while filming-walking, running, or panning-a gimbal is essential. Optical Image Stabilization (OIS) in phones helps, but it cannot match the smoothness of mechanical stabilization for dynamic shots.
Can I use my phone case with a tripod or gimbal?
Yes, but check compatibility. Clamps may not fit over bulky cases. Screw mounts require a case with a dedicated hole. For gimbals, the added weight of a thick case can throw off the balance and reduce battery life. Thin, minimalist cases are usually the best option for optimal performance.
What is the best budget-friendly stabilizer?
In 2026, entry-level gimbals from brands like Hohem or Insta360 offer excellent value under $100. They lack some premium features like wireless charging or extreme payload capacity, but they provide solid stabilization for casual creators. Avoid generic no-name brands, as their balancing mechanisms often fail after short-term use.
How do I prevent my phone from overheating on a gimbal?
Recording 4K video generates significant heat. Remove the phone case to help dissipate heat. Avoid direct sunlight on the phone’s back glass. If possible, pause recording during breaks to let the device cool. Some gimbals have active cooling fans, but these are rare in consumer models.
Is a monopod better than a tripod for mobile photography?
A monopod offers more mobility than a tripod but less stability. It is ideal for events where you need to move quickly but still want some support, like concerts or sports games. For landscape photography or long exposures, a tripod is superior because it provides a three-point base that eliminates vibration entirely.