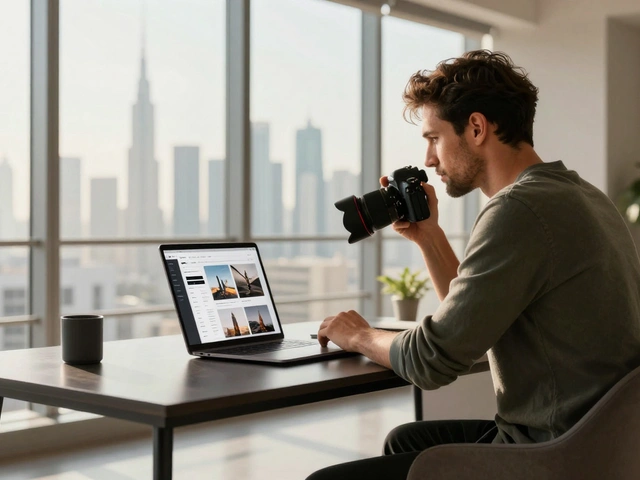
When you shoot in RAW, you’re not just taking a photo-you’re capturing a digital negative. Unlike JPEGs, which are processed and compressed inside your camera, RAW files hold every bit of light and color your sensor recorded. That means you have room to fix mistakes, adjust exposure, and fine-tune colors after the fact. But if you’ve ever opened a RAW file and seen a flat, dull image, you’re not alone. The magic doesn’t happen automatically. You need a workflow.
Start with the Right Settings
Before you even press the shutter, set your camera to shoot RAW. On Canon cameras, go to the Image Quality menu and pick RAW or RAW+JPEG. Nikon users find the setting under Image Quality too. Sony shooters look for ARW in the menu. Don’t just pick RAW because you heard it’s better-understand why. JPEGs throw away data to save space. RAW keeps it all. A 12-bit or 16-bit RAW file holds thousands more color levels than an 8-bit JPEG. That difference matters when you’re pulling detail out of shadows or recovering blown-out skies.Some photographers shoot RAW+JPEG to get a quick preview on the camera’s screen. But remember: what you see on that screen isn’t the RAW file. It’s the camera’s version of a JPEG, processed with its own contrast, saturation, and white balance. The real RAW data underneath is flat and neutral. That’s not a flaw-it’s a feature. It gives you full control later.
Backup Before You Touch Anything
Your RAW files are your original negatives. Lose them, and you lose the chance to ever make that image perfect again. Don’t trust your laptop’s hard drive. Don’t rely on a single external drive. Professional photographers use a simple rule: three copies, two formats, one offsite.Copy your RAW files to an external hard drive right after the shoot. Then copy them again to a second drive. Keep one drive in your bag, the other in a fireproof safe or at home. Use RAID 5 systems if you’re handling hundreds of images a week-they’re built to survive a drive failure. Cloud storage like Backblaze or Amazon S3 can be your third copy. Don’t skip this. I’ve seen too many photographers lose a wedding or a client shoot because they didn’t back up.
Choose Your Software
You don’t need expensive tools to start, but you do need the right one. Adobe Lightroom is the most common choice-it handles importing, organizing, editing, and exporting all in one place. Adobe Camera RAW (built into Photoshop) works too, but it’s better for single-image edits. If you use a Canon camera, try Digital Photo Professional (DPP). It’s free, simple, and great for learning. Nikon users get Capture NX. Professionals often use Capture One for its color grading tools or DXO PureRAW for its AI-powered noise reduction.Here’s the catch: if your software doesn’t recognize your camera’s RAW format (like Sony ARW or Fuji RAF), you’ll get an error. The fix? Use Adobe’s free DNG Converter. It turns your RAW file into a Digital Negative (DNG) without losing any data. DNG files are universal. They work in every editor, even older versions of Photoshop. This step saves headaches down the road.

First Adjustments: Profile, Crop, Straighten
When you import your RAW files into Lightroom or another editor, the first thing you do isn’t exposure or color. It’s lens correction. Most software auto-detects your lens and fixes vignetting (dark corners) and distortion. Turn that on. It’s non-destructive, so it doesn’t alter your original file.Next, crop and straighten. This isn’t just about framing-it’s about vision. If your horizon is crooked, fix it now. If you’re cropping to a 3:2 ratio for prints or 16:9 for web, do it early. Why? Because every adjustment you make after this-exposure, sharpening, noise reduction-will be based on the final composition. Crop too late, and you’ll end up with soft edges or weird sharpening artifacts.
Exposure, White Balance, and Color
This is where RAW really shines. You can fix underexposed shots, overblown highlights, and wrong white balance-all without ruining image quality. Start with the white balance slider. If you shot under tungsten lights and the image looks orange, drag the temperature slider left until skin tones look natural. Use the eyedropper tool on a neutral gray area if you’re unsure.Then tweak exposure. RAW files can handle ±2 stops of adjustment with little noise. Don’t be afraid to lift shadows or pull back highlights. The histogram is your friend. If the graph is bunched up on the left, your shadows are crushed. If it’s pushed to the right, you’re losing highlight detail. Aim for a balanced spread.
After exposure, adjust vibrance and saturation. Vibrance boosts muted colors without oversaturating skin tones. Saturation hits everything equally. Use vibrance first. If you need more punch, add a touch of saturation. Some photographers go black and white here. If you do, use the color sliders to darken or lighten specific tones-like turning blue skies darker or skin tones lighter.
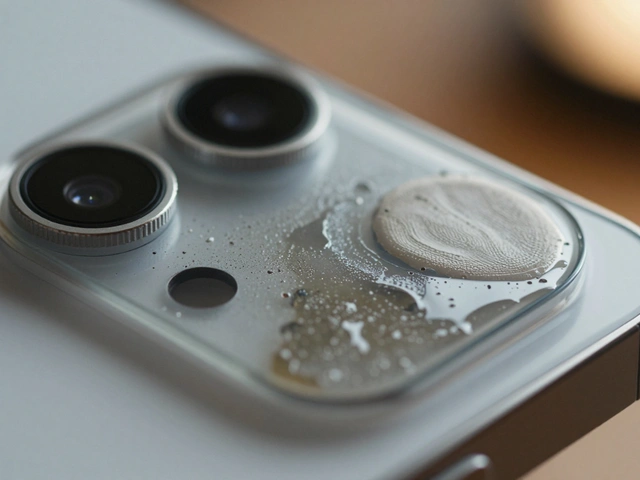
Spot Healing and Cloning
Remove dust spots, power lines, or stray hairs with the Spot Removal tool. Lightroom’s healing brush blends pixels naturally. For larger objects, use the clone stamp. But don’t overdo it. Most professional photographers do minimal retouching in RAW editors. If you need heavy retouching-like removing a person from a crowd-wait until you export to Photoshop. RAW editors are for global adjustments, not pixel-level surgery.Export: Choose Your Format Wisely
When you’re done editing, export. But don’t just hit “Export” without thinking. What’s the end use?- For web or social media: Export as JPEG, 1920px wide, quality 85%. That’s enough for screens and keeps file sizes small.
- For prints: Use 16-bit TIFF. It keeps your color depth intact. If you’re printing at 16x20 inches or larger, 16-bit TIFF is non-negotiable. JPEGs will band in gradients.
- For further editing: Export as TIFF or PSD and open in Photoshop. Lightroom makes this easy-just right-click and choose “Edit in Photoshop.”
Batch exporting 200 images? Lightroom lets you apply the same settings to all. Pick your export folder, set the format, and hit “Export.” No need to touch each file. DXO PureRAW can automate this even further, especially for high-ISO shots where noise reduction matters.
Advanced Tips for Professionals
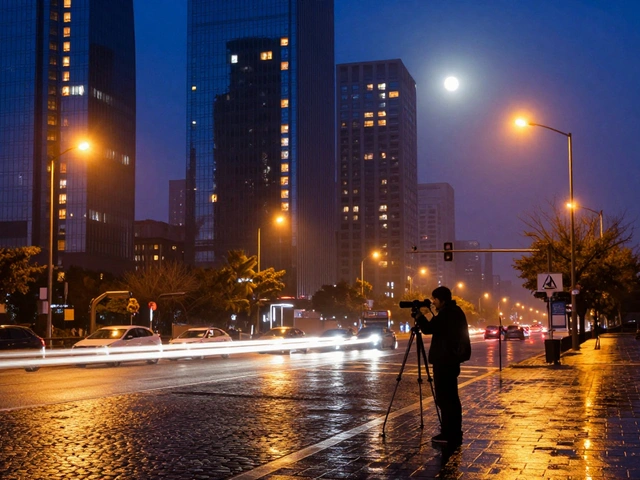
If you shoot sports, wildlife, or low-light scenes, noise is your enemy. RAW files from high ISO shots look grainy. That’s normal. DXO PureRAW uses AI to reduce noise while preserving detail better than traditional tools. Run your files through it before importing into Lightroom. It’s a game-changer.Commercial photographers often work with fixed output sizes. If you sell 10x8 prints, set your crop tool to that ratio from the start. You can always revert to the original, but having a consistent output saves time and keeps your portfolio looking professional.
Use star ratings. Hit “5” on your keyboard in Lightroom to mark your best shots. Use color labels to group images by client, location, or edit type. This turns a messy folder into a searchable library.
Why This Matters
Shooting RAW isn’t about being fancy. It’s about control. You’re not locked into the camera’s settings. You’re not stuck with a washed-out sky or a green cast from indoor lighting. You’re not forced to choose between a bright foreground and a dark background. RAW gives you the freedom to fix it all.And the workflow? It’s not magic. It’s methodical. Backup. Correct. Adjust. Export. Repeat. The more you do it, the faster it gets. Professionals don’t edit every image the same way-they build presets. Once you find your go-to settings for exposure and color, save them as a preset. Apply them to every new shoot. It cuts hours off your workflow.
This isn’t just for pros. If you care about your photos-whether they’re family portraits, travel shots, or weekend hikes-this workflow is your best tool. RAW files are your raw material. The editing process? That’s where you turn them into art.
Do I need to shoot in RAW if I’m a beginner?
Yes, if you want room to fix mistakes. Beginners often think JPEG is easier, but RAW is actually more forgiving. You can fix exposure, white balance, and color errors after shooting. JPEGs lock those settings in, so if you mess up lighting or settings, you can’t recover. Start with RAW-it’s easier to learn than you think.
Can I convert RAW to JPEG later without losing quality?
You won’t lose quality if you export from RAW correctly. Always export as 16-bit TIFF first if you plan to edit further. If you’re just sharing online, export a high-quality JPEG (quality 90+). The original RAW file stays untouched. You can always re-export later with new settings.
What’s the difference between Lightroom and Adobe Camera RAW?
Lightroom is a full workflow tool-it organizes your files, lets you edit, and export everything in one place. Adobe Camera RAW is just an editor, built into Photoshop. It’s great for one-off edits but doesn’t handle organizing hundreds of photos. If you shoot regularly, use Lightroom. If you only edit a few images a month, Camera RAW works fine.
Why does my RAW file look so flat compared to the JPEG?
Your camera applies sharpening, contrast, and saturation to the JPEG preview you see on the screen. The RAW file underneath has none of that. It’s flat by design-so you can add your own style. Think of it like a blank canvas. The JPEG is a finished painting. The RAW is the paint and brush.
Do I need to back up my RAW files forever?
Yes, if you care about your images. RAW files are irreplaceable. Once you delete them, you can’t recover the original data. Even if you export to JPEG, the RAW holds more detail. Store them on at least two external drives, and consider cloud backup. Treat them like negatives-you’d never throw away film.