Most photographers hit a wall after their first year. The gear gets better, the settings get automatic, but the images start looking... safe. You know what you like, but finding it on demand is another story. This is where project-based learning changes everything. Instead of shooting random subjects and hoping for gold, you impose rules. You pick a theme. You set limits. And suddenly, your eye starts working differently.
Think of it like this: if you only eat pizza, you never learn to appreciate the nuance of a well-made risotto. In photography, unconstrained shooting often leads to unconstrained thinking. By restricting your variables-whether that’s location, lens choice, or subject matter-you force your brain to solve problems creatively rather than relying on technical fixes in post-production.
Why Constraints Unlock Creativity
It sounds counterintuitive, right? How does limiting yourself make you more creative? Well, consider the difference between walking into an empty room with no instructions versus being asked to build a birdhouse using only wood scraps. The second task has boundaries, which actually clarifies the goal. In photography, Creative Constraints are deliberate limitations placed on the photographic process to stimulate innovative problem-solving and artistic growth.
When you remove the option to just "change the camera setting" or "crop it tighter later," you have to compose in the moment. You have to light it correctly at the source. You have to find the angle that works *now*. This builds muscle memory for decision-making. Over time, these decisions become instinctive, even when you’re shooting without constraints.
- Decision Fatigue Reduction: Fewer options mean faster execution. You stop overthinking ISO and start watching light.
- Visual Vocabulary Expansion: Repeating a specific motif (like shadows or reflections) helps you understand how they behave across different scenes.
- Portfolio Cohesion: Projects create bodies of work, not just isolated files. Clients and galleries look for narrative consistency.
Choosing a Theme That Sticks
The biggest mistake beginners make is picking a theme that’s too broad. "Landscape" isn’t a project; it’s a genre. A project needs a hook. It needs a question you’re trying to answer through images.
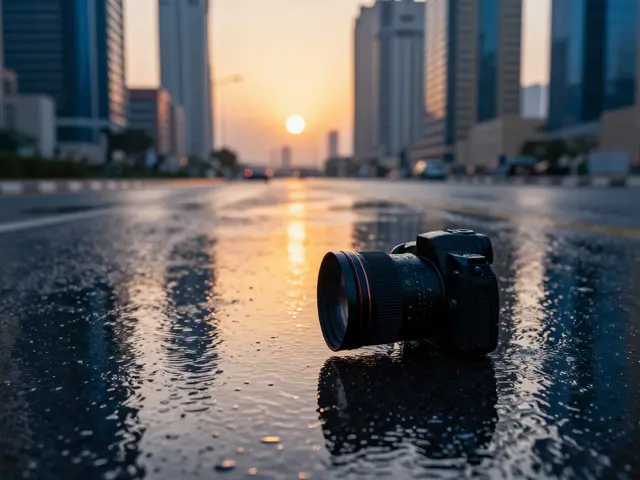
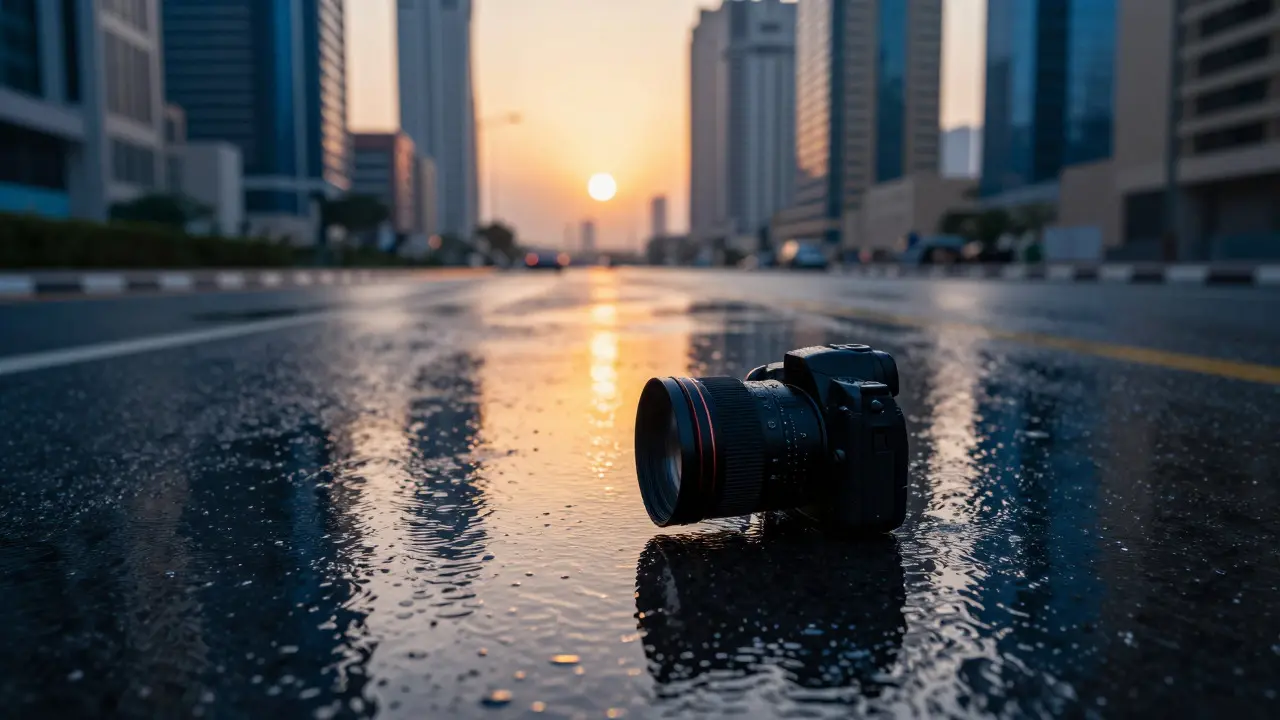
Let’s say you live in Portland, Oregon. Rain is part of life here. Instead of shooting "rainy days," try "Reflections on Wet Asphalt." Now you have a specific subject (reflections), a specific condition (wet pavement), and an implied mood (urban melancholy). You’re not just taking pictures of rain; you’re hunting for geometry and color contrast in puddles.
- Identify Your Environment: What do you see every day that others ignore? The way light hits brick walls? The patterns in subway tiles?
- Add a Restriction: Limit your focal length. Use only a 50mm lens. Or limit your aperture. Shoot only at f/1.8.
- Define the Output: Are you aiming for 10 images? 30? A single triptych? Having a number keeps you from stopping at the first "good enough" shot.
Themes should be personal enough to sustain interest but narrow enough to provide clarity. If you find yourself bored by week two, the theme was likely too vague or too difficult. Adjust the scope, not the effort.
Designing Effective Constraints
Constraints aren’t just about equipment. They can be temporal, spatial, or conceptual. Here are some practical ways to structure them:
| Constraint Type | Example Rule | Skill Developed |
|---|---|---|
| Equipment | Only use a prime 35mm lens | Composition, depth of field control |
| Temporal | Shoot only during golden hour (1 hour) | Lighting awareness, planning |
| Conceptual | Every image must contain a circle | Pattern recognition, abstract thinking |
| Technical | No editing allowed except exposure adjustment | In-camera accuracy, critical evaluation |
Notice how each constraint targets a specific weakness. If you struggle with composition, use a fixed focal length. If you rely too heavily on post-processing, ban heavy edits. The goal is to identify your crutches and remove them temporarily.
A common pitfall is stacking too many constraints at once. Don’t limit your lens, your time, AND your subject all in one go. Pick one primary constraint and let the others fall naturally. For example, if you’re doing a "Shadows Only" project, you might naturally end up shooting in high-contrast situations, which forces you to manage highlights carefully. That’s a secondary benefit, not a primary rule.
Executing the Project: From Idea to Image
Once you’ve chosen your theme and constraints, the actual shooting phase begins. This is where discipline matters more than talent. You need a system for capturing and reviewing images.
I recommend keeping a simple log. Even a note in your phone works. Record the date, location, and why you took the shot. Did you take it because the light was perfect? Because the subject fit the theme? This metadata becomes invaluable when you sit down to curate your final selection.
During the shoot, resist the urge to check your histogram constantly. Trust your eyes. If you’re constrained to f/1.8, you know your depth of field is razor-thin. Focus on the eyes, not the background. If you’re limited to one hour, arrive early. Scouting locations beforehand saves precious shooting time.
After each session, review your images immediately. Don’t wait until the end of the month. Delete the duds now. Keep only the ones that truly serve the theme. This curation process is half the learning experience. It teaches you to distinguish between "technically correct" and "visually compelling."
Curating and Reflecting on the Work
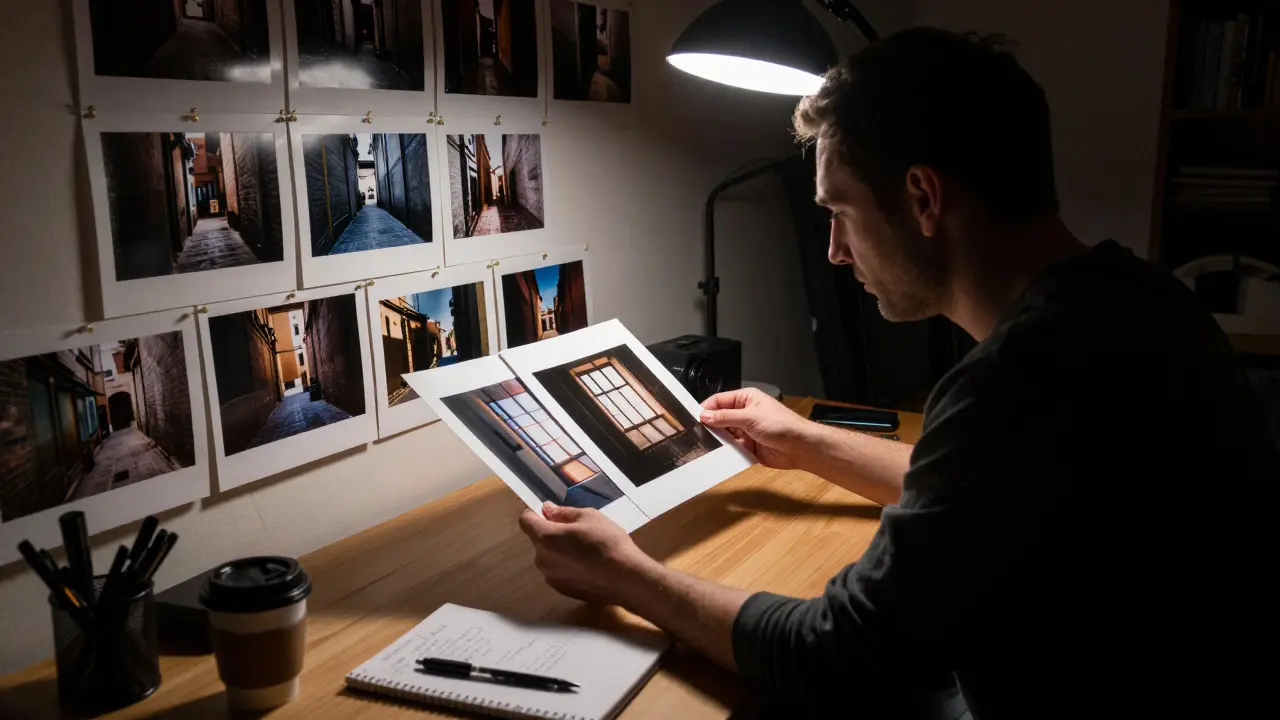
The final step is often the hardest: selecting the best images. For a project of 30 shots, aim to keep 6-10. Why so few? Because quality beats quantity in storytelling. A tight series of five powerful images communicates more than fifty mediocre ones.
Look for variety within the theme. Do you have wide shots? Close-ups? Different angles? If all your images look similar, you haven’t explored the theme deeply enough. Go back out. Find the outlier. Find the unexpected angle.
Finally, reflect. Write down what worked and what didn’t. Did the constraint feel helpful or frustrating? Did the theme reveal new aspects of your surroundings? This reflection turns a hobby exercise into a professional development tool. It creates a feedback loop that informs your next project.
Many successful photographers credit their breakthroughs to specific projects. Annie Leibovitz’s famous portraits often started as constrained assignments. Steve McCurry’s iconic "Afghan Girl" emerged from years of documenting conflict zones with specific editorial goals. These weren’t accidental; they were the result of sustained focus under pressure.
Frequently Asked Questions
How long should a photography project last?
There’s no fixed duration, but most effective projects span 4 to 12 weeks. Shorter than four weeks may not allow enough exploration, while longer than three months can lead to burnout unless the theme is deeply personal. Aim for a timeframe that allows you to shoot regularly without feeling rushed.
Do I need expensive gear for project-based learning?
No. In fact, using gear you already own is often better. Constraints are about mindset, not money. A smartphone with a good sensor can produce stunning results if you master composition and light. The limitation of the tool becomes part of the challenge, forcing you to be more intentional.
What if I run out of ideas halfway through a project?
This usually means the theme was too broad or you’re stuck in a rut. Try changing your perspective: shoot from low angles, high vantage points, or at different times of day. Alternatively, introduce a new sub-constraint, such as only shooting black and white for the remaining sessions. Change forces new observations.
How do I share my project effectively?
Present your work as a cohesive sequence, not individual posts. Use a dedicated page on your website or a curated Instagram carousel. Include a brief statement explaining the theme and constraints. Context helps viewers understand the intent behind the images, turning casual scrollers into engaged observers.
Can I edit photos in a project-based workflow?
Yes, but define your editing rules upfront. If the project is about raw emotion, avoid heavy retouching. If it’s about graphic design elements, consistent color grading is essential. The key is consistency. Apply the same editing logic to all images in the series to maintain visual unity.