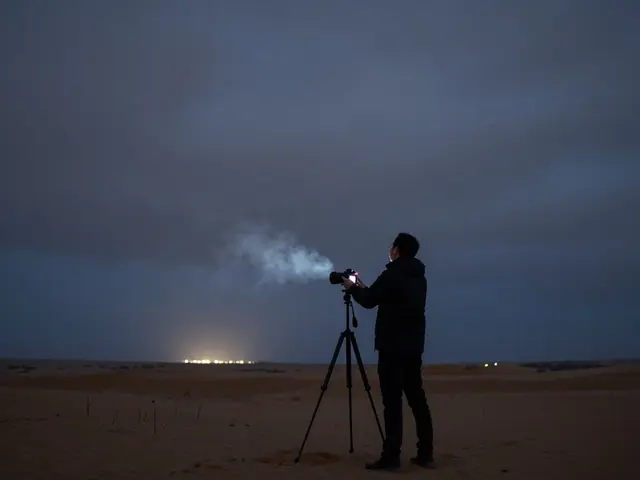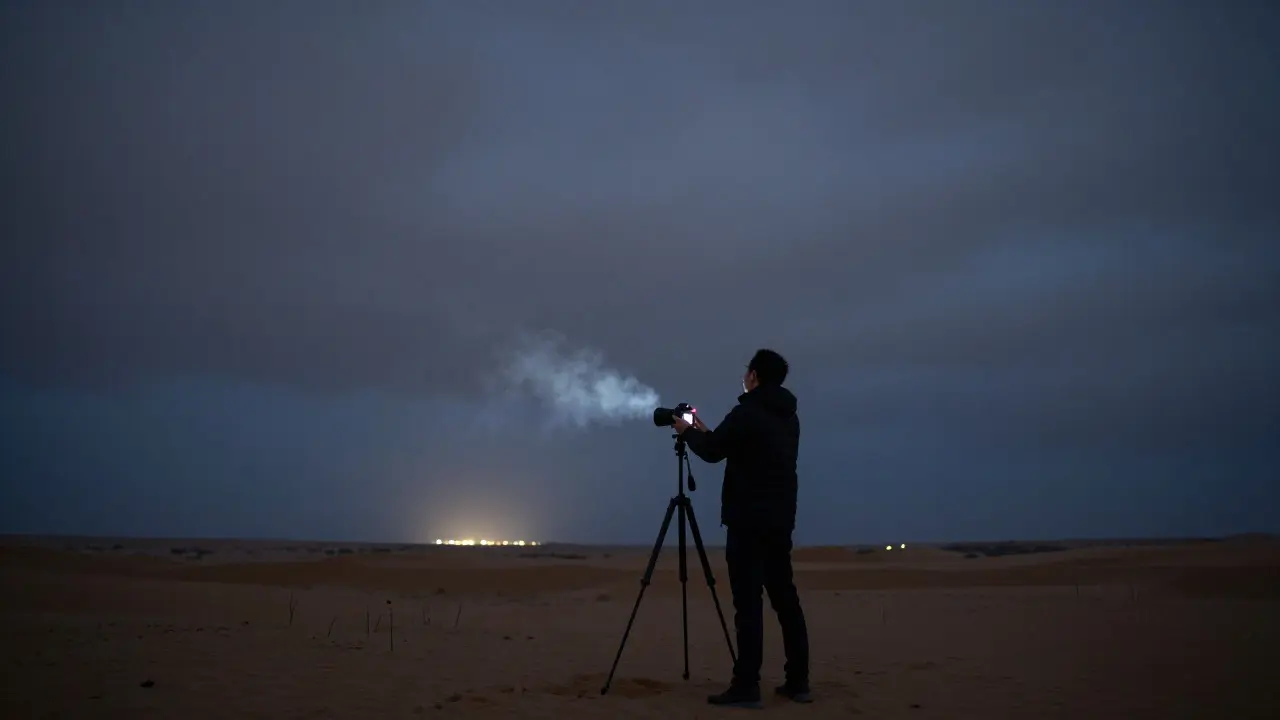
You set up your tripod at midnight, only to realize the sky is a solid gray blanket of clouds. Or maybe you aimed for the Milky Way the band of stars visible from Earth's night sky, containing billions of stars and cosmic dust, but forgot that the full moon was washing out every faint detail. These are the two biggest killers of astrophotography sessions. The good news? You don’t need expensive weather stations or complex astronomy software anymore. Your phone holds everything you need to plan a successful shoot.
Why Planning Matters More Than Gear
Many beginners think better lenses or cameras fix bad shots. Usually, it’s just bad timing. Astrophotography the practice of photographing celestial objects like stars, planets, and nebulae relies on dark skies. Light pollution, cloud cover, and lunar brightness all compete with the faint light coming from space. If you miss the window when the sky is clear and dark, no amount of post-processing will save the image. Using dedicated apps helps you predict these conditions days in advance, saving you trips into the wilderness for nothing.
The Three Pillars: Moon, Clouds, and the Milky Way
To plan effectively, you need to track three specific variables. Each one has its own set of rules and tools. Let’s break them down so you can check each one before you pack your bag.
1. Managing Moonlight Interference
The moon is the brightest object in the night sky after the sun. When it’s full, it acts like a giant spotlight, scattering light through the atmosphere and making faint stars invisible. For wide-field Milky Way photography capturing the galaxy's core and surrounding star fields with wide-angle lenses, you want the moon below the horizon or in a thin crescent phase. For lunar photography, you want the moon high in the sky with good contrast.
- Best times for Milky Way: New Moon (0% illumination) or within 3 days of New Moon.
- Best times for Moon details: First or Last Quarter (50% illumination), which provides raking light that highlights craters and mountains.
- Avoid: Full Moon if you are shooting deep-sky objects or faint nebulae.
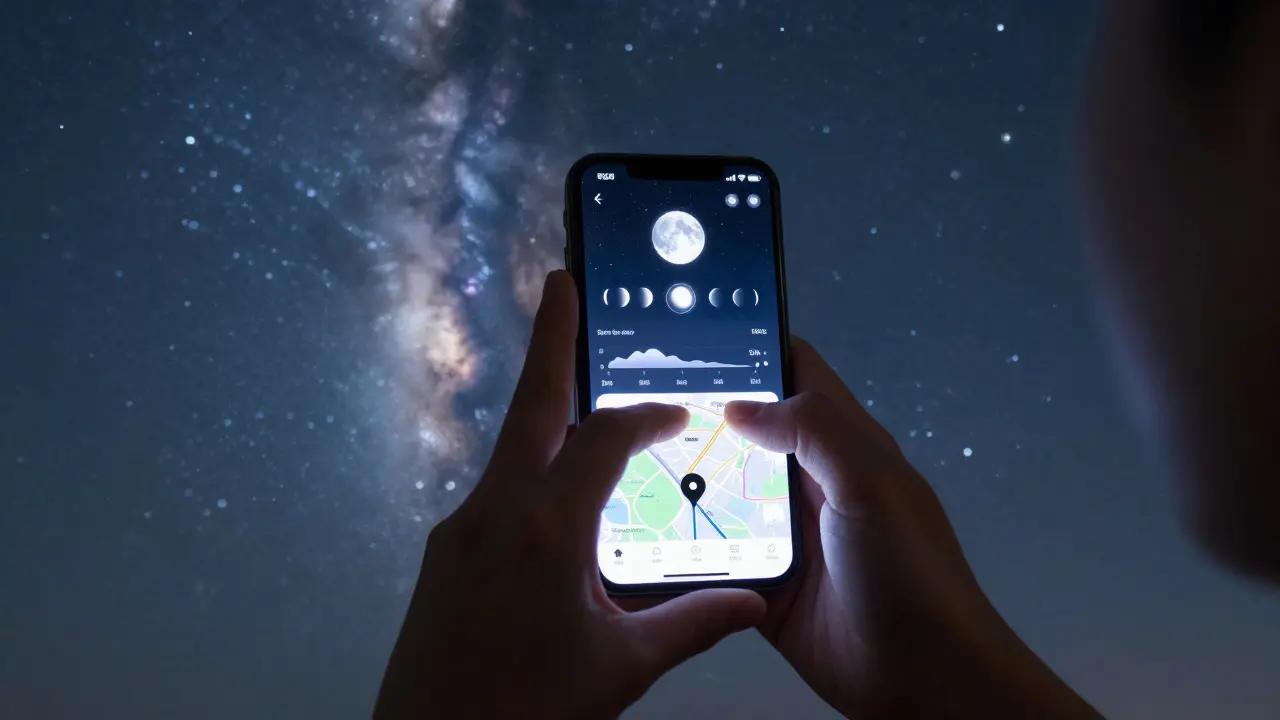
Use a moon phase app to check the exact percentage of illumination and the moon’s rise/set times. If the moon sets at 10 PM, you have your prime shooting window from 11 PM until dawn.
2. Reading Cloud Cover Accurately
Clouds are tricky because they move. A forecast saying "partly cloudy" doesn't tell you if the clouds will be over your head at 2 AM or 4 AM. You need hourly data, not daily summaries. Look for apps that provide cloud cover percentages by altitude. High cirrus clouds might let some starlight through, but low stratus clouds block everything.
Pro tip: Check the dew point. If the temperature drops to the dew point, fog forms. Fog is worse than clouds because it sticks to the ground and your gear. Aim for a gap between the air temperature and the dew point of at least 5°F (3°C).
3. Locating the Milky Way Core
The Milky Way isn’t visible year-round from every location. It rises above the horizon during specific months depending on your latitude. In the Northern Hemisphere, the bright core is best viewed from late spring through early autumn. If you live in the Southern Hemisphere, the seasons are reversed. An astronomy app will show you exactly where the galactic center will be in the sky at any given time. This saves you from pointing your camera at an empty patch of sky.
Essential App Features to Look For
Not all stargazing apps are created equal. Some are cluttered with ads, while others lack accurate local data. Here is what actually matters for planning:
| Feature | Why It Matters | Example Use Case |
|---|---|---|
| Hourly Cloud Forecasts | Daily forecasts are too vague for night shoots. | Checking if clouds clear at 2 AM for a 3-hour exposure session. |
| Moon Phase & Position | Lunar brightness ruins faint star shots. | Confirming the moon sets before your planned start time. |
| Bortle Scale Map | Measures light pollution levels at your location. | Finding a darker spot nearby if your backyard is too bright. |
| Object Visibility Planner | Shows when specific targets are above the horizon. | Knowing if Orion Nebula is visible this week. |
Look for apps that allow offline maps. Cell service often dies in remote locations, and you don’t want to lose your navigation data when you’re driving to a dark site.
Step-by-Step Planning Workflow
Here is a simple routine to follow every week to ensure you never miss a good night again.
- Check the Calendar: Look at the moon phases for the upcoming month. Mark the nights around the New Moon as priority dates.
- Scan Weather Patterns: Look for high-pressure systems. These usually bring clear skies. Avoid days following heavy rain, as residual moisture lingers.
- Verify Local Conditions: Two days before your shoot, check the hourly cloud cover and dew point for your specific location.
- Plan Your Target: Open your astronomy app and see where the Milky Way core or your chosen planet will be. Note the direction (North, South, East, West) and the time it reaches its highest point.
- Pack Accordingly: If the dew point is close to freezing, bring hand warmers. If it’s humid, bring lens wipes to prevent condensation.
Common Mistakes to Avoid
Even with great apps, humans make errors. Watch out for these pitfalls:
- Ignoring Twilight: Astronomical twilight ends when the sun is 18 degrees below the horizon. Shooting during civil twilight makes the sky too blue. Wait for true darkness.
- Overlooking Light Pollution: City lights can create color casts. Use a Bortle scale map to gauge how much filtering you might need in post-production.
- Static Planning: Weather changes. Keep your plans flexible. Have a backup date ready in case the clouds roll in unexpectedly.
Putting It All Together: A Real-World Example
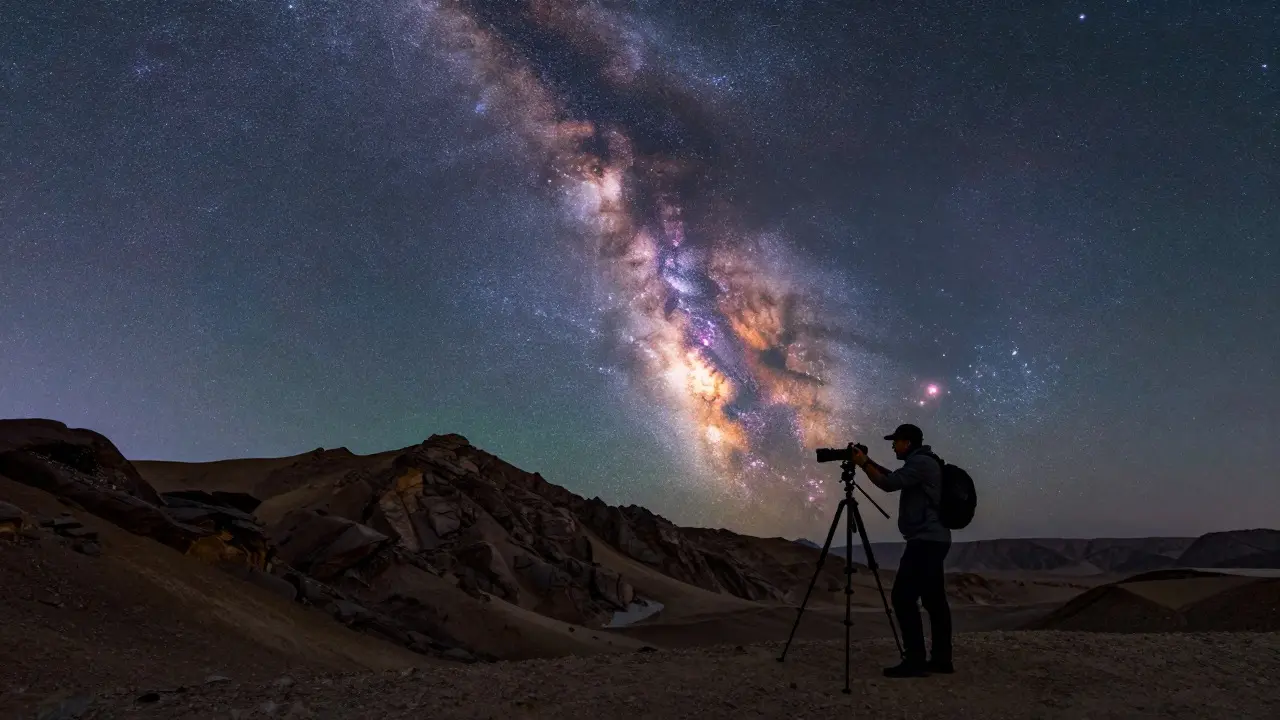
Imagine it’s August 2026, and you want to shoot the Perseid meteor shower peak combined with the Milky Way. First, you check the moon. It’s a waxing gibbous, meaning it’s quite bright. That’s a problem for faint meteors. You look ahead and see the New Moon occurs five days later. You decide to wait. Next, you check the cloud forecast for that New Moon night. The model shows 10% cloud cover at 1 AM, rising to 40% by 4 AM. You plan to shoot from 9 PM to 2 AM. Finally, you check the Milky Way position. The core is low in the south-southwest. You find a field with a clear view to the southwest. You’ve just turned a random night into a calculated opportunity.
Choosing the Right Tools for Your Level
If you are new to this, start with a user-friendly app that combines weather and astronomy data. As you get more advanced, you might switch to specialized tools for tracking specific deep-sky objects. The key is consistency. Checking your apps regularly builds intuition about local weather patterns and sky conditions. Over time, you’ll start to recognize signs of good or bad nights just by looking at the horizon, but the apps remain your safety net.
What is the best app for checking cloud cover for astrophotography?
While there is no single "best
About Author

I design sustainable urban infrastructure as a lead engineer, blending environmental science with practical urban planning. I spend my weekends testing prototypes in community gardens and writing about resilient city design. My work focuses on integrating green spaces into dense urban environments to improve quality of life.