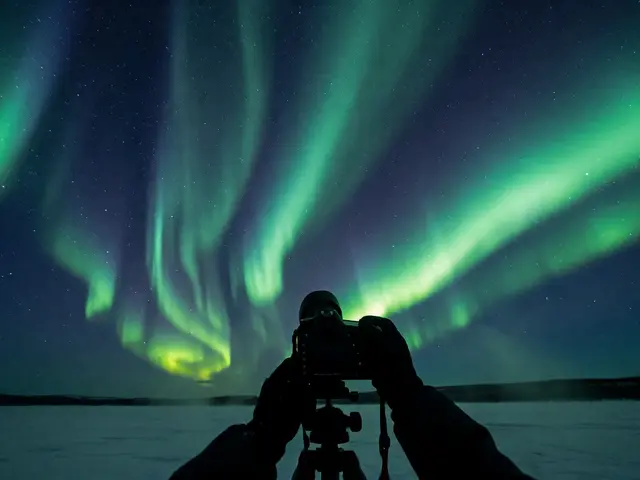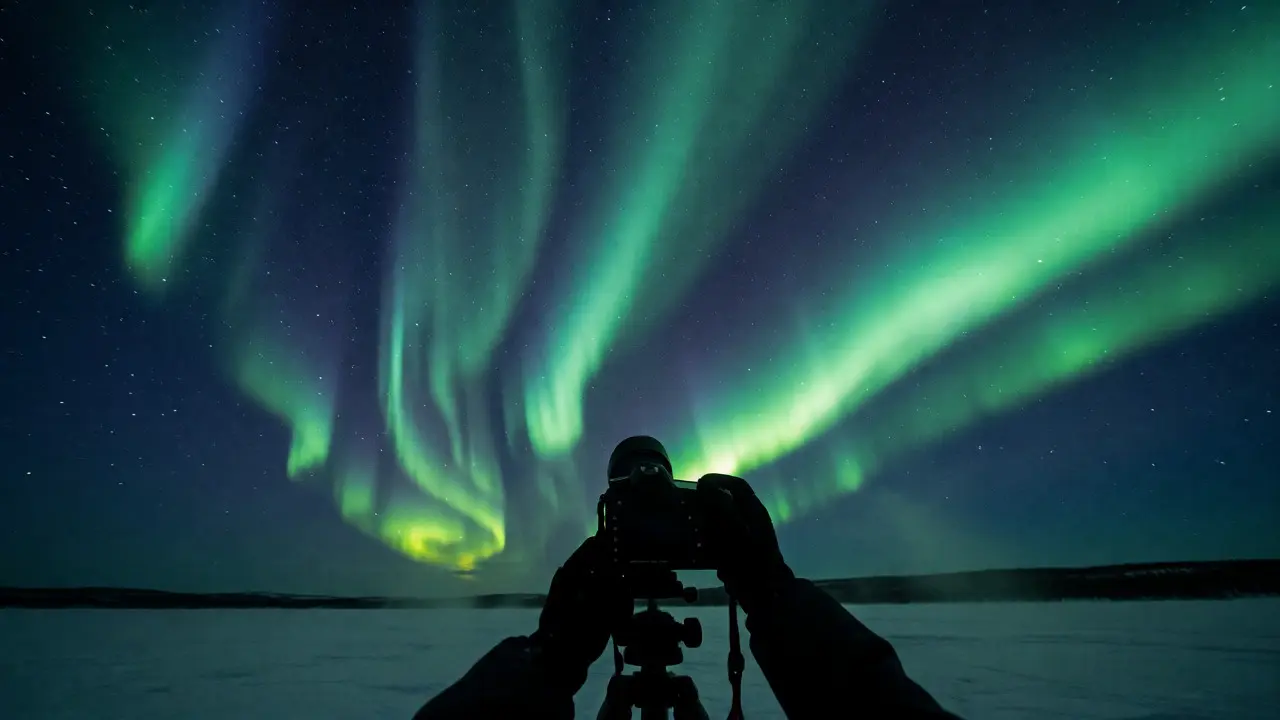
Imagine standing on a frozen lake in Lapland, the air so cold it stings your lungs, while green ribbons of light dance silently above you. You pull out your camera, heart pounding, only to realize your photos look like blurry smudges or pitch-black voids. This is the classic aurora photography struggle. The Northern Lights are notoriously tricky because they move fast, change shape instantly, and exist in a lighting environment that confuses most automatic camera modes. But here is the good news: you don’t need a $10,000 rig or a PhD in optics to capture them. You just need to understand how light interacts with your sensor and stop fighting the darkness.
This guide breaks down exactly how to photograph the Aurora Borealis, also known as the Northern Lights, is a natural light display predominantly seen in high-latitude regions around the Arctic. We will cover the essential gear, the specific camera settings that actually work (spoiler: auto mode is your enemy), and the post-processing tricks that bring out those vibrant greens and purples without making your photo look fake.
Why Your Auto Mode Fails at Night
If you point your phone or DSLR at the sky in "Auto" mode, you will likely get a dark rectangle. Why? Because your camera thinks it is looking at a black wall. It tries to balance the exposure for the darkness, resulting in an underexposed image where the faint aurora gets lost in the noise. To fix this, you must switch to Manual Mode (M) or Bulb Mode. This gives you control over three critical variables: shutter speed, aperture, and ISO.
The core challenge is balancing motion blur against noise. The aurora moves. If your shutter stays open too long, the curtains of light smear into a vague glow. If it closes too fast, you miss the light entirely. Finding the sweet spot depends on how active the aurora is during your shoot.
The Essential Gear Checklist
You do not need every piece of professional gear, but some items are non-negotiable if you want sharp results. Here is what actually matters:
- A Sturdy Tripod: This is the most important tool. Long exposures require absolute stability. Even a slight breeze can shake your camera enough to ruin the shot. A carbon fiber tripod is lighter to carry, but a heavy aluminum one works fine if you hang your bag from the center hook for extra weight.
- Wide-Angle Lens: You want to capture the scale of the sky. Lenses between 14mm and 24mm (on full-frame) are ideal. Avoid telephoto lenses; they zoom in on a small patch of sky, missing the grandeur of the phenomenon.
- Fast Aperture: Look for a lens with a maximum aperture of f/2.8 or wider (f/1.8, f/1.4). A wider aperture lets more light hit the sensor, allowing for shorter shutter speeds and lower ISO.
- Spare Batteries: Cold weather drains batteries rapidly. Keep spares in an inner pocket close to your body heat until you need them.
- Remote Shutter Release: Pressing the button manually introduces vibration. Use a cable release, an intervalometer, or your camera’s built-in timer (2-second delay) to trigger the shutter without touching the camera.
| Aurora Activity Level | Shutter Speed | Aperture | ISO Range | Focus Method |
|---|---|---|---|---|
| Slow / Static Glow | 15-25 seconds | f/2.8 - f/4.0 | 800 - 1600 | Manual Focus on Stars |
| Moderate Movement | 5-10 seconds | f/2.8 | 1600 - 3200 | Manual Focus on Stars |
| Rapid Flares / Storms | 1-4 seconds | f/1.4 - f/2.8 | 3200 - 6400+ | Manual Focus on Stars |
Mastering the Exposure Triangle
Let’s break down the settings shown in the table above. Start by setting your aperture to its widest possible setting (lowest f-number). This maximizes light intake. Next, set your ISO. In modern cameras, ISO 1600 is often a safe starting point. If the image looks too noisy in the preview, drop it to 800. If it is too dark, push it to 3200. Don’t be afraid of noise; it is easier to remove in post-production than it is to recover lost detail from an underexposed shadow.
Now, adjust your shutter speed based on the movement. If the aurora is a steady, slow-moving curtain, you can afford a 15-second exposure. This captures more light and creates smoother gradients. However, if you see rapid flares-quick bursts of light moving across the sky-you need to shorten your exposure to 2-5 seconds. Otherwise, the light streaks become chaotic blurs. There is no single "correct" setting; you must react to the sky.
Focusing in the Dark
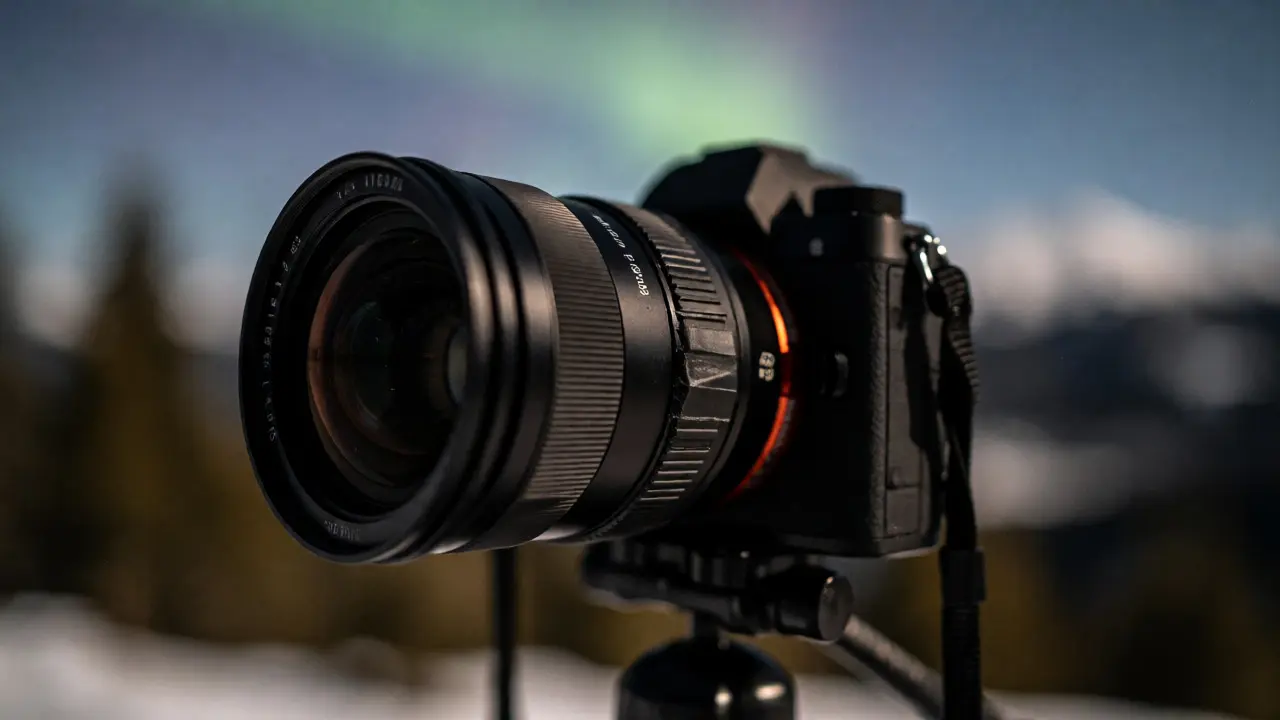
Autofocus fails in low-light conditions. It hunts back and forth, unable to find contrast. You must switch to Manual Focus (MF). Here is the trick: focus on infinity, but not quite. Most lenses have an infinity symbol (∞), but turning the ring all the way there often results in soft stars due to thermal expansion or manufacturing tolerances.
Instead, use Live View. Zoom in digitally on the brightest star you can see. Adjust the focus ring until that star appears as a tiny, sharp dot rather than a fuzzy circle. Once focused, tape the focus ring down with gaffer tape so it doesn’t shift. If you lose your focus mid-shoot, you’ll waste precious time trying to find it again in the dark.
Composition: More Than Just Sky
A photo of just sky can feel empty. The best aurora images include a foreground element that anchors the viewer. Think of silhouetted trees, a mountain ridge, a cabin, or even a person. This provides scale and context. Use the rule of thirds: place the horizon line on the bottom third of the frame, giving two-thirds of the space to the dancing lights.
Watch out for light pollution. Streetlights or moonlight can wash out the subtle colors of the aurora. If the moon is bright, position yourself so that mountains or buildings block it, or wait for it to set. Conversely, a sliver of moonlight can gently illuminate the foreground, adding depth to your composition without overpowering the sky.
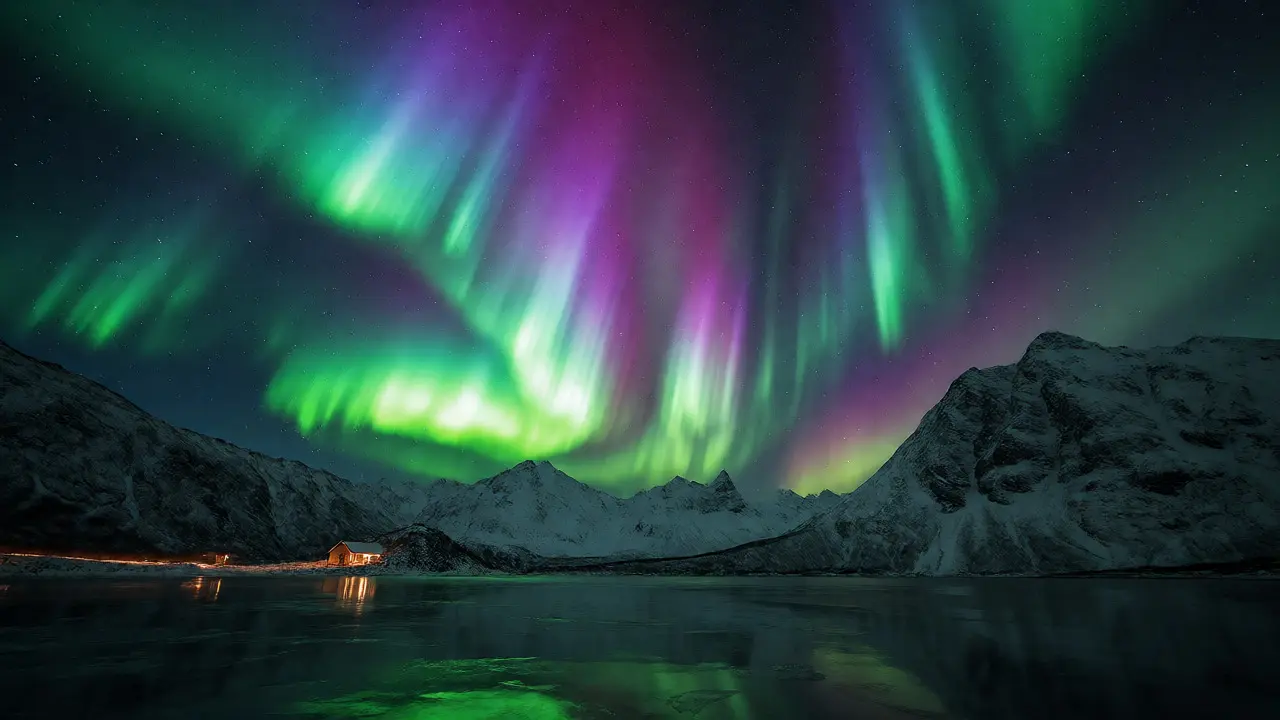
Post-Processing: Bringing Out the Color
Your RAW file might look dull straight out of the camera. The aurora emits light primarily in oxygen-green (557.7 nm) and nitrogen-red/purple wavelengths, which sensors sometimes render as grayish-white. In software like Adobe Lightroom or Capture One, boost the saturation and vibrance slightly. Increase the contrast to make the blacks deeper.
Use noise reduction tools carefully. Apply luminance noise reduction to smooth out grain, but keep the details sharp. Sharpen the stars specifically using masking techniques. If you took multiple shots, consider stacking them in software like StarStaX or Sequator to average out noise and create a cleaner image.
Troubleshooting Common Issues
Banding or Horizontal Lines: This is usually caused by long exposure noise reduction being enabled in-camera. Turn off "Long Exposure NR" in your menu. Instead, handle noise in post-production.
Red Eyes or Glare: Ensure no internal light sources (like your phone screen) are reflecting off the lens. Cover your viewfinder with a cap if you are using an optical finder, as stray light entering through the eyepiece can affect exposure metering.
Condensation: When you bring a cold camera inside a warm lodge, moisture will form on the lens and sensor. Put your camera in a sealed ziplock bag before entering the warmth. Let it acclimate slowly inside the bag to prevent fogging.
Can I photograph the Northern Lights with a smartphone?
Yes, but it requires a tripod and a phone with manual controls (like Pro Mode on Android or Night Mode on newer iPhones). You need to lock focus to infinity and extend the exposure time to 10-30 seconds. Results won't match a dedicated mirrorless or DSLR camera, but modern flagships can produce surprisingly decent social-media-ready images.
What is the best time of year to see the Aurora Borealis?
The peak season runs from late September to early April. During these months, nights are long and dark in polar regions. Equinoxes (March and September) are statistically associated with higher geomagnetic activity, potentially increasing visibility chances.
Do I need a special filter for aurora photography?
No. Standard UV or clear protective filters are sufficient. Some photographers use light pollution filters to cut orange sodium vapor glare from cities, but in true wilderness areas, they are unnecessary and may reduce color fidelity.
Why do my aurora photos look white instead of green?
Human eyes adapt to darkness differently than cameras. Our rods (night vision cells) don't detect color well, so we often see gray. Cameras, however, record the actual wavelengths. If your photo looks white, increase the saturation in post-processing. Also, check your White Balance; set it to Daylight (5500K) or Cloudy (6000K) to preserve natural tones.
How far north do I need to go?
You need to be within the "Auroral Oval," typically between 60° and 75° North latitude. Places like Tromsø (Norway), Fairbanks (Alaska), Yellowknife (Canada), and Reykjavik (Iceland) are prime spots. However, during strong solar storms, the oval expands, and sightings can occur as far south as Scotland or New York.