Ever taken a photo of a silk blouse that looks like flat plastic? Or shot a denim jacket where the stitching disappears into a blur? The culprit is rarely the camera settings. It’s usually the light direction. In fashion photography, fashion lighting isn’t just about making things bright; it’s about sculpting fabric so the viewer can almost feel the material through the screen.
When you shoot garments, you are dealing with surfaces that reflect, absorb, or scatter light in unpredictable ways. A cotton t-shirt behaves completely differently from a leather trench coat. Understanding how side light is lighting positioned at a 90-degree angle to the subject, which emphasizes texture and depth by creating long shadows interacts with these materials is the difference between a stock-photo look and an editorial masterpiece.
Why Direction Matters More Than Intensity
Most beginners obsess over wattage or ISO. They crank up the power until the histogram peaks, only to end up with a flat image. But light has a vector. It travels in a specific direction, and that direction dictates how we perceive shape. When light hits a garment head-on (frontal lighting), it fills in the wrinkles and flattens the drape. This is great for e-commerce product shots where you need to show color accuracy, but it kills the mood.
Conversely, when you use directional light is light that originates from a single, defined source, allowing photographers to control highlights and shadows precisely, you create contrast. Contrast reveals form. If you want the audience to see the fold in a chiffon skirt, you need shadows to define those folds. Without directional control, your clothing looks like a digital sticker pasted onto a background.
- Frontal Light: Flattens texture, maximizes color fidelity, minimizes shadow detail.
- Side Light: Maximizes texture, creates dramatic shadows, defines silhouette.
- Back Light: Creates rim effects, separates subject from background, highlights hair and edges.
The Power of Side Light on Textured Fabrics
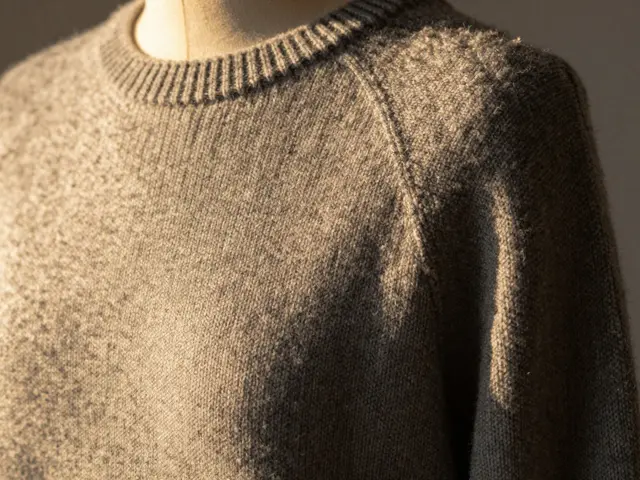
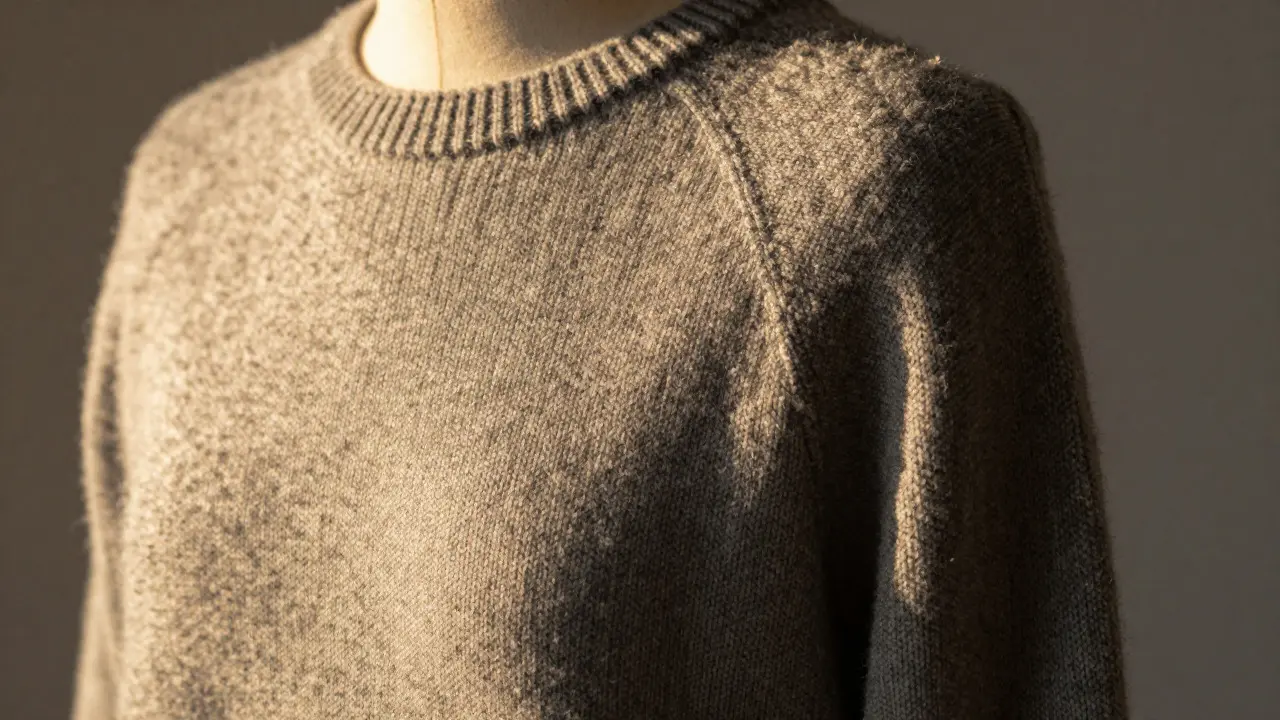
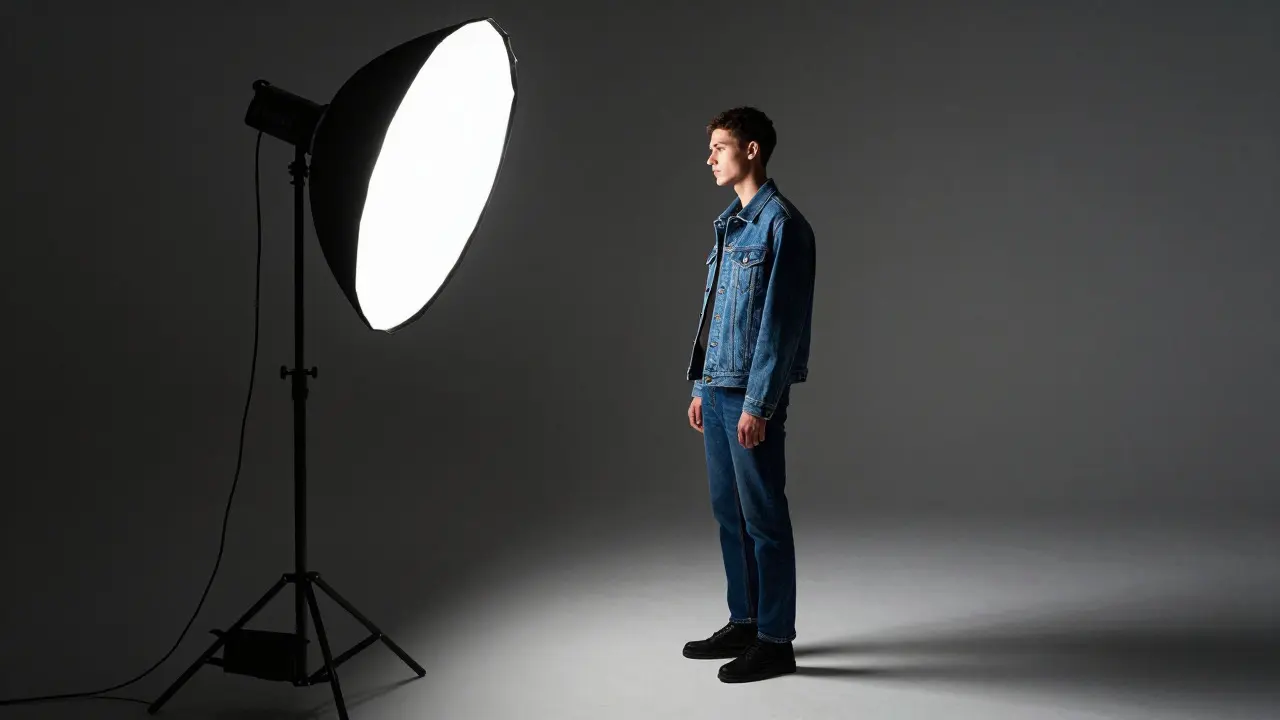
Let’s talk about the workhorse of fashion texture: side lighting. Imagine shooting a wool sweater. Wool is nubby; it has thousands of tiny fibers sticking out in random directions. If you light it from the front, those fibers blend together into a uniform gray mass. But if you place a softbox or beauty dish at a 90-degree angle to the model, something magic happens. The light grazes across the surface. Each tiny fiber casts a micro-shadow. Suddenly, the sweater looks warm, heavy, and tactile.
This technique is particularly effective for denim is a sturdy cotton twill textile typically dyed with indigo, known for its durability and distinctive texture. Denim has a diagonal weave. Frontal light hides this weave. Side light catches the ridges of the twill pattern, making the fabric look crisp and structured. Pro tip: if you’re shooting a leather jacket, avoid hard side light unless you want to emphasize every scratch and crease. Use a large diffuser to soften the transition between light and shadow, keeping the leather looking smooth while still retaining dimensionality.
Controlling Highlights on Sheer and Shiny Materials
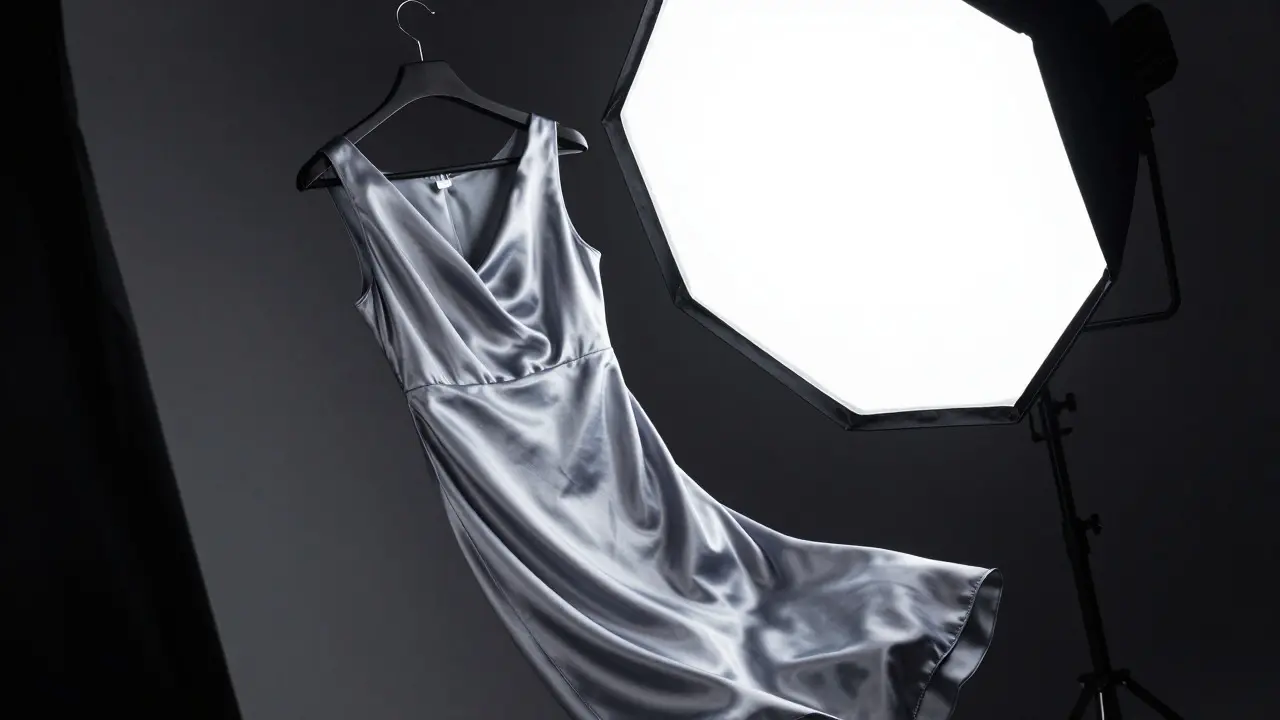
Silk, satin, and sequins are the bane of many photographers’ existence. These fabrics act like mirrors. If you point a bare flash at a satin dress, you’ll get a blown-out white blob instead of a beautiful highlight. The key here is controlling the size of the light source relative to the subject.
For shiny garments, you generally want larger, softer light sources to spread the reflection over a wider area. A large octabox or a scrim placed between the flash and the subject helps manage these specular highlights. However, don’t kill all the shine. A satin dress needs *some* sharpness to look luxurious. You can achieve this by using a grid on your strobe to keep the light tight, then adjusting the angle slightly off-center. This gives you a controlled streak of light rather than a chaotic glare.
| Fabric Type | Recommended Light Direction | Modifier Suggestion | Goal |
|---|---|---|---|
| Cotton/Linen | 45-90 Degree Side | Softbox or Umbrella | Reveal weave and natural drape |
| Silk/Satin | Off-Axis Side | Large Octabox + Grid | Create elongated, elegant highlights |
| Leather | Front-Side (30-45 Deg) | Scrim or Diffusion Cloth | Smooth surface while maintaining volume |
| Sequins/Glitter | Direct Side | Bare Flash or Snoot | Maximize sparkle and individual facet reflection |
Setting Up Your Studio for Directional Control
You don’t need a $10,000 studio to master this. You need geometry. Start with one main light. Place it at eye level or slightly above, angled 45 degrees to the left or right of the camera axis. This is your key light. Next, consider the fill. Do you want deep shadows or balanced exposure? If you are shooting high-fashion editorial, embrace the shadows. Let the side light do the talking. If you are shooting commercial catalog images, add a large bounce card or a second strobe at low power on the opposite side to lift the shadows just enough to reveal detail without flattening the image.
Don’t forget the background. Directional light affects the backdrop too. If your light is too wide, it will spill onto the wall behind the model, creating a gradient that can distract from the garment. Use flags or barn doors to contain the light. This isolation makes the clothing pop against a clean, dark, or neutral background.
Common Mistakes and How to Fix Them
One frequent error is moving the light too far away. As light distance increases, it becomes harder (more directional) and falls off more rapidly (inverse square law). For close-up garment details, bring the light closer to soften the transition. For full-body shots, pull back to increase contrast and definition. Another mistake is ignoring the model’s pose. If the model turns their shoulder away from the side light, the fabric may fall into total shadow. Communicate with your talent. Ask them to angle their torso toward the light source to ensure the garment’s primary features are illuminated. Lighting is a conversation between the photographer, the model, and the fabric.
Practical Workflow for Shooting Garments
- Analyze the Fabric: Is it matte, glossy, sheer, or textured? Decide your goal before turning on the lights.
- Set the Key Light: Position your main source at a 45 to 90-degree angle depending on the desired texture intensity.
- Test with a Smartphone: Take a quick test shot to check highlight rolloff and shadow depth.
- Add Fill if Needed: Only add fill light if critical details are lost in darkness. Keep it subtle.
- Refine with Flags: Block stray light hitting the background or unwanted reflections on shiny materials.
By treating light as a physical tool that sculpts space, you move beyond simple illumination. You start designing visual experiences that make the viewer stop scrolling and stare at the drape of a sleeve or the sheen of a collar. That is the true power of directional control in fashion photography.
What is the best angle for side lighting in fashion photography?
A 90-degree angle provides maximum texture and drama, ideal for rugged fabrics like denim or wool. A 45-degree angle offers a balance between texture and visibility, suitable for most commercial shoots. Adjust based on whether you want to emphasize depth or clarity.
How do I prevent blown-out highlights on shiny fabrics?
Use a larger light source, such as an octabox, and position it slightly off-axis. Adding a grid to the modifier helps control the spread of light. Avoid pointing bare flashes directly at satin or silk, as this creates harsh, uncontrolled specular reflections.
Do I need multiple lights for good garment photos?
Not necessarily. One well-positioned directional light can create stunning results by relying on natural shadows. Additional lights should be used sparingly to fill shadows or add rim lighting, ensuring they don't flatten the texture created by the key light.
How does light direction affect the perception of fabric weight?
Hard, directional side light enhances the appearance of weight and structure by casting distinct shadows in folds. Soft, frontal light tends to make fabrics appear lighter and less substantial, which is why heavy coats often look flatter under flat lighting.
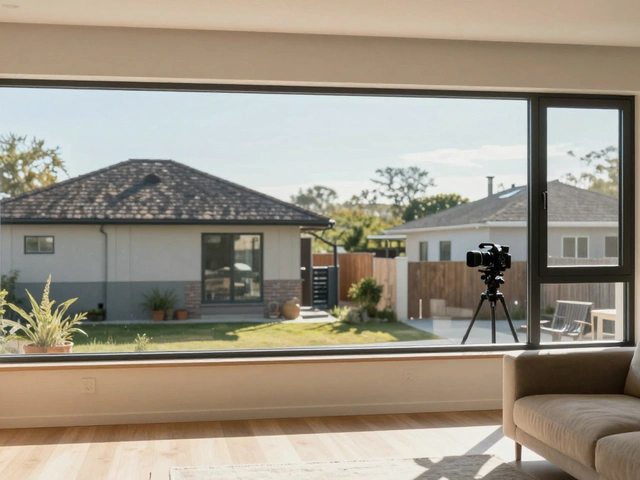
Can I use window light for directional fashion photography?
Yes, window light is excellent for directional effects because it acts as a large, soft source. Position the model near the window so the light comes from the side. Use black cards to block ambient fill light and maintain strong contrast for texture emphasis.