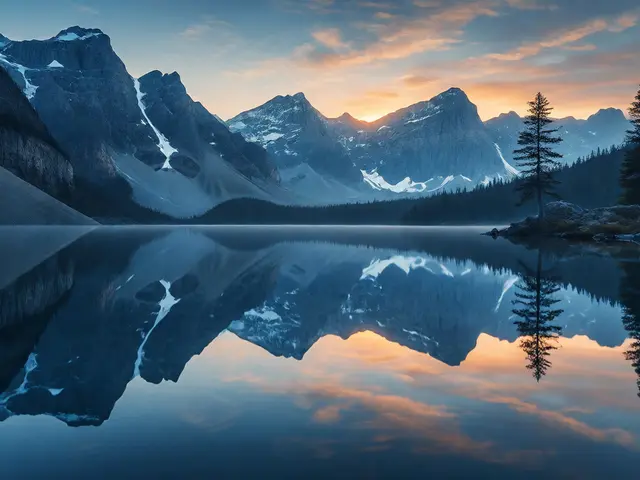
You’ve seen those images. The ones where the sky doesn’t just sit above the horizon-it spills into the earth, doubling the drama of a sunset or softening the harshness of midday light. It looks like magic, but it’s mostly physics and patience. Most photographers miss these shots because they’re looking up at the clouds instead of down at the ground. If you want to turn ordinary landscapes into surreal masterpieces, you need to learn how to hunt for reflections.
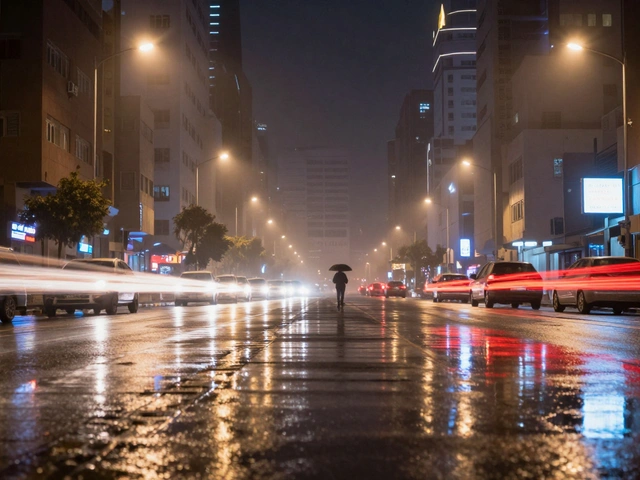
This isn’t just about standing in front of a big lake on a windless day. That’s easy, and honestly, a bit boring if that’s all you do. The real art lies in finding reflections in unexpected places: a rain-soaked parking lot, a tidal flat at low tide, or even a single puddle in your backyard. Let’s break down how to capture them without ending up with a blurry mess or a photo that looks exactly like everyone else’s.
Why Your Camera Sees What Your Eyes Don’t
Your eyes are amazing at auto-correcting. You look at a rippling pond, and your brain smooths out the noise. Your camera doesn’t have that luxury. A shutter speed of 1/60th of a second will freeze motion, but it won’t freeze the chaotic movement of water unless the water is dead still. This is the first hurdle most beginners hit. They shoot handheld, get a sharp subject, but the reflection looks like abstract art rather than a mirror.
To fix this, you need to understand the relationship between shutter speed and water surface tension. Water has viscosity and surface tension, which means small ripples take time to dissipate. If there’s a breeze, waiting five minutes might not be enough; you might need ten. But here’s the trick: you don’t always need absolute stillness. Sometimes, a slight ripple adds texture and depth that a perfect mirror lacks. The key is control. You decide whether you want glass-like clarity or painterly distortion.
| Water Condition | Recommended Shutter Speed | Visual Result |
|---|---|---|
| Dead Calm (Glass) | 1/125s - 1/500s | Perfect mirror, high detail retention. |
| Light Breeze (Ripples) | 1/30s - 1/60s | Softened details, dreamlike quality. |
| Moving Water (Streams) | 1/4s - 2s | Silk effect, loss of distinct reflection. |
| Wind-Blown Waves | < 1/15s | Abstract patterns, no clear image. |
Lakes: Chasing the Golden Mirror
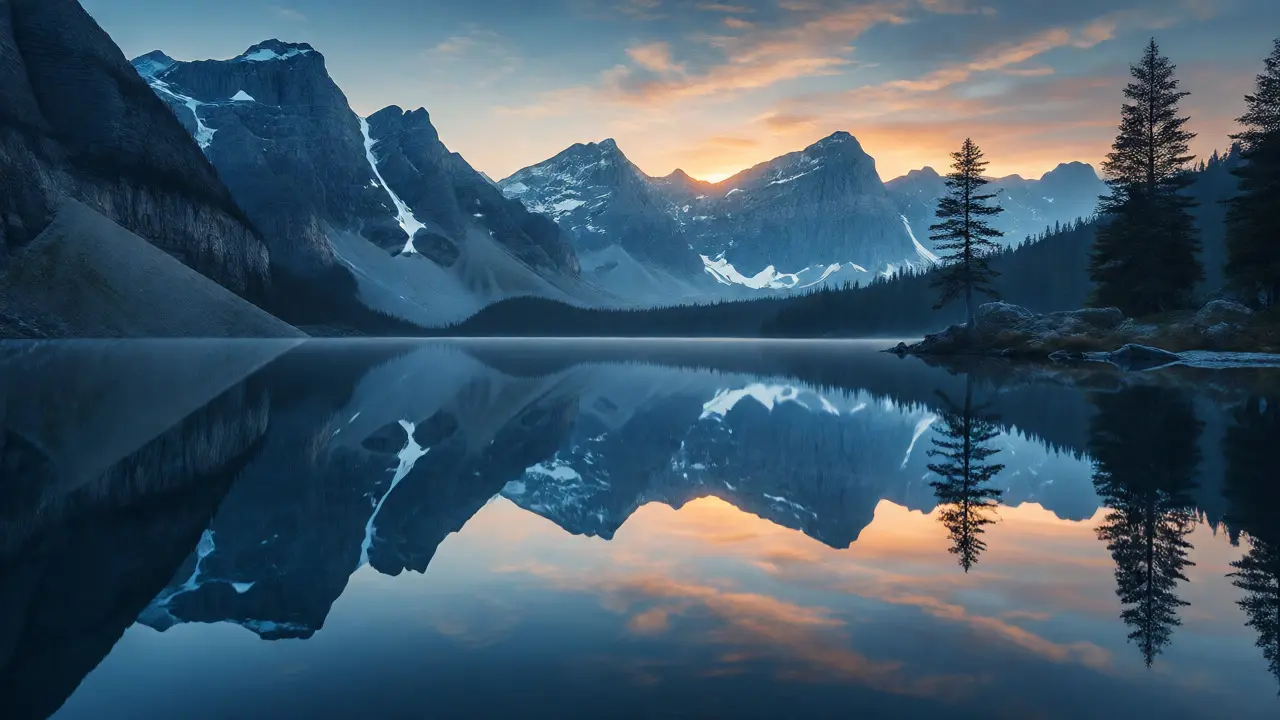
Lakes are the classic stage for reflections, but they are also the most competitive. Everyone wants that shot of Mount Hood reflected in Trillium Lake. To stand out, you need to change your perspective. Most people shoot from eye level, which often results in a split composition that feels static. Try getting lower. Literally. Kneel down, or even lie prone on the shore. By lowering your angle, you minimize the foreground debris and maximize the reflection area. Suddenly, the trees aren’t just above the water; they appear to grow out of it.
Timing is everything here. In Portland, we know that mornings before sunrise offer the calmest air. As soon as the sun hits the water, thermal currents start to rise, creating shimmer. This "heat haze" distorts reflections, making them wavy and less defined. If you’re shooting during the day, look for shaded areas of the lake. A patch of water under a large tree canopy can remain still while the rest of the lake churns in the wind. Use this micro-environment to isolate your subject.
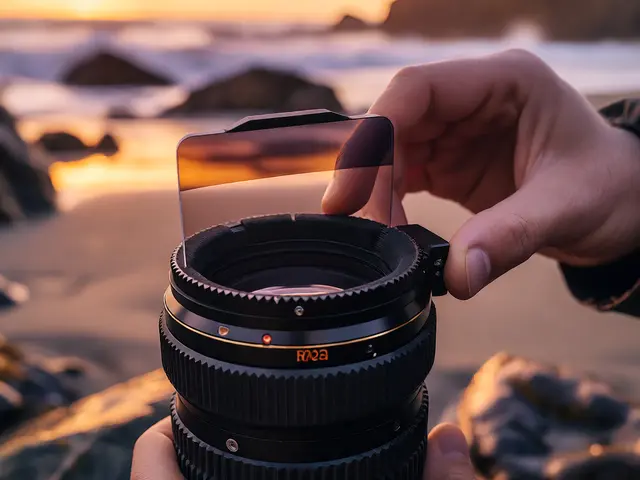
Another pro tip: use a polarizing filter, but be careful. A circular polarizer cuts glare, which sounds great for reflections. However, if you rotate it too far, you’ll eliminate the reflection entirely, turning the water dark and transparent. You want to dial it back until the reflection pops but the water retains some depth. It’s a balancing act between contrast and clarity.
Puddles: Urban Gems Waiting to Be Found
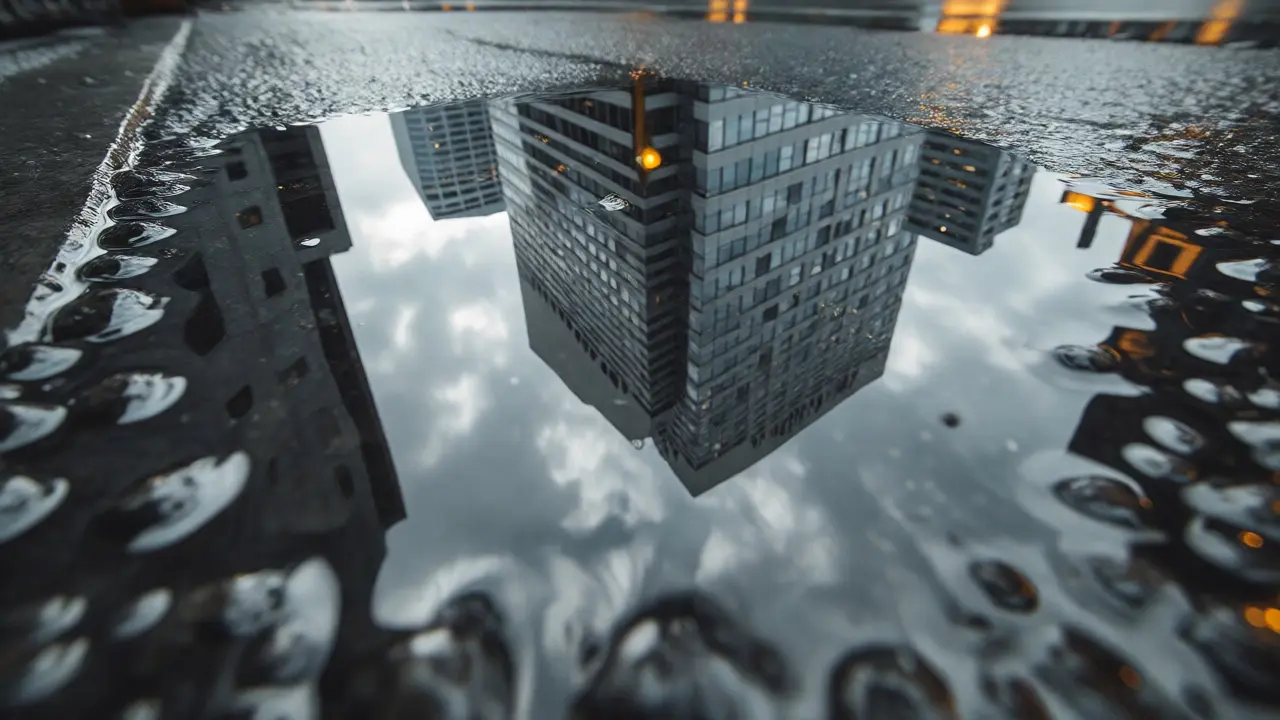
If lakes feel too remote, look down at your feet. Rain creates instant studios in cities and suburbs. A puddle is essentially a free wide-angle lens. Because they are small, they require a different approach than a lake. You cannot step back. You must get close-macro close.
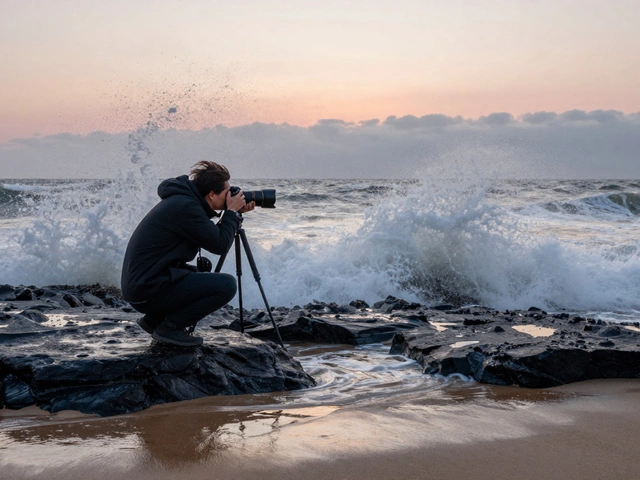
The challenge with puddles is keeping the camera steady while staying dry. Tripods can sink into mud, and handheld shots blur easily due to the long exposure needed for low-light conditions after rain. Here’s a hack: use your bag as a monopod. Place your camera on top of a sturdy backpack, press the shutter release cable, and wait. Or, if you’re adventurous, get on your knees in the wet grass. The closer you get to the water’s surface, the more immersive the reflection becomes. You want the viewer to feel like they could fall into the puddle.
Focus stacking is your best friend here. When you’re inches away from a puddle reflecting a skyscraper, your depth of field is razor-thin. The edge of the puddle might be sharp, but the reflection of the building’s peak could be soft. Take one shot focused on the foreground edge and another focused on the reflection. Merge them later in post-processing. This ensures every pixel is crisp, giving the image a hyper-realistic quality that draws people in.
Wet Sand: The Texture Play
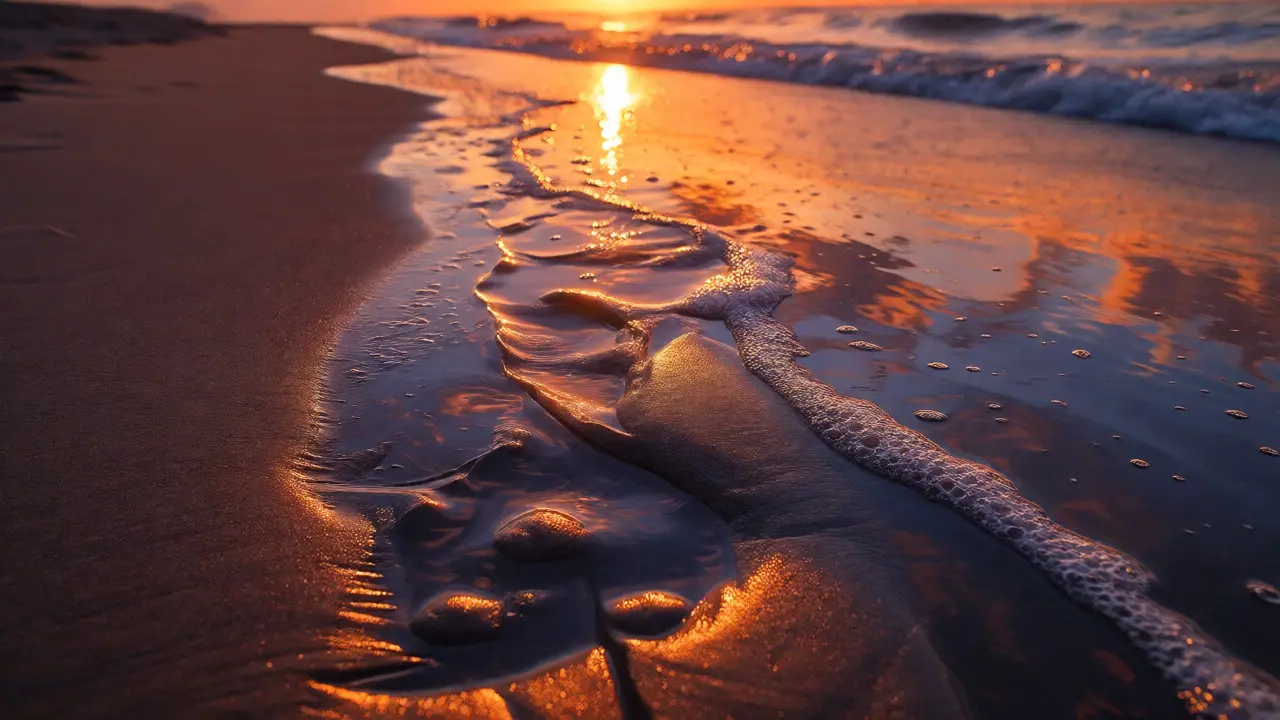
Beaches offer a unique type of reflection: wet sand. Unlike water, sand holds its shape when wet. After a wave recedes, it leaves behind a thin film of water over compacted sand. This creates a textured mirror. It’s not perfect, but it’s incredibly dynamic.
The secret to wet sand reflections is timing the tide. You want to shoot shortly after the tide goes out, when the sand is still glistening but before it dries out. Dry sand absorbs light; wet sand reflects it. Look for footprints or natural ridges in the sand. These features catch the light differently, adding leading lines that guide the eye toward the reflected sky. A footprint filled with water can reflect a cloud, creating a tiny, personal universe in the sand.
Exposure compensation is critical here. Wet sand is darker than dry sand, but the reflections are bright. Your camera’s meter might get confused and underexpose the scene, making the sand look muddy. Dial in +1/3 to +2/3 stops of exposure to keep the highlights in the reflection bright and the shadows in the sand detailed. Check your histogram-if the right side is clipping, pull it back slightly. You want data in both the darkest shadows and the brightest highlights.
Composition Rules That Actually Work
Forget the strict rule of thirds for a moment. With reflections, symmetry is powerful. Centering the horizon line can create a sense of balance and peace. Think of a serene lake at dawn; splitting the frame perfectly in half emphasizes the duality of reality and reflection. It’s calming, almost meditative.
However, if you want energy, break the symmetry. Place the horizon in the bottom third to emphasize the sky and its reflection. Or place it in the top third to focus on the intricate details of the water’s surface. Leading lines work wonders here too. A pier, a row of reeds, or a shoreline curve can lead the viewer’s eye directly into the reflection, making the image feel like a journey rather than a snapshot.
Also, consider negative space. A vast expanse of reflective water with a single rock or boat creates isolation and scale. It tells a story of solitude. Don’t clutter the frame. Sometimes, less is more, especially when the reflection itself is complex and busy.
Post-Processing: Enhancing Without Faking
Once you’ve captured the shot, editing brings it home. Start with white balance. Reflections often carry the color temperature of the sky. If you shot during blue hour, the reflection will be cool. Correcting this too aggressively can kill the mood. Keep the cool tones if they enhance the feeling of cold, quiet water.
Use local adjustment brushes to boost contrast and clarity specifically on the reflection. Often, reflections are slightly softer than the actual objects due to water imperfections. Sharpening the reflection area helps define the shapes. But be subtle. Over-sharpening creates halos and makes the image look artificial.
Finally, check for sensor dust. Dark skies reflected in dark water make dust spots obvious. Clean them out in Lightroom or Photoshop. Nothing ruins a pristine mirror like a black speck floating in the middle of a reflected moon.
Do I need a tripod for landscape reflections?
While not strictly mandatory, a tripod is highly recommended. Reflections often require slower shutter speeds to smooth out minor ripples or to compensate for low light during golden hour. Handholding can introduce micro-jitters that blur the fine details of the reflection, especially when using telephoto lenses. If you don't have a tripod, use a beanbag or stabilize your camera on a stable surface.
How does wind affect lake reflections?
Wind creates ripples and waves that distort reflections. Even a light breeze can turn a mirror-like surface into a shattered mosaic. For perfect reflections, you need calm conditions, typically early morning or late evening when air temperatures are stable. If wind is unavoidable, try using a faster shutter speed to freeze the ripples, accepting a more textured, less perfect reflection.
What is the best time of day for wet sand reflections?
The best time is usually shortly after low tide or immediately after a wave recedes, provided the sand is still saturated. Lighting matters too; low-angle sunlight (sunrise or sunset) enhances the specular highlights on the wet sand, making the reflections pop against the darker, damp grains. Midday sun tends to wash out these textures.
Can I use a smartphone for reflection photography?
Absolutely. Modern smartphones have excellent computational photography features that handle HDR well, which is crucial for balancing bright reflections and dark subjects. To improve results, tap to focus on the reflection point and lock exposure. Use a mini-tripod or prop the phone against a rock to ensure stability for longer exposures in low light.
Why do my reflections look dull?
Dull reflections are often caused by overcast lighting or incorrect white balance. Ensure you are shooting during times with directional light (golden hour). Also, check your camera's picture profile; neutral profiles may lack saturation. Boosting vibrance and contrast in post-processing can restore punch, but capturing good light in-camera is always preferable.