You’re walking down a busy street, camera in hand, looking for that perfect shot. The scene is chaotic-cars blurring past, pedestrians rushing, signs cluttering the view. Then you see it: an old stone archway or a stark modern doorway cutting through the noise. You raise your camera, but the image feels flat. Why? Because you haven’t used the architecture to guide the eye. Architectural framing is a compositional technique where physical structures like doors, windows, and arches create a secondary frame within the photograph, directing viewer attention and adding depth. It’s not just about having a pretty border; it’s about controlling how people see your subject.
Why Frames Work on the Human Eye
Our brains are wired to look at boundaries. When you place a subject inside a natural frame provided by a building, you trigger a psychological response called "figure-ground separation." The frame becomes the ground, and the subject becomes the figure. This makes the subject pop without needing bright colors or high contrast.
Think about looking through a keyhole. Your focus narrows instantly. In urban photography, a window pane does exactly this. It tells the viewer, "Look here, ignore everything else." But there’s a trap. If the frame is too dominant, it steals the show. If it’s too subtle, it gets lost. The goal is balance. You want the frame to support the story, not interrupt it.
This technique also solves a major problem in city shooting: visual clutter. Cities are messy. Power lines, trash cans, random cars-they all fight for attention. A solid architectural element blocks out the chaos. It simplifies the background before you even press the shutter. Instead of cropping later in post-production, you crop in-camera using the environment itself.
The Doorway as a Narrative Device
Doorways are architectural openings designed for passage, often featuring distinct thresholds that serve as powerful leading lines in photography. They imply movement. A person standing in a doorway isn’t just posing; they are transitioning from one space to another. This adds a layer of storytelling that a static wall cannot provide.
When you shoot through a doorway, consider the light difference between the interior and exterior. Often, the inside is darker. This creates a natural vignette effect. If your subject is stepping out into the sunlight, their silhouette against the dark interior creates dramatic contrast. Conversely, if they are stepping in, the light spills onto them, highlighting details while keeping the background mysterious.
Don’t just center your subject. Place them slightly off-center within the doorframe. This follows the rule of thirds but within the context of the frame. It feels more dynamic. Also, pay attention to the texture of the door itself. A weathered wooden door with peeling paint tells a different story than a sleek glass revolving door. The material contributes to the mood. Rustic implies history; glass implies transparency and modernity.
Windows: Reflections and Layers
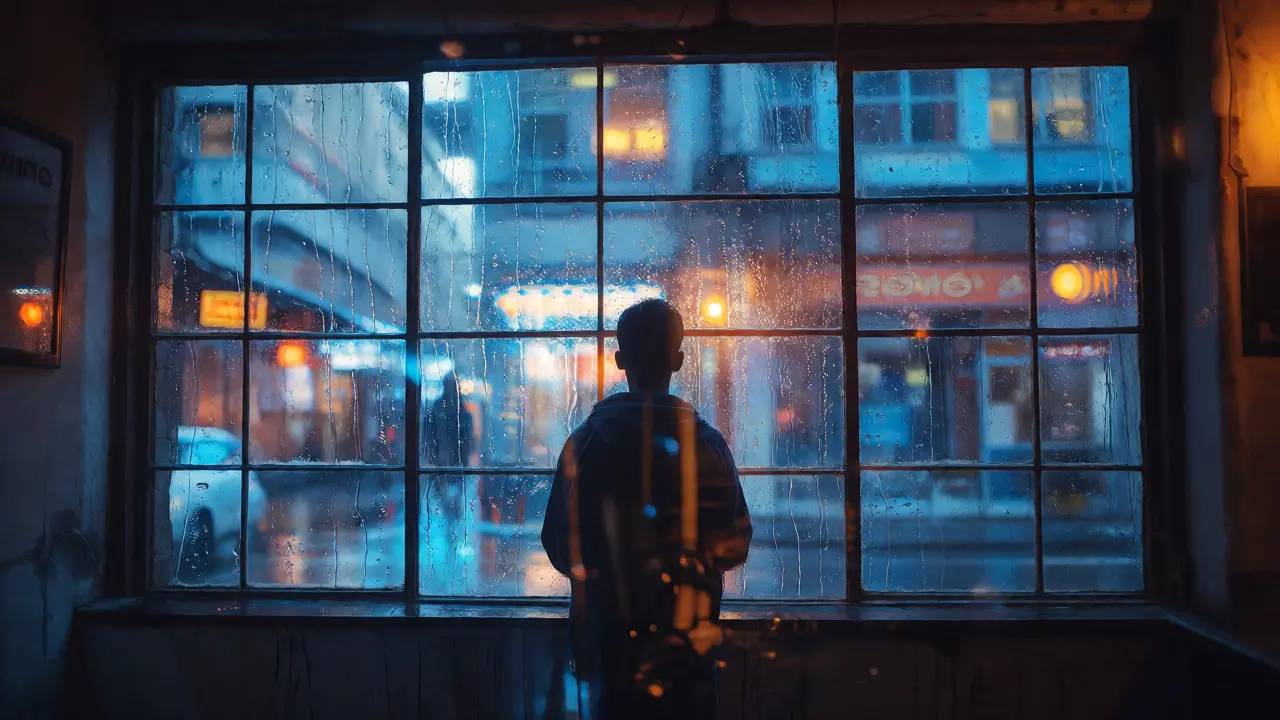
Windows offer transparent or reflective surfaces that allow photographers to combine foreground subjects with background reflections or interior scenes. They are tricky because they introduce two layers of reality: what’s behind the glass and what’s reflected on it. This duality can be confusing or captivating, depending on how you handle it.
One common mistake is forgetting about glare. Polarizing filters help, but sometimes you want that reflection. Imagine shooting a portrait through a cafe window. The subject is inside, drinking coffee. Outside, a rainy street reflects on the glass. You get the intimacy of the indoor moment combined with the atmosphere of the outdoor weather. To make this work, you need to control exposure. Meter for the subject inside, then let the outside blow out slightly, or vice versa. There is no single right answer, only creative choices.
Grids matter here. Many urban windows have muntins (the strips separating panes). These lines divide your frame. Use them intentionally. Placing a subject’s eye exactly on a horizontal muntin line can feel awkward. Placing it between lines feels natural. Experiment with angles. Shooting straight-on flattens the perspective. Shooting from a slight angle emphasizes the depth of the window recess, turning the window into a tunnel that draws the eye inward.
Arches: Geometry and Grace
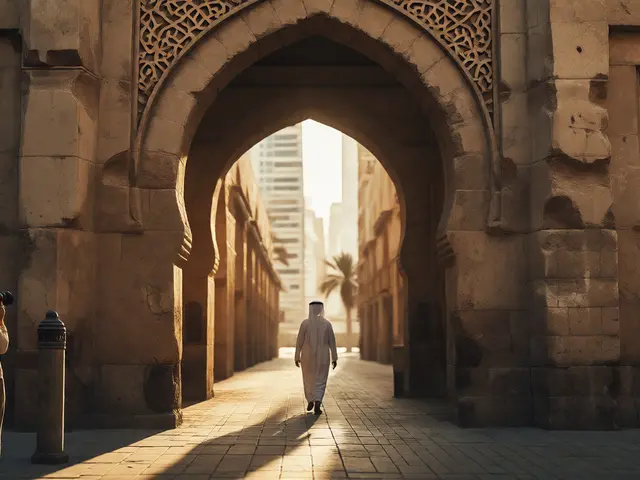
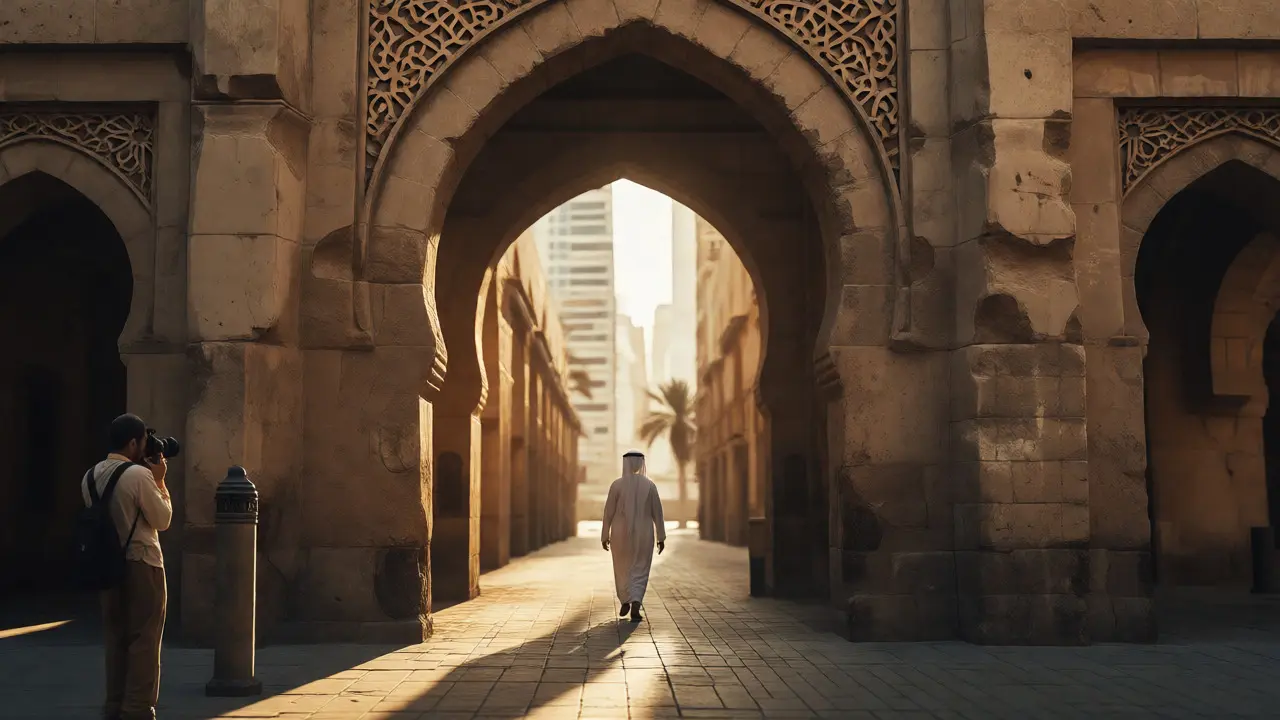
Arches are curved structural elements that create organic, flowing frames, contrasting with the rigid geometry of rectangular doors and windows. They soften an image. In a city full of sharp corners and hard edges, an arch provides relief. It guides the eye smoothly around the curve toward the focal point.
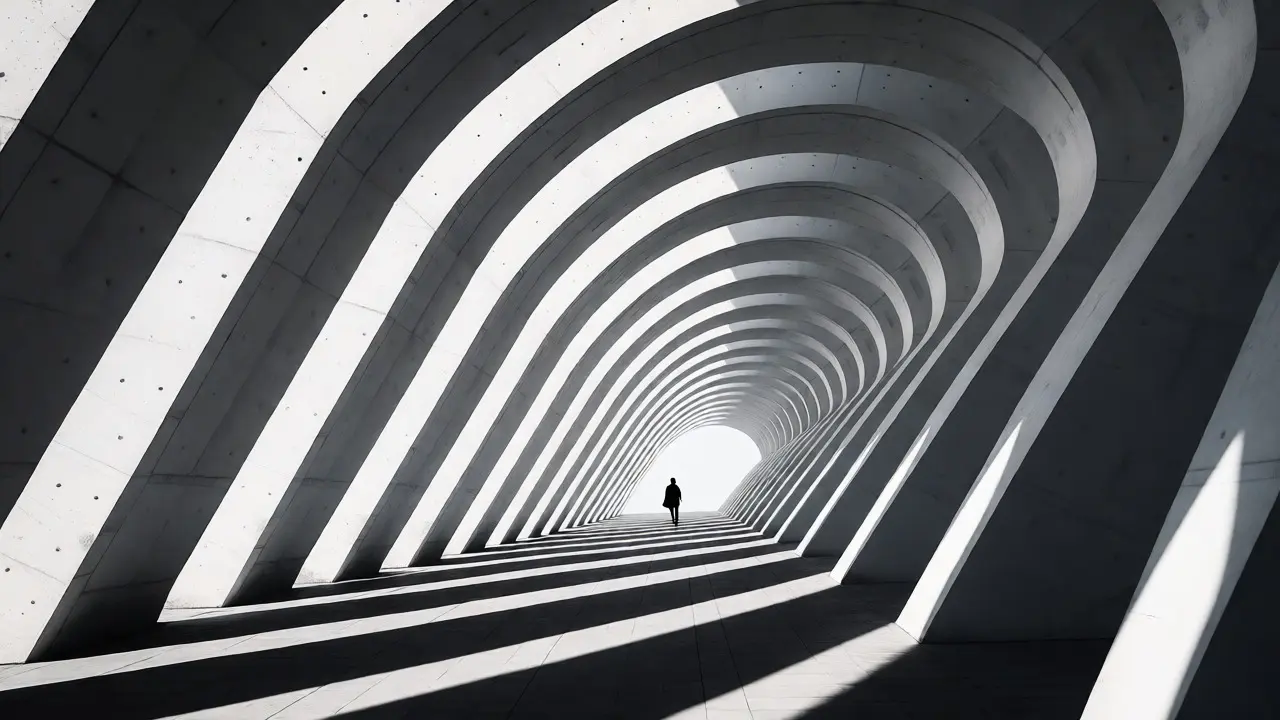
Historical cities are goldmines for arches. Look for bridges, subway entrances, and old market halls. The curvature of an arch leads the viewer’s gaze naturally. Unlike a square frame, which stops the eye abruptly, an arch invites exploration. You can use multiple arches to create a sense of infinity. Stand under a series of arches, like those in a colonnade, and shoot down the line. The repetition creates rhythm and depth.
Be careful with distortion. Wide-angle lenses exaggerate curves. An arch might look bulbous or unnatural if you get too close. Step back and zoom in. This compresses the perspective, making the arch look true to life while still framing your subject tightly. If you must use a wide lens, keep the horizon level. Tilting the camera can make the arch look like it’s falling over, which distracts from the subject.
Technical Execution: Light and Depth
Framing changes how light hits your subject. When you shoot through an opening, you are essentially creating a tunnel. Light enters from the open side and falls off as it moves deeper. This means your subject might be well-lit, but the frame itself could be in shadow. Or, if the sun is behind you, the frame might be brightly lit while the subject is in shade.
Use this to your advantage. High Dynamic Range (HDR) processing can help, but getting it right in-camera is better. Bracket your exposures if you plan to merge them later. Alternatively, position yourself so that the frame acts as a reflector. White stucco walls bounce light softly. Dark brick absorbs it. Know your materials.
Depth of field plays a huge role. A shallow depth of field (low f-stop number like f/1.8 or f/2.8) will blur the frame edges, making them soft and dreamy. This keeps the focus strictly on the subject. A deep depth of field (high f-stop like f/11 or f/16) keeps both the frame and the subject sharp. This works best when the frame itself is interesting and part of the story, such as intricate ironwork on a gate.
| Element | Visual Effect | Best For | Common Pitfall |
|---|---|---|---|
| Doorway | Solid boundary, strong contrast | Portraits, transitional moments | Subject blending into dark interior |
| Window | Layered depth, reflections | Environmental portraits, abstracts | Unwanted glare or distractions |
| Arch | Soft flow, rhythmic guidance | Landscape integration, historical shots | Distortion from wide-angle lenses |
Finding the Right Frame in the Wild
You don’t need to go to famous landmarks to find good frames. Look up. Most buildings have decorative cornices or balconies that act as overhead frames. Look down. Storm drains or manholes can frame feet or pets. Look sideways. Alleyways between buildings create vertical slivers of sky.
Walk slowly. Rushing causes you to miss details. Stop at every intersection. Scan the facades. Notice where shadows fall. Shadows themselves can act as frames. A strip of shade across a sidewalk can frame a pedestrian just as effectively as a physical structure. This is especially useful in midday sun when harsh light ruins skin tones.
Interact with the space. Don’t just stand still. Move left, move right, crouch, climb stairs. The relationship between the frame and the subject changes drastically with your position. Sometimes moving six inches to the left aligns a pole perfectly with the edge of a window, eliminating a distraction. Other times, it breaks the symmetry. Trial and error is part of the process.
Post-Processing Tweaks
Even after capturing the shot, you can enhance the framing. Dodge and burn techniques can lighten the subject and darken the frame, increasing the visual weight of the center. Adjusting contrast levels specifically within the frame area can make the subject stand out more.
Cropping is your final tool. If the frame cuts off awkwardly at the edge of your sensor, crop tighter. Ensure the frame remains complete within the new bounds. Partial frames can feel accidental rather than intentional. Unless you’re going for an abstract vibe, keep the structural integrity of the frame visible.
Does the frame need to be completely closed?
No. Open frames, such as L-shaped corners of buildings or partial arches, can still direct the eye. They suggest containment without fully enclosing the subject, which can feel less claustrophobic and more dynamic.
How do I avoid blurry frames when using long lenses?
If the frame is very close to the lens and the subject is far away, the frame may fall out of focus due to shallow depth of field. To fix this, step back from the frame, increase your aperture size (higher f-number), or accept the blur as an artistic choice that emphasizes the distant subject.
What is the best time of day for architectural framing?
Golden hour (shortly after sunrise or before sunset) provides soft, directional light that enhances textures in doors and arches. However, midday sun can create strong shadows that act as natural frames, particularly useful for high-contrast black-and-white photography.
Can I use artificial lights for framing indoors?
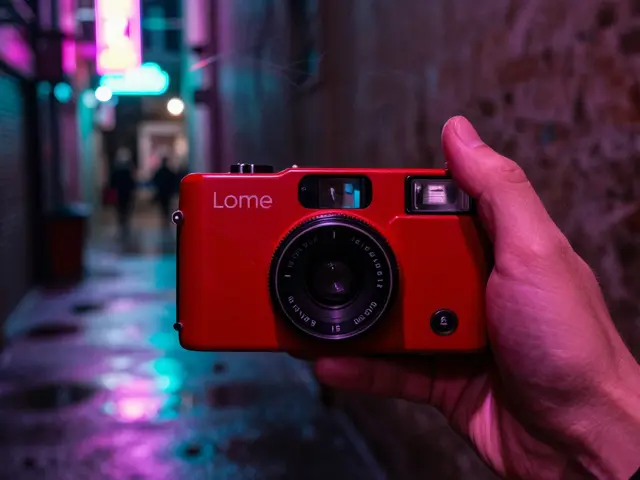
Yes. String lights, neon signs, or LED strips outlining a doorway or window can create glowing frames. This works exceptionally well at night, turning mundane urban structures into vibrant graphical elements that highlight your subject.
Is symmetry required when using arches?
Not necessarily. While centered symmetry looks classic, placing the subject off-center within an asymmetric arch can create tension and interest. Break the rules if it serves the emotional tone of the photo.