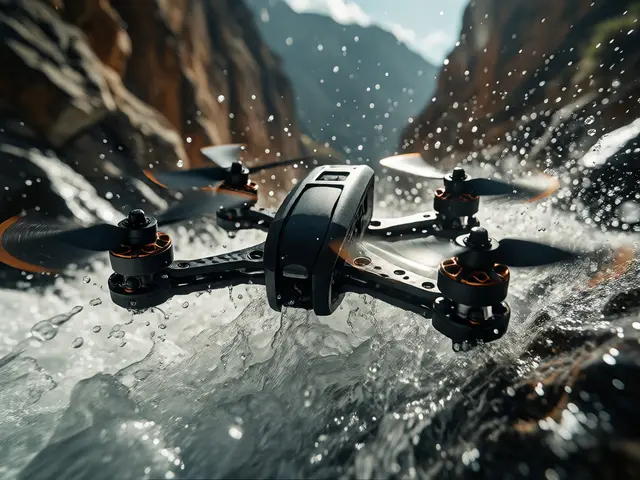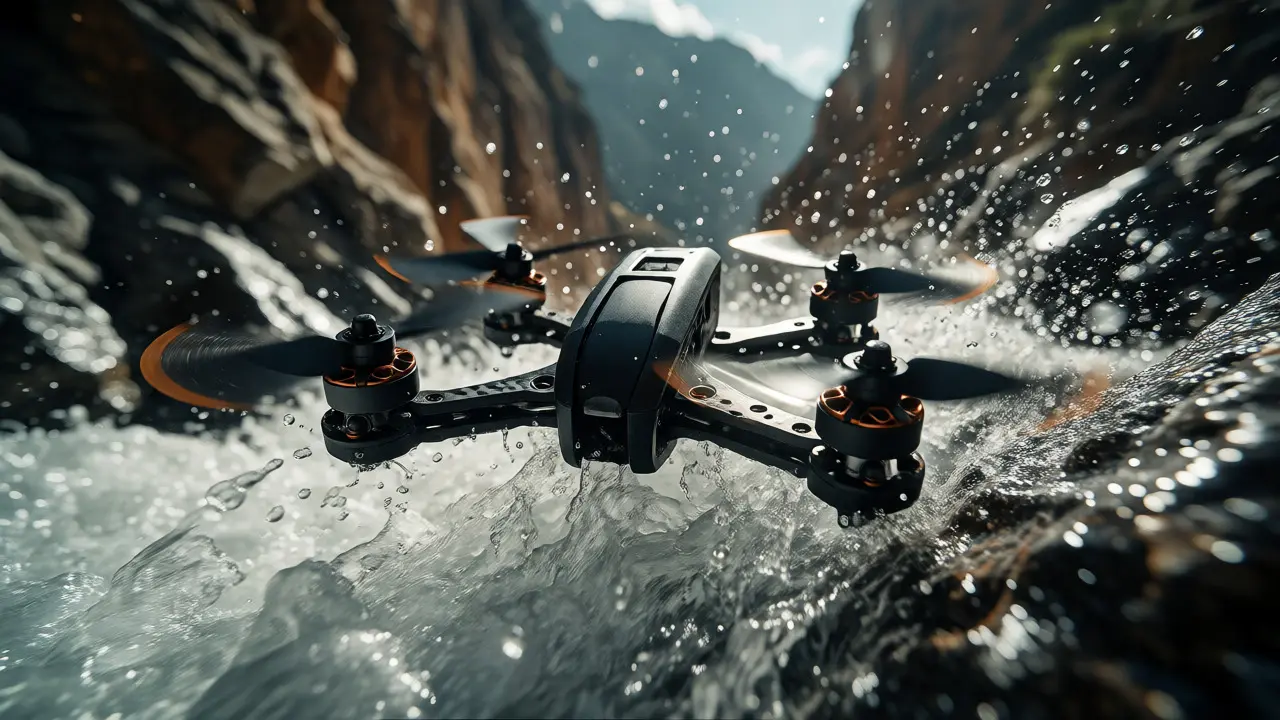
You’ve seen those shots where the camera dives through a narrow gap between trees, skims just inches above rushing water, or spirals around a moving car with impossible precision. That’s not a CGI trick or a steady gimbal on a DJI Mavic hovering politely in place. That is FPV drone photography, a niche genre that trades stability for velocity and perspective. If you are tired of static, symmetrical aerials, this approach changes how you see space entirely. It requires a different mindset, specific gear choices, and a willingness to embrace chaos before you can control it.
Why Static Drones Feel Stale
Traditional consumer drones like the DJI Mini series rely on GPS locks and optical flow sensors to keep the frame perfectly level. This is great for real estate photos or mapping land. But for creative storytelling, it often results in footage that feels detached and sterile. The camera moves, but the energy doesn’t.
First-Person View (FPV) flying removes that safety net. You fly manually using analog or digital video transmission goggles, seeing exactly what the drone sees in real-time. Because there is no GPS hold, gravity and momentum take over. This allows for "dives," "whooshes," and rapid direction changes that create a visceral sense of speed. When you combine manual throttle control with aggressive pitch movements, you get kinetic energy that standard drones simply cannot replicate without looking unnatural.
The Gear That Makes It Happen
You don’t need a $3,000 cinema rig to start, but you do need specific components. A standard toy drone won’t cut it because they lack the power-to-weight ratio needed for quick maneuvers. Here is what actually matters when building or buying an FPV setup for photography.
| Component | Recommended Spec | Why It Matters for Photos |
|---|---|---|
| Frame Size | 5-inch Freestyle or Cinewhoop | 5-inch offers speed; Cinewhoops protect props for indoor/close-proximity shots. |
| Camera | Digital HD (DJI O4/Walksnail) or Analog Low-Latency | Digital gives better image quality for stills; Analog has lower latency for tight gaps. |
| Flight Controller | F7/H7 Processor with Betaflight | Fast processing ensures your stick inputs translate instantly to motor RPM. |
| Propellers | Tripod or Tri-blade | Tri-blades provide more bite and smoother audio/video vibration reduction. |
Notice the emphasis on propellers. Many beginners overlook this. Cheap plastic props wobble at high speeds, introducing rolling shutter artifacts into your video and blurring your still captures. Upgrading to balanced, carbon-reinforced nylon props can clean up your footage significantly without changing the flight characteristics too much.
Mastering the Art of the Dive
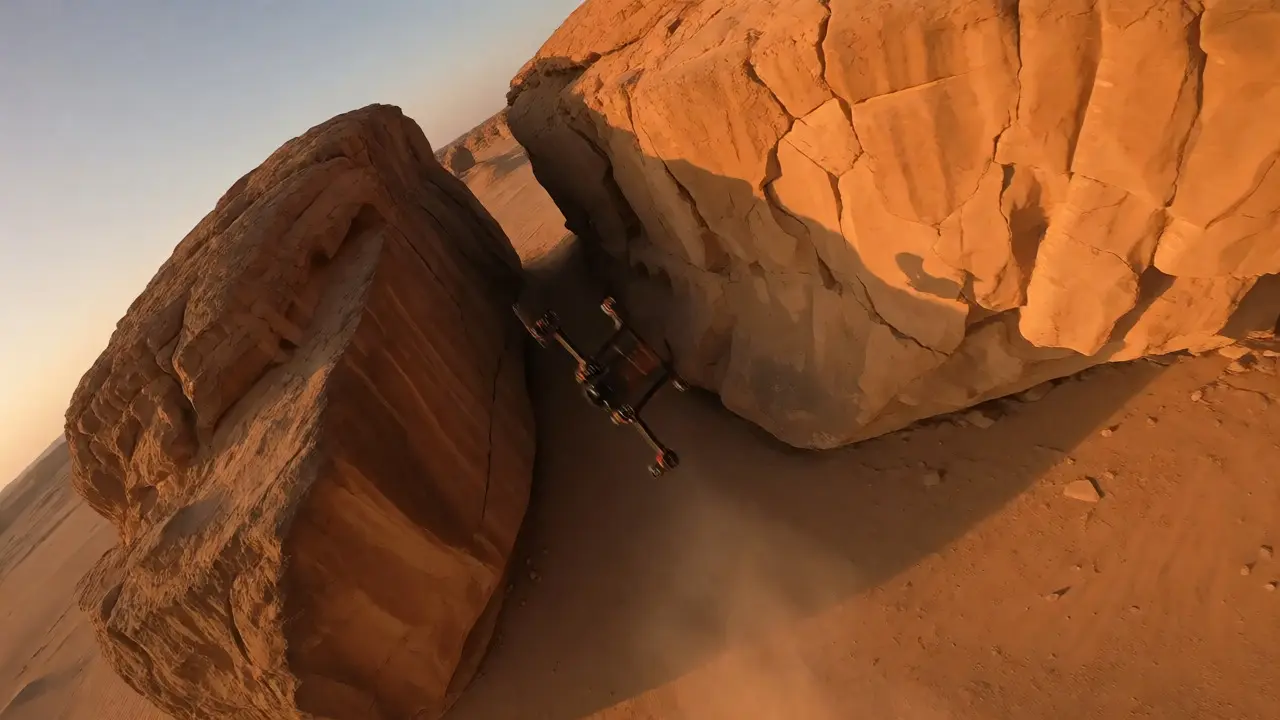
The most iconic FPV shot is the dive. It’s simple in concept: point the nose down, give full throttle, and let gravity help you accelerate. But executing it smoothly so the horizon stays relatively stable until the very last moment takes practice.
Start by finding a hill or a bridge. Hover about 10 feet above the ground. Pull back slightly on the pitch stick to tilt the drone forward, then push the throttle stick up aggressively. As you gain speed, gently ease off the pitch to level out just before hitting the ground. This "pull-out" maneuver creates a dramatic reveal of the landscape below.
- Keep your eyes on the exit: Don’t stare at the obstacle you’re diving toward. Look at where you want to end up.
- Manage battery sag: High-speed dives drain voltage quickly. If your LiPo battery is old, the drone might feel sluggish during the pull-out. Use fresh packs for critical shots.
- Angle matters: A 45-degree entry angle looks more natural than a vertical drop, which can disorient viewers unless edited carefully.
Capturing Still Images from Fast Motion
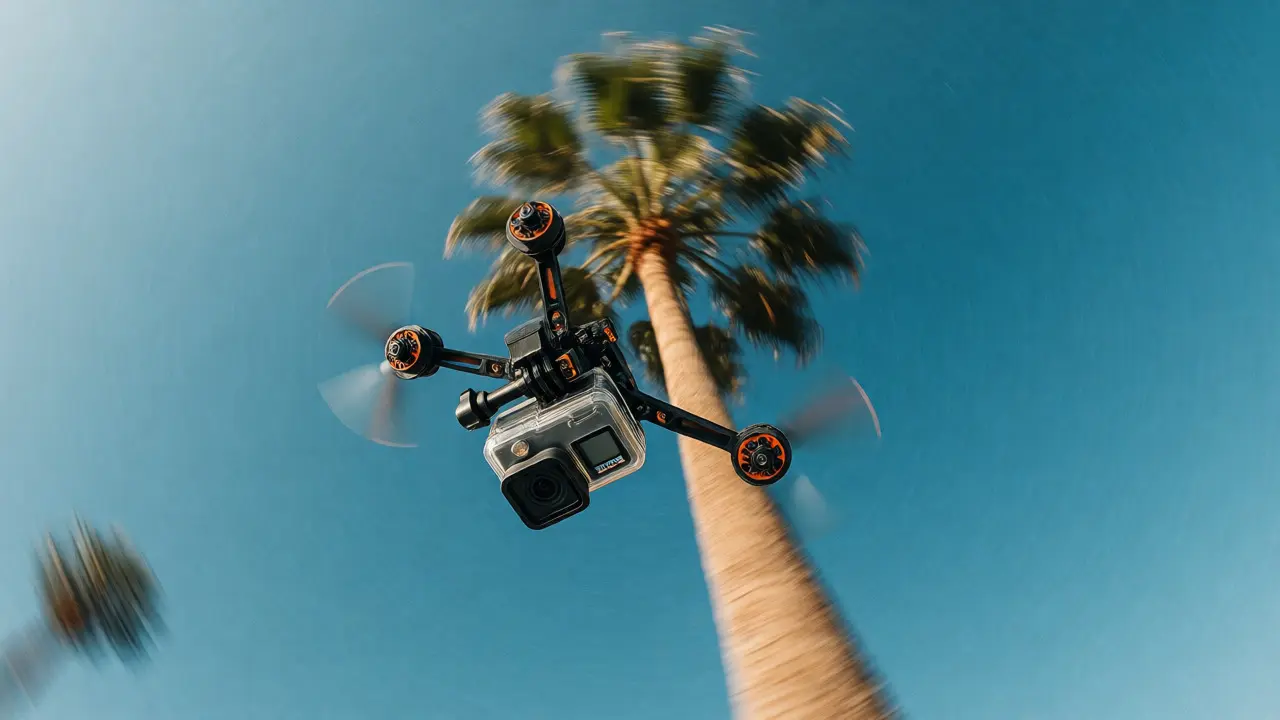
Most people think FPV is only for video. But modern action cameras mounted on FPV drones, like the GoPro Hero 12 Black or DJI Osmo Action 4, can capture stunning stills if you know how to time them.
Video frames are often blurry due to motion blur and electronic stabilization cropping. To get sharp stills, you have two options. First, use burst mode. Fly a smooth path and trigger a 30-frame burst every second. Later, sift through the frames to find the sharpest one. Second, slow down. Paradoxically, slowing your drone down to 20-30 mph while maintaining a low altitude often yields sharper images than screaming past at 80 mph, especially in bright sunlight where shutter speeds can be higher.
If you are shooting in low light, such as during golden hour, increase your ISO moderately but keep your shutter speed fast enough to freeze motion-typically 1/500th of a second or faster. Remember, stabilization helps video, but it hurts stills by cropping the sensor area. Turn off HyperSmooth or RockSteady for still photography to maximize resolution.
Dynamic Angles Beyond the Horizon
Standard drones shoot parallel to the ground. FPV lets you shoot vertically, diagonally, and inverted. This opens up composition rules that don’t exist in traditional aerial photography.
Try the "barrel roll" around a subject. Instead of orbiting a tree horizontally, roll the drone along its longitudinal axis while circling. This creates a swirling effect that draws the eye to the center. Or try a "gap shot." Find a fence, a row of pillars, or a narrow alleyway. Fly through it while keeping the camera pointed slightly downward. The foreground elements rush past, creating depth and scale that makes the background pop.
Another technique is the "top-down spiral." Hover directly above a subject, then slowly descend while rotating the yaw. This turns a static object, like a parked car or a person, into a graphic element within the environment. It works best with high-contrast subjects against textured backgrounds.
Safety and Legal Considerations
Flying fast means mistakes happen fast. Unlike a GPS-holding drone that will hover if you let go of the sticks, an FPV drone will crash immediately if you stop inputting commands. Always fly within visual line of sight (VLOS) unless you have a spotter. In the US, FAA Part 107 rules apply, but recreational flyers must also pass the TRUST test.
Be aware of your surroundings. Trees, power lines, and birds are major hazards. Birds often dive-bomb drones, mistaking them for rivals. If you hear chirping, ascend quickly. Also, check local ordinances. Some parks prohibit drones entirely, regardless of skill level. Flying over crowds is generally discouraged unless you have specialized insurance and prop guards.
Editing for Impact
Raw FPV footage is shaky and often lacks color grading. To make your dynamic angles shine, stabilize the video in post-production using software like Adobe Premiere Pro or DaVinci Resolve. Use warp stabilizer sparingly; too much smoothing kills the sense of speed.
For stills, crop aggressively. FPV cameras have wide-angle lenses (often 16mm equivalent), which distorts edges. Cropping into the center of the frame reduces distortion and focuses attention on the subject. Adjust contrast and saturation to enhance the mood. Cool tones emphasize speed and technology; warm tones enhance landscapes and sunsets.
Do I need a simulator before flying an FPV drone?
Yes, absolutely. FPV flying uses manual controls similar to RC planes, not joystick-based consumer drones. Most crashes happen because pilots try to hover like a DJI. Simulators like Liftoff or VelociDrone cost less than $30 and save hundreds in broken parts. Spend at least 20 hours in a simulator before your first real flight.
What is the difference between analog and digital FPV for photography?
Analog FPV provides ultra-low latency (under 20ms), which is crucial for racing or flying through tight gaps. However, the image quality in your goggles is grainy. Digital systems like DJI O4 or Walksnail Avatar offer HD clarity, making it easier to frame shots accurately. For photography, digital is preferred because you can see details and exposure in real-time, though it may have slightly higher latency (around 30-40ms).
Can I use my existing GoPro for FPV?
Yes, provided it fits the weight limit of your drone frame. A 5-inch freestyle drone can typically carry a GoPro Hero 11 or 12. Smaller cinewhoops might require lighter cameras like the GoPro Max or dedicated FPV cams like the RunCam Phoenix. Ensure you have a secure mount to prevent vibration damage to the camera's gyro.
How do I avoid motion sickness when watching FPV footage?
Motion sickness usually comes from inconsistent movement or excessive shaking. Keep your edits rhythmic. Avoid cutting mid-turn. Use slow-motion for complex maneuvers to give the viewer's brain time to process the spatial orientation. Also, ensure your horizon is visible in at least some shots to provide a reference point.
Is FPV drone photography legal in national parks?
Generally, no. The National Park Service prohibits launching, landing, and operating drones within park boundaries without a special permit. Always check the specific regulations for the park you plan to visit. Violations can result in significant fines.