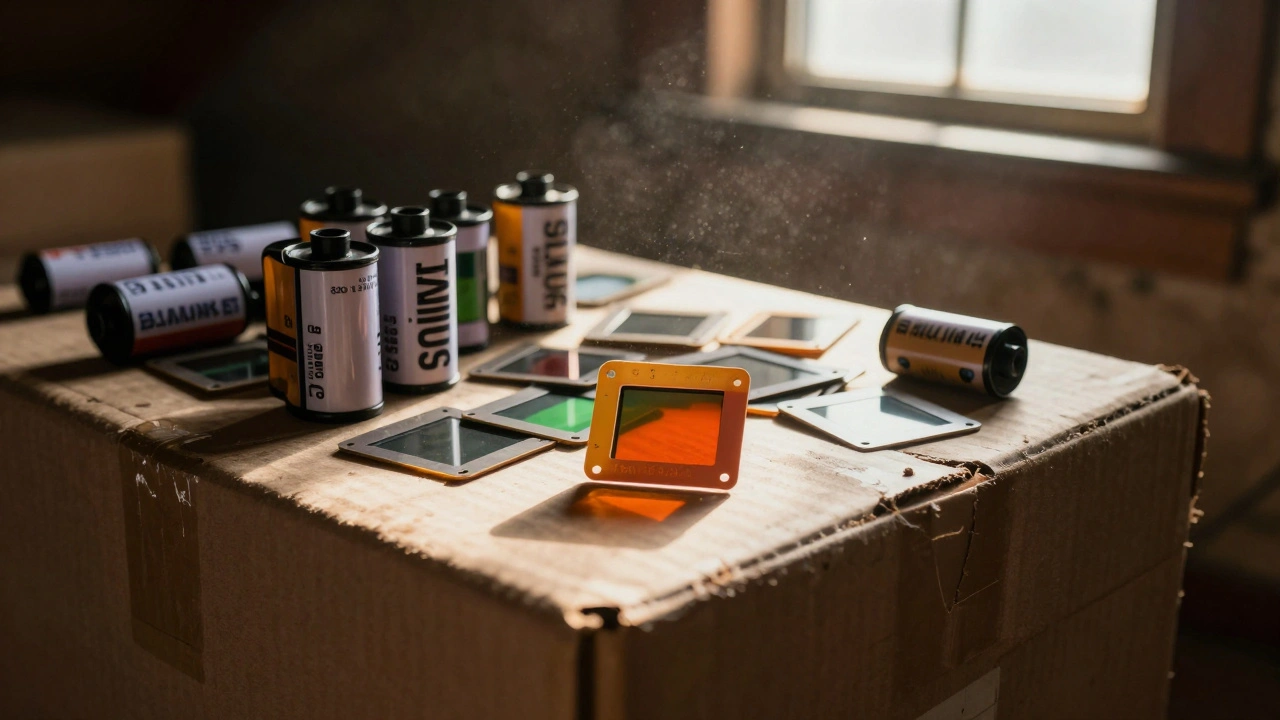
Depending on your budget and how much time you have, you can either turn your home into a mini-lab or send your film off to professionals. The goal isn't just to make a copy, but to capture the maximum amount of detail-the grain, the dynamic range, and the true colors-without introducing digital noise or blur.
The DSLR Method: High Quality on a Budget
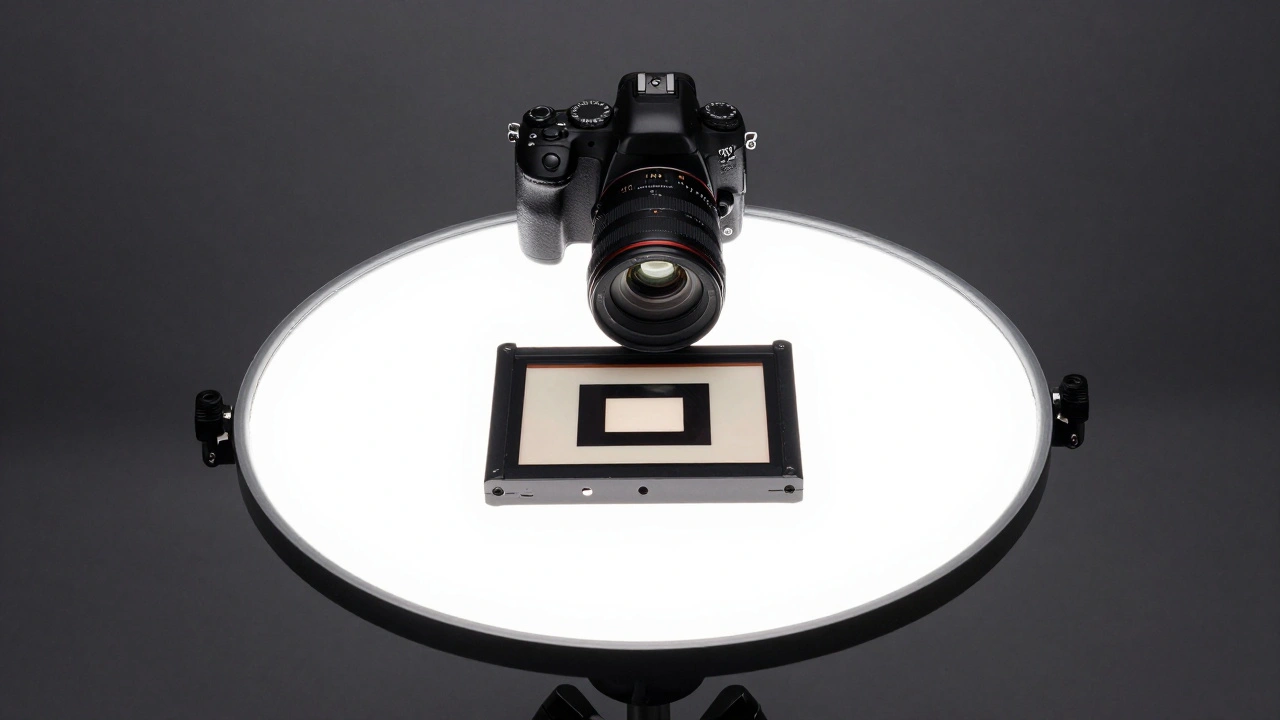
If you already own a digital camera, you have most of what you need for a professional-grade setup. This approach involves using a DSLR or mirrorless camera to literally take a photo of your film. Unlike a scanner that drags a sensor across the image, a camera captures the whole frame at once, which is incredibly fast.
To make this work, you need a few specific pieces of gear. First, a Macro Lens is non-negotiable. You need to be able to focus at very close distances to fill the sensor with the image of the negative. Second, you need a diffused light source. If the light isn't homogeneous, you'll get hot spots or uneven brightness across your photos.
The secret to success here is the RAW format. Never shoot in JPEG for film scanning. RAW files preserve the full color depth, which is critical because you'll be aggressively adjusting contrast and inverting colors later. To keep the images clean, keep your ISO at the lowest possible setting-usually 100 or 200-to eliminate digital noise. Since the depth of field is razor-thin in macro photography, keep your film holder at a fixed, precise distance from the lens to ensure every frame is sharp.
Dedicated Film Scanners: The Specialist's Choice
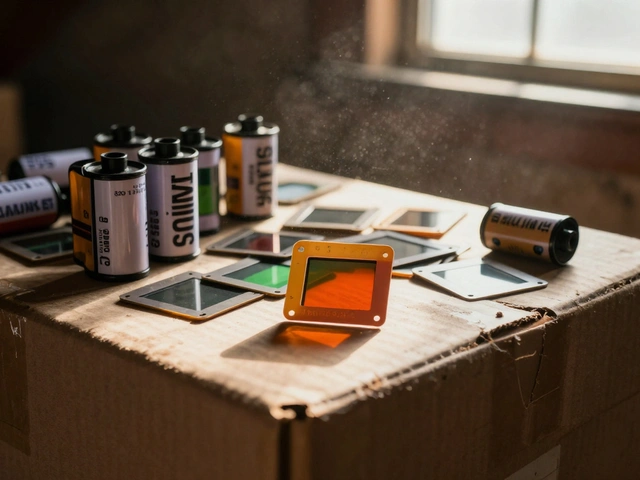
When you want a "set it and forget it" experience with high resolution, a Film Scanner is the way to go. These devices are engineered specifically for one job: converting analog film into digital files. They provide better reproductions than scanning a physical print because they use a dedicated light source designed to penetrate the film emulsion.
One thing to watch out for is format compatibility. A scanner designed for 35mm film won't help you if you're working with 120 medium format negatives. You have to match the hardware to your film stock. For those looking for a streamlined workflow, devices like the Kodak Slide N Scan offer a powerful 14MP sensor and a built-in LCD display, making it easy to preview images on the fly. Other options like the HP FilmScan use touch screens to simplify the process for beginners.
Flatbed Scanners: The Budget Entry Point
Flatbed scanners are common in most offices, but they aren't naturally built for film. A standard flatbed is designed to capture reflected light from a piece of paper. However, negatives and slides require transmitted light-light coming from behind the film. This creates a fundamental mismatch that often leads to lower resolution and lighting irregularities.
If you're using a flatbed, you'll likely spend a lot of time in Adobe Photoshop fixing crops, brightness, and contrast. Some hobbyists try to build cardboard adapters to bounce light back through the film, but these are makeshift solutions. While they are the cheapest option, they rarely match the clarity of a dedicated scanner or a DSLR setup.
| Method | Image Quality | Speed | Initial Cost | Technical Skill |
|---|---|---|---|---|
| DSLR/Mirrorless | Very High | Fast | Low (if owned) | Moderate |
| Dedicated Scanner | High | Moderate | High | Low |
| Flatbed Scanner | Moderate/Low | Slow | Very Low | Low |
| Pro Services | Professional | Slow (turnaround) | Per Frame | None |

Processing the Digital Files: The Magic of Inversion
Capturing the image is only half the battle. If you've photographed a negative, you're left with an orange-tinted, inverted image. This is where specialized software comes in. Negative Lab Pro is a powerful plugin for Adobe Lightroom that automates the inversion process.
The software doesn't just flip the colors; it handles the complex color science required to make a negative look like a natural photograph. For negatives, many pros use a technique called "exposing to the right" to capture as much detail in the shadows as possible. However, slides are different. Because slides are already positive images, you generally don't need the same exposure compensation strategies used for negatives; keeping your compensation at 0 often yields the best results for slides.

Choosing the Right Path for Your Archive
Deciding how to digitize your film depends on what you're actually trying to achieve. If you have ten thousand slides from a family vacation in the 70s, you probably don't want to spend three years clicking a shutter button. In that case, a professional digitization service is the most logical choice, despite the per-frame cost.
On the other hand, if you're a hobbyist who enjoys the technical side of photography, the DSLR method is incredibly rewarding. It gives you total control over the image and produces files that are detailed enough to be enlarged for gallery prints without becoming grainy or blurry. If you're just looking for a quick digital backup and don't care about archival quality, a flatbed scanner will get the job done.
Why can't I just use a regular scanner for my slides?
Standard flatbed scanners are designed for reflected light (like a piece of paper). Slides and negatives require transmitted light (light passing through the film). Without a dedicated transparency unit or a backlight, a regular scanner will produce dark, muddy images with poor contrast.
What is the best file format for archiving scanned film?
Always capture your images in RAW format. RAW files contain the raw data from the sensor without any processing or compression, giving you the maximum flexibility to adjust colors and contrast during the inversion process without introducing digital artifacts.
Do I need a macro lens for the camera-based method?
Yes. A macro lens allows you to focus at extremely close distances, which is necessary to fill the digital sensor with the image of the small piece of film. Without one, you won't be able to get the required magnification, resulting in a tiny image surrounded by a large border.
How does Negative Lab Pro work?
Negative Lab Pro is a plugin for Adobe Lightroom. It analyzes the colors in your photographed negative and applies a digital inversion process to convert the negative image into a positive one, while providing tools to correct color casts and balance exposure.
Is it worth paying for professional scanning services?
It depends on the volume of your archive. For a few rolls, a home setup is great. For thousands of images, professional services save you hundreds of hours of labor and usually provide high-end equipment (like drum scanners) that would be too expensive for most individuals to own.