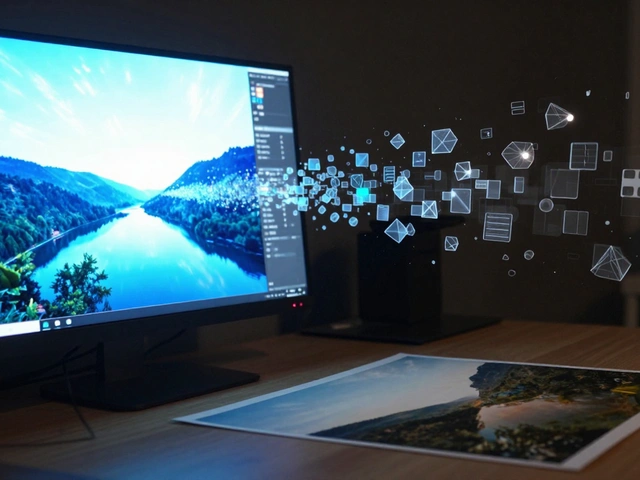
Ever look at a photo and feel like something’s just… off? It’s not blurry, but it doesn’t pop either. That’s the difference between a technically correct image and one that clarity and sharpness can fix. Most people think sharpening means cranking up a slider until the image looks like it’s been sandblasted. But real detail doesn’t come from brute force-it comes from smart, layered adjustments. And it starts long before you open Photoshop or Lightroom.
Sharpness Isn’t Just a Slider
Sharpness is about edges. It’s what makes the edge of a leaf crisp against the sky, or the stitching on a leather bag stand out. But if you slap on too much sharpening, you get halos-bright rings around dark edges-and noise that looks like static snow. That’s why the best photographers don’t just use one tool. They use Unsharp Mask and Smart Sharpen with precision. For most images, set the Amount between 80% and 120%, Radius to 0.8-1.2 pixels, and keep the Detail slider low (around 25-40%). Too high, and you start pulling out dust and skin pores you didn’t mean to highlight.And here’s the secret: always set the blending mode to Luminosity when applying sharpening in Photoshop. This keeps the sharpening from shifting colors. You want sharper edges, not weird purple fringes around your subject’s hair.
Clarity Is the Secret Weapon
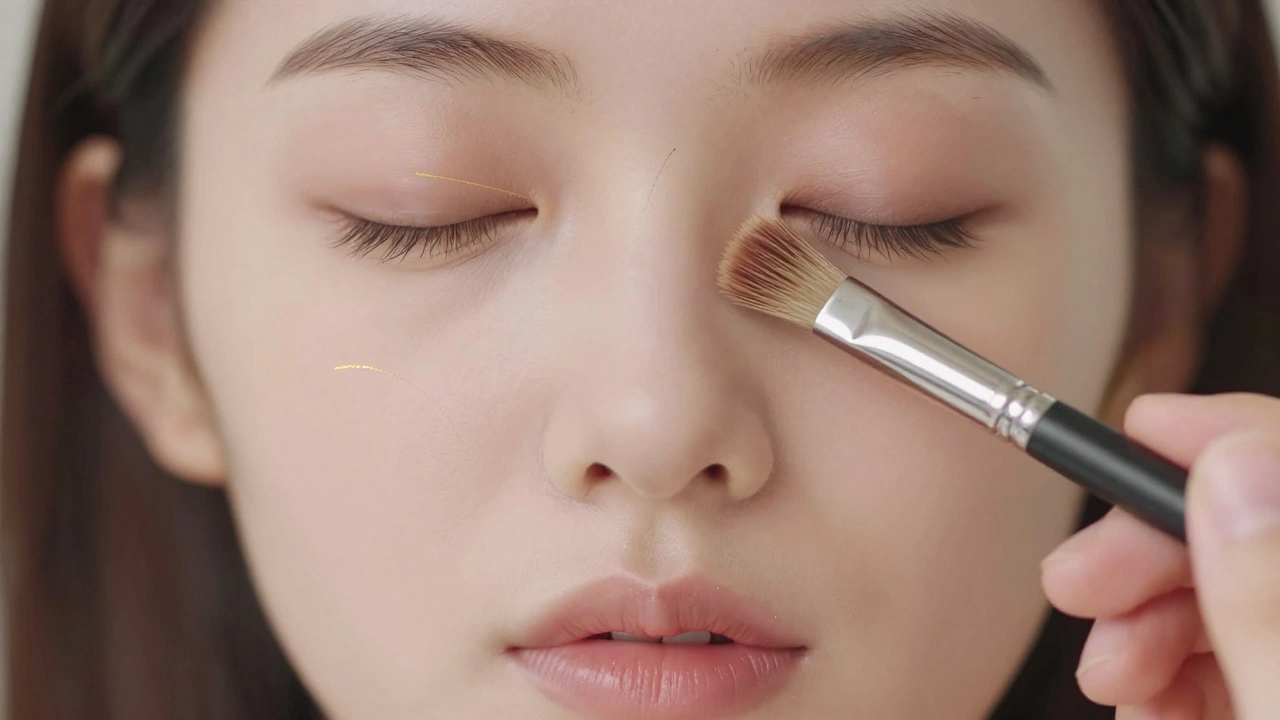
Clarity doesn’t touch edges like sharpening does. Instead, it boosts midtone contrast-the subtle differences in gray tones between shadows and highlights. Think of it as adding depth to the middle of your image. A landscape with foggy mountains? A little clarity brings out the layers. A portrait? Too much clarity turns skin into a textured stone wall.Most people crank clarity to +50 or +60 and wonder why their photos look harsh. The sweet spot? +10 to +25 for portraits. For landscapes or architecture, +30 to +50 can work-but even then, use the Adjustment Brush to apply it only to the sky, rocks, or buildings. Never apply it globally. You’ll thank yourself later.
Texture and Dehaze: The Silent Helpers
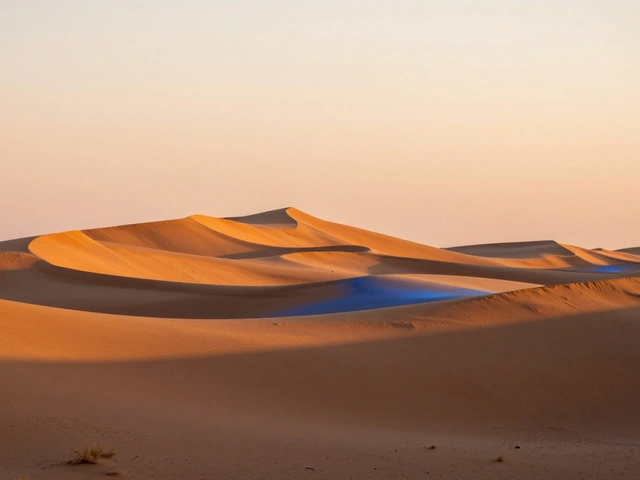
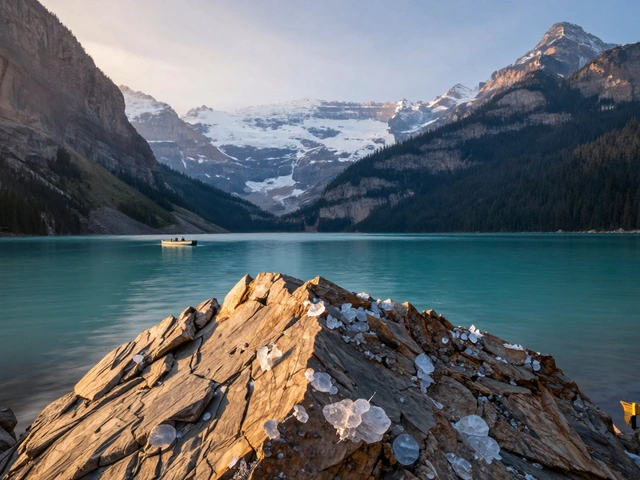
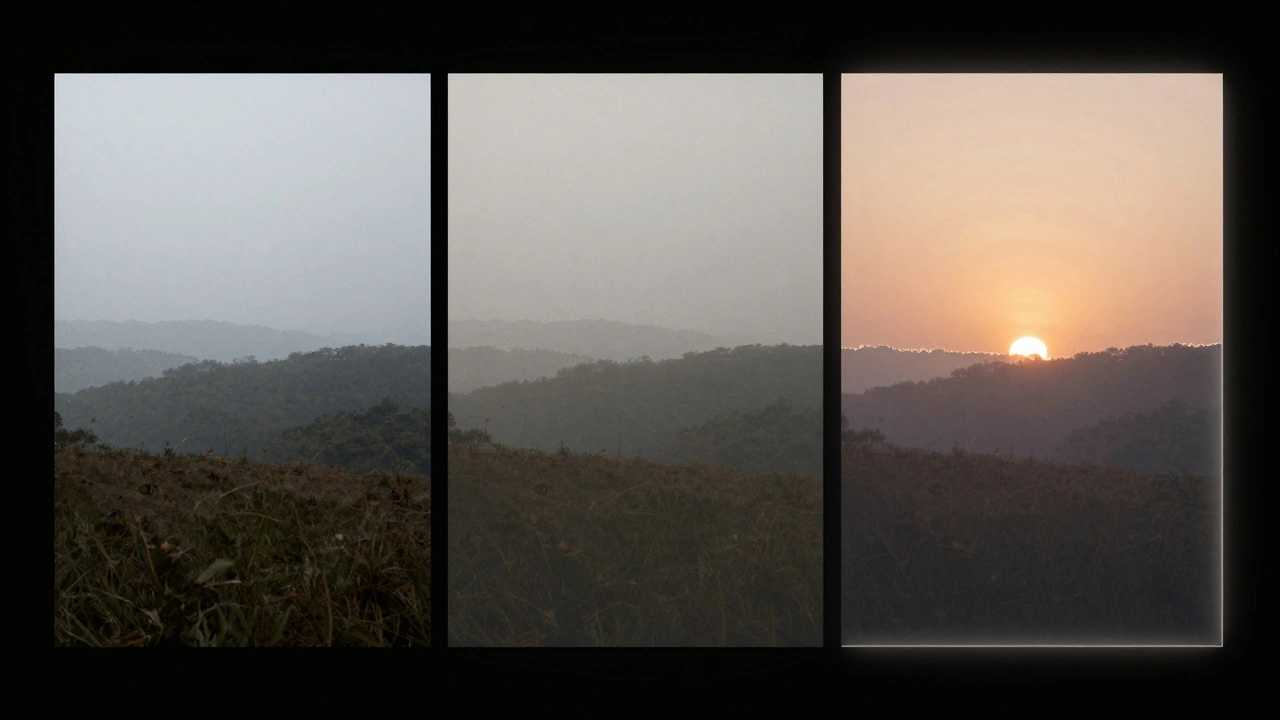
Texture is the quiet cousin of clarity. It enhances fine details without increasing contrast. Think of it as revealing the grain in wood, the weave in fabric, or the individual hairs on a subject’s arm. Use it sparingly-+15 to +30 is usually enough. Push it higher, and your photo starts looking dirty, like someone smeared Vaseline on the lens.Dehaze? That’s your secret weapon for landscapes. It doesn’t just remove fog. It increases contrast, saturation, and clarity all at once. A flat, dull mountain scene? Add +20 to +40 dehaze and watch it come alive. But use it like a scalpel. Overdo it, and your sky turns neon, and shadows get crushed into black blobs.
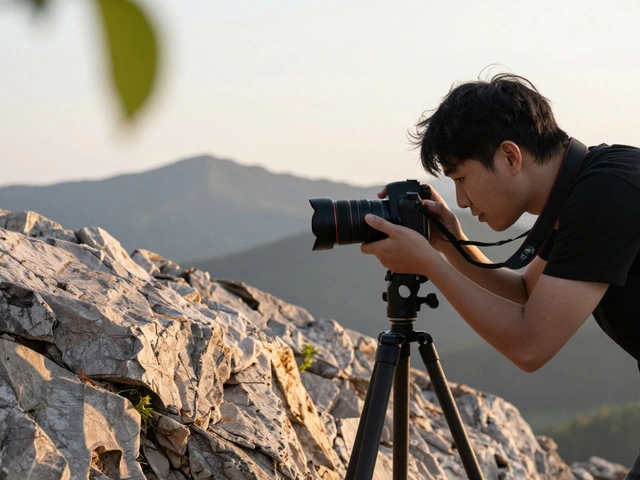
It All Starts at Capture
Here’s the truth no beginner wants to hear: you can’t fix bad sharpness in editing. If your photo is soft at capture, no amount of sharpening will save it. The real magic happens in-camera.- Use f/8 for maximum sharpness across the frame. Wide apertures like f/2.8 blur the edges. Small apertures like f/16 create diffraction. f/8 is the goldilocks zone for most lenses.
- Follow the 1/focal length rule. If you’re shooting at 50mm, your shutter speed should be at least 1/50th of a second. Faster if you’re hand-holding.
- Keep ISO as low as possible. ISO 800 might be fine, but ISO 3200? That’s noise city. Noise eats detail. And once it’s there, sharpening makes it worse.
- Use a tripod for anything slower than 1/60th. Even a tiny shake ruins fine detail.
- Lighting matters more than you think. Side lighting at 45 degrees creates natural edge contrast. Front lighting? Flat. Backlighting? Dramatic. The right angle gives you sharpness before you even open your editing software.
How to Build a Smart Workflow
Here’s the order that works:- Start with exposure and tone. Lift shadows slightly, pull back highlights. This alone makes images feel sharper.
- Apply noise reduction first. Especially if you shot in low light. Use Lightroom’s Luminance slider to smooth grain without losing texture.
- Then tweak Texture (+15 to +30), Clarity (+10 to +30), and Dehaze (+10 to +25) based on subject. Landscapes? Go heavier. Portraits? Go lighter.
- Use the Adjustment Brush to paint clarity and sharpening where you need it-like the eyes, distant trees, or building edges. Leave skin and smooth areas alone.
- Finally, apply Unsharp Mask or Smart Sharpen in Photoshop. Use a low Radius (1 pixel), moderate Amount (90%), and always set blending mode to Luminosity.
What Not to Do
- Don’t apply clarity and texture at the same time at high levels. They stack. You’ll get a muddy, overdone mess.When to Go Heavy vs. Go Light
- Landscape: Push clarity +40, texture +25, dehaze +30. Use Smart Sharpen with Radius 1.0, Amount 100%. Add sharpening to horizon lines to separate sky from land.Final Thought: Less Is More
The best-looking photos aren’t the ones with the most sliders moved. They’re the ones where the detail feels natural. You should notice the texture of bark, the glint in an eye, the crispness of a distant mountain-but you shouldn’t notice the editing. That’s the goal.Test your edits by stepping back from the screen. Squint your eyes. If the image still looks clear and defined, you’ve done it right. If it looks harsh or artificial, dial it back. You’re not trying to win a contest. You’re trying to make someone stop and look.
Can I fix a blurry photo with sharpening?
No. Sharpening enhances existing edges-it doesn’t recreate lost detail. If your photo is out of focus or taken with a slow shutter, no amount of sharpening will fix it. Your best bet is to retake the photo with better settings: faster shutter, correct focus, and a tripod.
What’s the difference between clarity and sharpening?
Sharpening targets fine edges and increases contrast along boundaries-like the outline of a tree against the sky. Clarity boosts midtone contrast, making the middle tones of the image feel more defined and layered. Think of sharpening as defining the lines, and clarity as adding depth between them.
Why does my photo look worse after applying clarity?
You probably applied it too high or globally. Clarity adds contrast to midtones, but if you push it beyond +30, it starts creating halos and enhancing noise. Always use the Adjustment Brush to apply it only to areas that need it-like rocks, buildings, or distant trees-and keep the brush opacity low.
Should I sharpen before or after noise reduction?
Always reduce noise first. Sharpening makes noise look worse by enhancing grainy areas. If you sharpen before noise reduction, you’ll end up with a photo that looks grainy and artificial. Reduce noise, then sharpen. It’s a two-step process.
Is AI sharpening better than traditional methods?
AI tools like Topaz Gigapixel AI are excellent for enlarging low-res images without losing quality. But for everyday sharpening, traditional methods like Unsharp Mask and Smart Sharpen still give you more control and more natural results. AI is great for upscaling, not for daily editing.
If you’re serious about making your photos pop, stop chasing sliders and start paying attention to light, focus, and composition. The best sharpness isn’t made in software-it’s captured in the moment.