Imagine this: you’ve driven two hours into the Oregon wilderness, set up your telescope, and are finally ready to capture the Milky Way. Then, a bright white flashlight beam from a hiker nearby washes out your sensor for ten seconds. Your eyes take twenty minutes to readjust. Your patience? Gone. This is why red lights and proper dark site etiquette aren’t just polite-they’re essential for anyone serious about capturing the night sky.
Night vision works differently than day vision. Your rod cells, which handle low-light sensitivity, are highly sensitive to blue and green wavelengths but relatively resistant to red light. That’s why astronomers, military personnel, and astrophotographers have used red illumination for decades. It preserves your dark adaptation, allowing you to see faint stars without losing that precious sensitivity every time you need to check your gear or navigate the campsite.
Why Red Light Is Non-Negotiable in Astrophotography
Your eyes need between 20 and 45 minutes to fully adapt to darkness. Once adapted, you can see objects as faint as magnitude 6.5-stars invisible to unadapted eyes. A single flash of white light resets this clock. If you’re trying to track a deep-sky object or manually focus a lens, losing that adaptation repeatedly will make your session feel impossible.
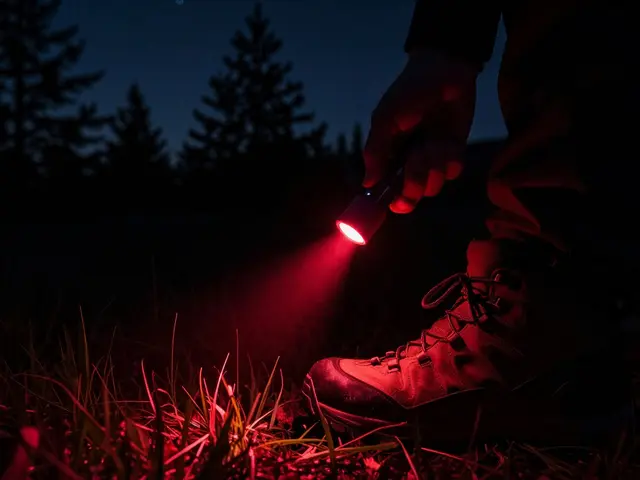
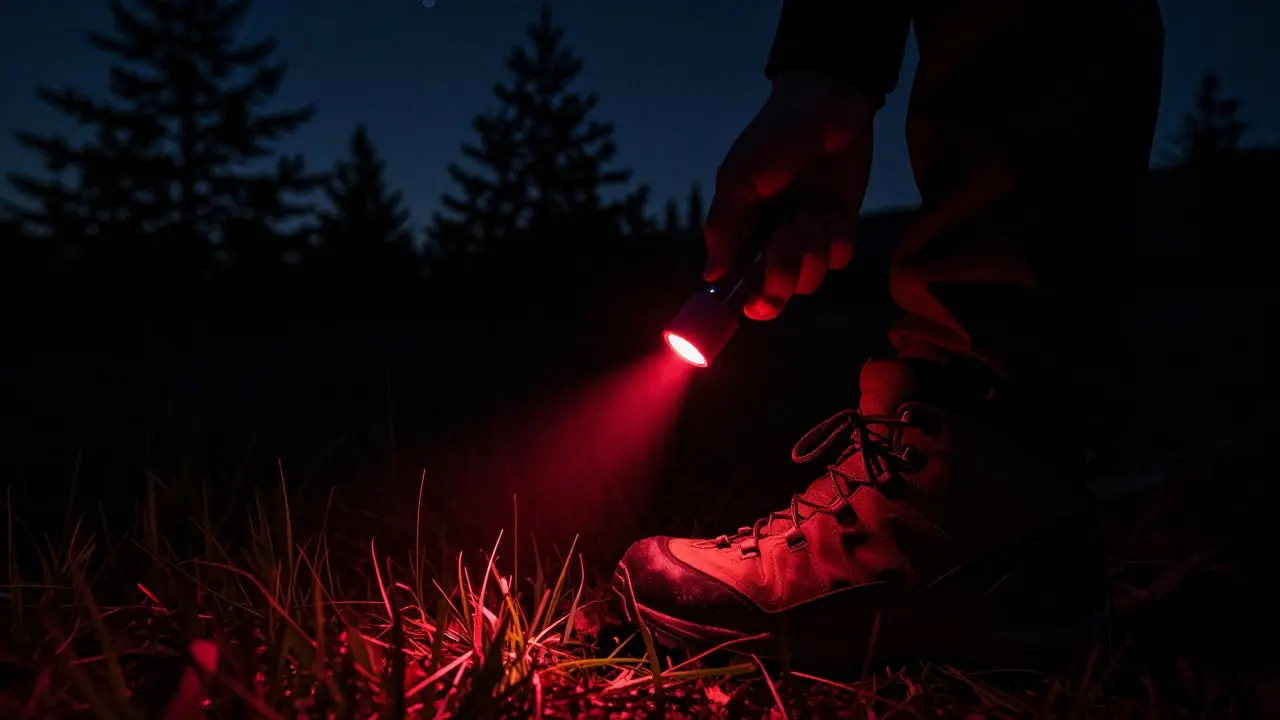
Red light minimizes this disruption because it stimulates cone cells (responsible for color vision) far less than other colors. The standard wavelength for astrophotography red lights is around 630-670 nanometers. Cheaper LEDs often emit at 620nm or lower, which still helps but isn’t as effective as true deep-red sources. When shopping for a headlamp or handheld torch, look for models with adjustable intensity and a dedicated red mode. Brands like Celestron, Sky-Watcher, and even budget options on Amazon offer reliable units under $30.
- Headlamps: Best for hands-free navigation when setting up tripods or moving between sites.
- Handheld torches: Ideal for quick checks of camera settings or focusing aids.
- Phone apps: Use apps that turn your screen red, but dim brightness to 10% or less to avoid glare.
- Avoid: White LED flashlights, car headlights, and smartphone screens at full brightness.
Finding True Dark Sites Without Guesswork
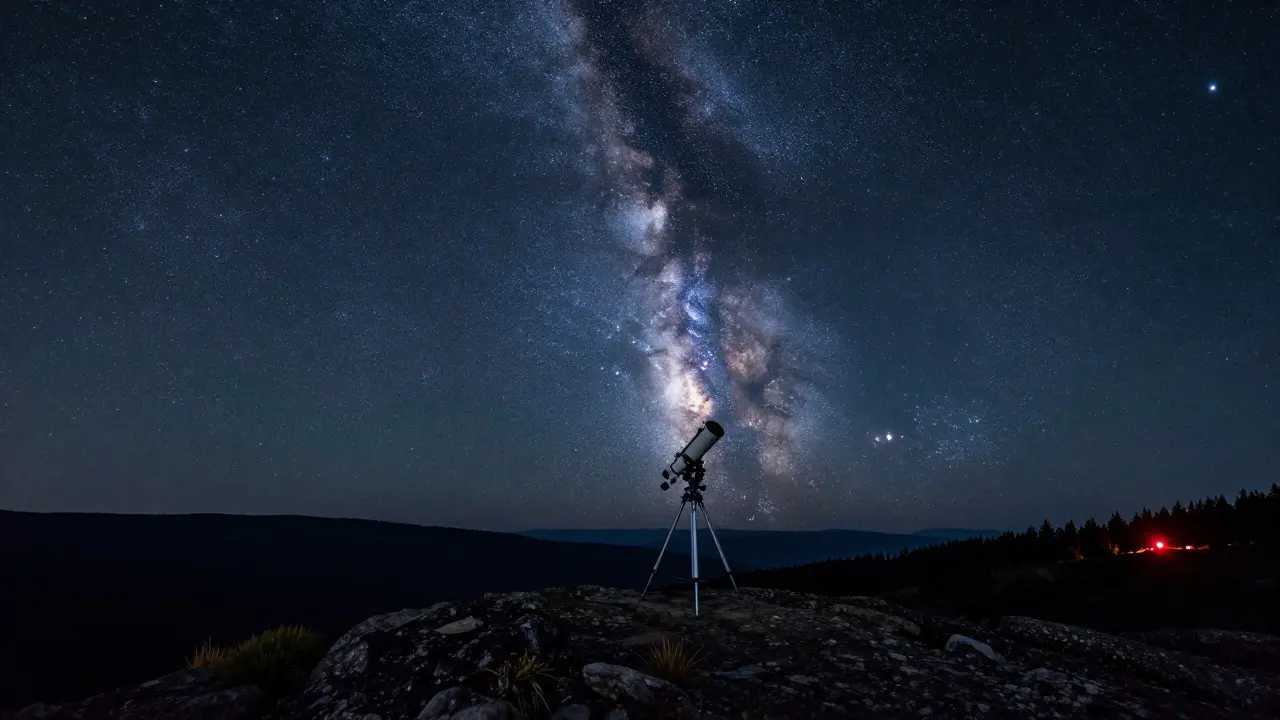
Not all “dark” locations are created equal. Urban light pollution creates a dome of glow that can reach hundreds of miles. To find genuinely dark skies, you need data. The International Dark-Sky Association (IDA) maintains a map of certified dark sky places, but not every great spot has official certification. For real-time conditions, use the Bortle Scale-a nine-point system where 1 is pristine darkness and 9 is inner-city brightness. Most serious astrophotographers aim for Bortle 3 or lower.
In the Pacific Northwest, some of the best accessible dark sites include Mount Hood National Forest areas, the John Day Fossil Beds, and parts of the Blue Mountains. But accessibility doesn’t guarantee darkness. Check the Clear Outside app or Earth Nullschool for cloud cover, and verify local road construction or festival lighting before driving out. A seemingly remote forest edge can be ruined by a nearby logging operation or a new highway overpass.
Safety First: Navigating the Night Unseen
Darkness hides hazards. Tripod legs become invisible obstacles, uneven terrain turns treacherous, and wildlife may move closer than expected. Before heading out, tell someone your location and expected return time. Carry more water than you think you’ll need-dehydration hits faster at night because you don’t sweat as visibly. Dress in layers; temperatures drop significantly after sunset, especially at higher elevations.
Use a secondary light source for emergencies. Keep a small white flashlight in your pocket, but keep it covered until absolutely necessary. If you’re using a motorized mount, ensure batteries are charged and connections are secure. Cold weather drains battery life quickly, so keep spares warm in an inside pocket. For tripod stability, consider sandbags or spike feet if the ground is soft or rocky.
Wildlife awareness matters too. In forested areas, snakes and insects are active at dusk. Wear closed-toe shoes and long pants. If you’re near water, watch for slippery rocks. And always respect private property-even public land has boundaries marked by signs or fences. One wrong turn can lead to trespassing charges or getting lost.
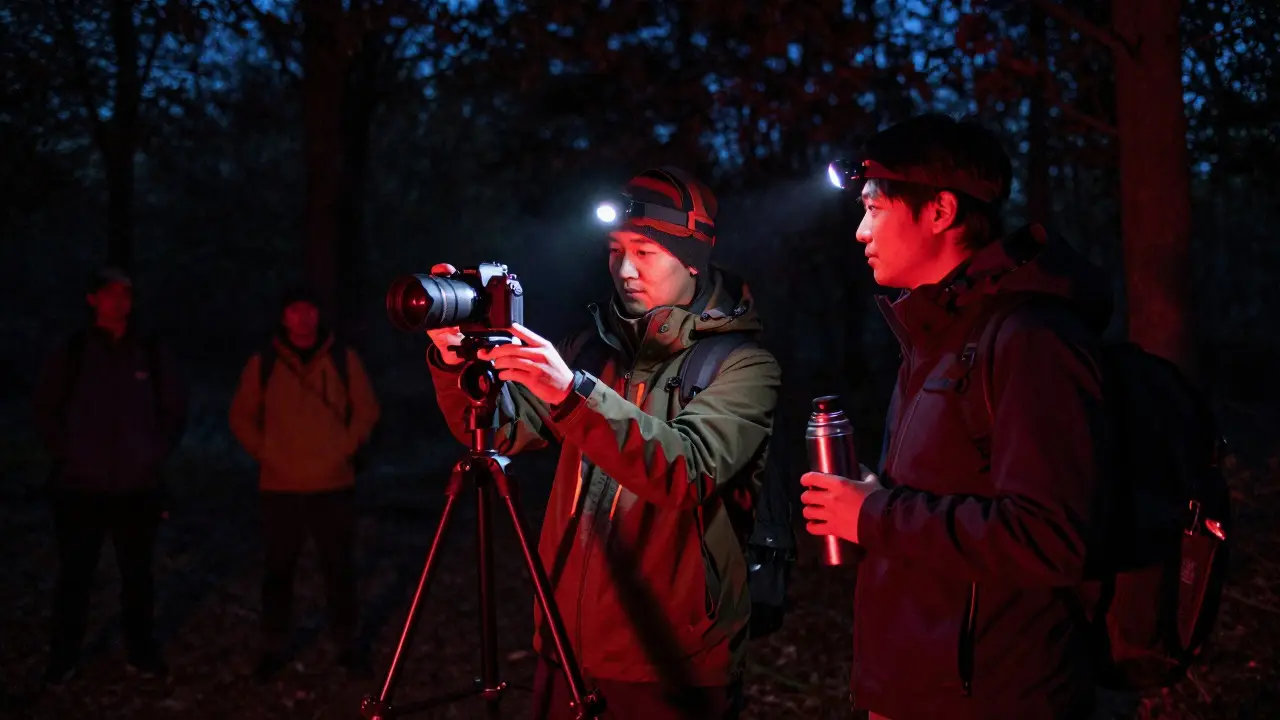
Etiquette That Keeps the Community Friendly
Astrophotography is a shared experience. Other observers, hikers, and campers share these dark spaces. Be quiet. Avoid loud conversations, blasting music, or sudden movements. If you’re using a radio or speaker, keep volume low. Park your vehicle off-trail and away from observation spots to minimize light spill from taillights and dashboard displays.
If you meet another photographer, introduce yourself briefly. Share tips on seeing conditions or star positions, but don’t crowd their setup. Give them space-tripods need room to swing, and cables can tangle easily. If you’re using a large Dobsonian telescope or a portable observatory, position it so it doesn’t block others’ views of key celestial targets.
Leave no trace. Pack out all trash, including plastic wrap from food and empty battery packs. Mark your spot with biodegradable flags if needed, but remove them before leaving. Respect local regulations-some national forests prohibit fires during dry seasons, and others restrict camping to designated areas only.
Common Mistakes Newcomers Make
Many beginners underestimate how much preparation matters. They show up with a white flashlight, no backup power, and no idea where the Milky Way core will be that night. Plan your session in advance. Use apps like Stellarium or PhotoPills to chart target visibility, moon phase, and optimal shooting windows. The moon is your biggest enemy for deep-sky work-aim for new moon phases or times when the moon sets early.
Another frequent error is overexposing the landscape while underexposing the sky. Use manual mode on your camera. Set ISO between 1600 and 3200, aperture wide open (f/2.8 or lower), and shutter speed between 10 and 20 seconds for foreground detail. Then, stack multiple exposures in post-processing software like Sequator or Siril to reduce noise. Don’t rely on auto-focus; switch to manual and use live view to zoom in on a bright star for precise focus.
Finally, don’t forget the human element. Bring a thermos of hot coffee, a comfortable chair, and a blanket. Astrophotography is slow. You might wait 30 minutes for clouds to part or for the right alignment. Patience is part of the craft. Embrace the quiet, the cold, and the awe of seeing the universe unfold above you.
What is the best type of red light for astrophotography?
A deep red LED with a wavelength between 650 and 670 nanometers is ideal. These preserve dark adaptation better than standard red LEDs (620-630nm). Look for headlamps or torches with adjustable brightness and a dedicated red mode. Avoid white or yellow-tinted lights entirely.
How do I find a truly dark site for astrophotography?
Use the Bortle Scale to assess sky darkness. Aim for Bortle 3 or lower. Check the International Dark-Sky Association map for certified sites, and use apps like Clear Outside or Earth Nullschool to verify real-time cloud cover and light pollution levels before traveling. Local forums and astronomy clubs can also recommend hidden gems.
Is it safe to shoot alone at night in remote areas?
It can be safe if you prepare properly. Tell someone your location and return time, carry extra water and food, dress in layers, and bring a backup light source. Be aware of terrain, wildlife, and weather changes. However, shooting with a partner is always safer and more enjoyable, especially for beginners.
What camera settings should I use for astrophotography?
Use manual mode. Set ISO to 1600-3200, aperture to the widest available (f/2.8 or lower), and shutter speed to 10-20 seconds for foregrounds. For deep-sky objects, use shorter exposures (15-30 seconds) and stack multiple images in post-processing. Always use manual focus and lock it once sharp.
How does the moon affect astrophotography?
The moon is the biggest source of natural light pollution. Full moon makes deep-sky objects nearly invisible. Aim for new moon phases or times when the moon sets early in the evening. For Milky Way photography, a crescent moon can add subtle contrast, but most photographers prefer no moon for maximum clarity.